By now, many of you have at least heard of our in-house "Reverse Entry Project," my ambitious project of returning a worn-down S13 240sx to glory as a perfect street car. In the second chapter of this project, while we have been chronicling as it happens, a huge part of making the car comfortable for me was the installation of a full Clarion audio system. To me, driving with my favorite music playing is one of my absolute favorite things in life, and no street car of mine would be complete wihout it. Thanks to our friends over at Clarion, I was hooked up with some really cool gear to make my ride as enjoyable as possible.
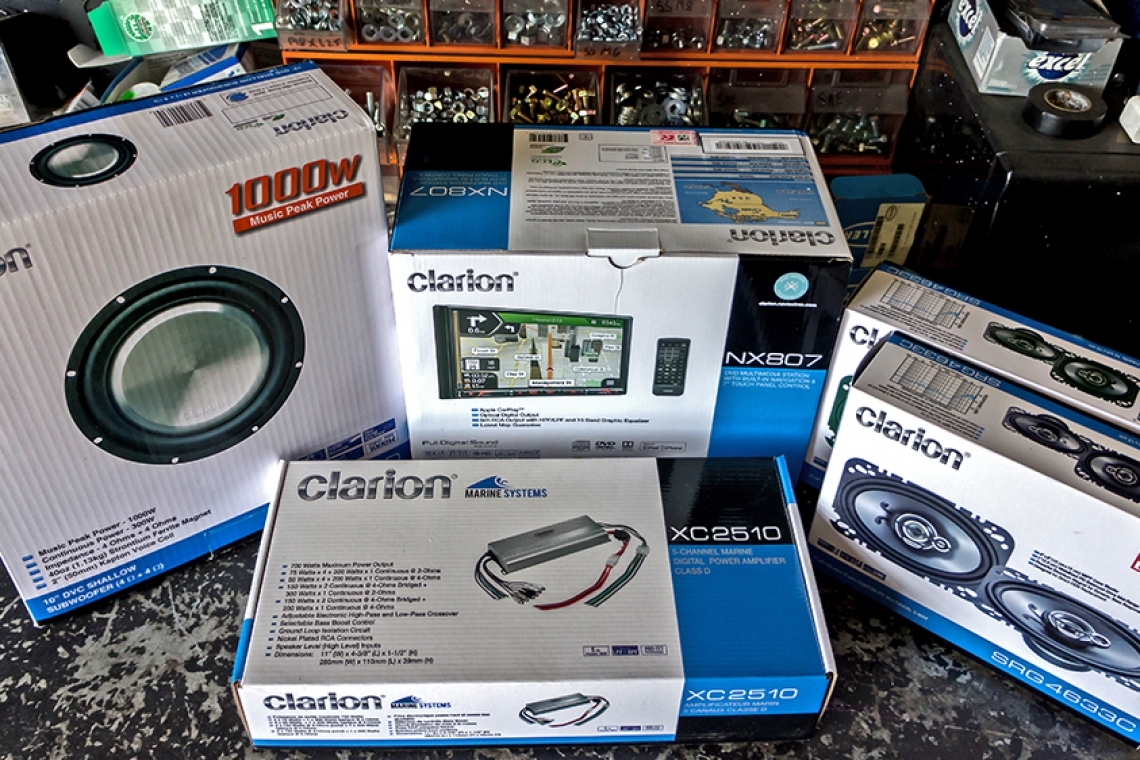
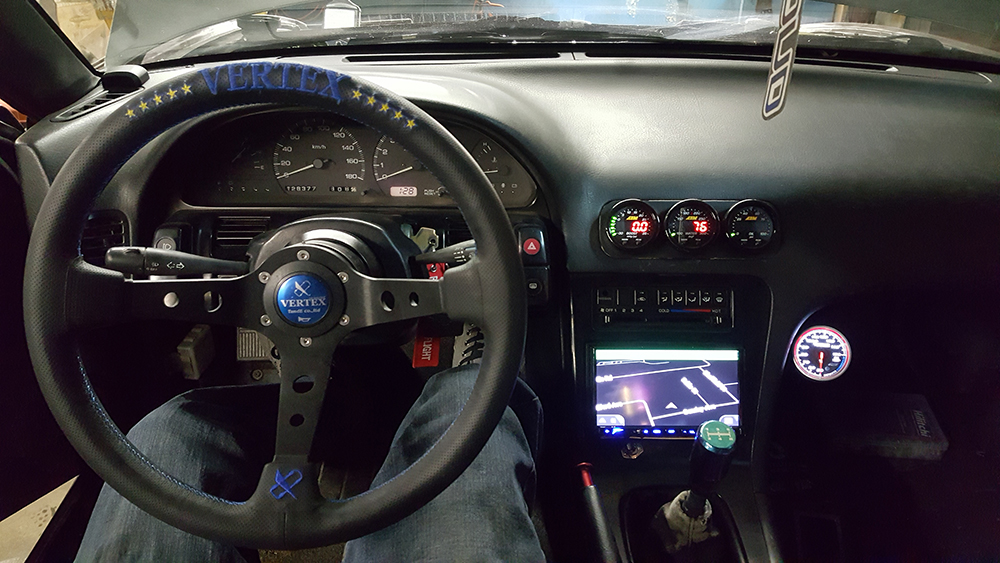
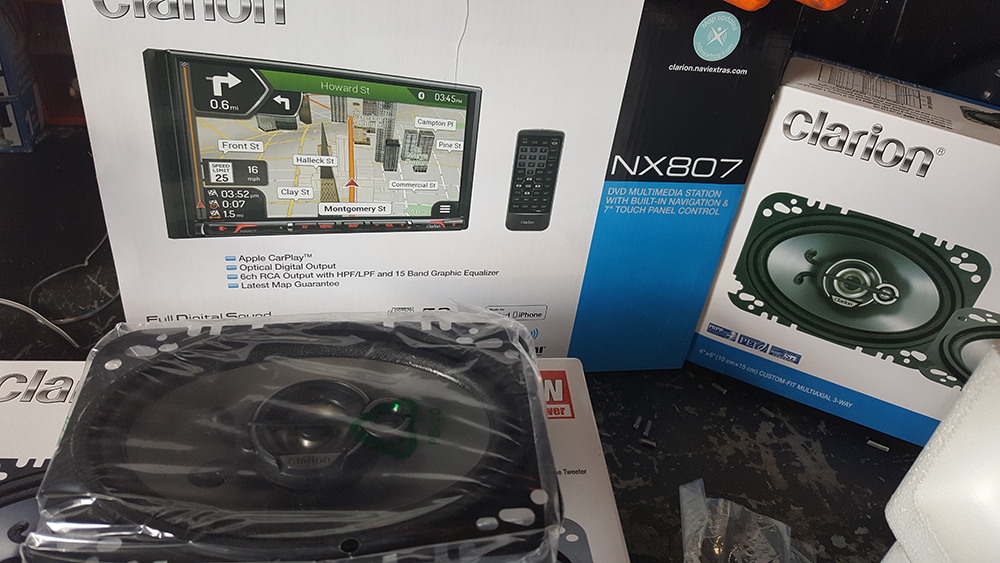
The first element in any audio/multimedia setup is the head unit, and Clarion definitely delivered the goods. An NX807 double-DIN multimedia receiver with navigation was chosen to be the source unit in the system, and man is this thing cool as hell. In addition to all of the state-of-the-art audio sources we've come to expect in this day and age (Apple CarPlay, Bluetooth, Pandora, Sirius XM ready, etc.), the head unit features navigation [as its name would suggest], USB connection for flash drives, CD/DVD playback, HDMI connection, provisions for iPod/iPad hook up, AUX/AV, a built-in 15-band EQ, and a fully customizable interface. If you're the utmost sophisticated audiophile, the head unit is also equipped with an optical digital output, allowing you to connect to external devices such as Clarion's Full Digital Sound system, or any DSP devices you may be toying with. The unit also comes with a sweet little remote!
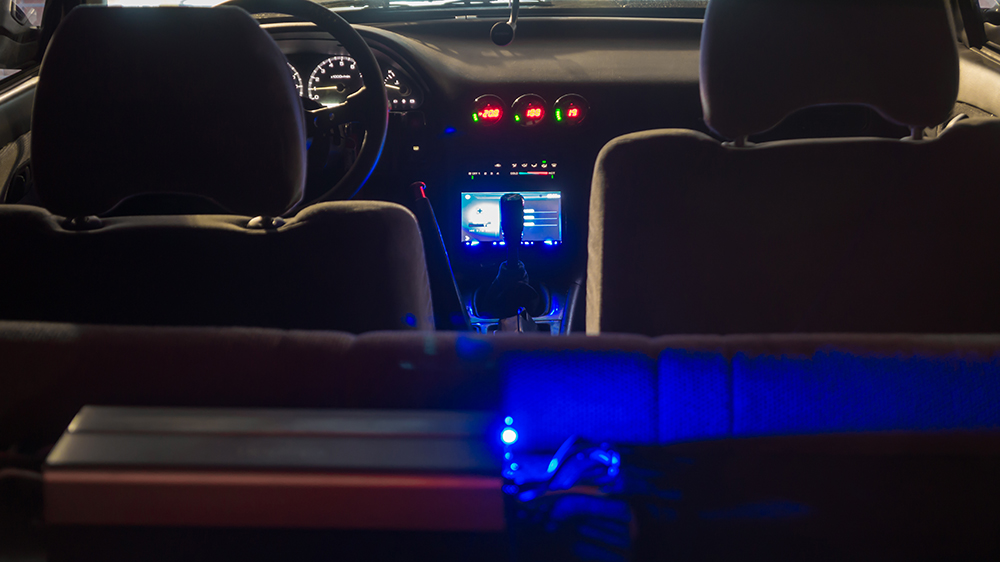
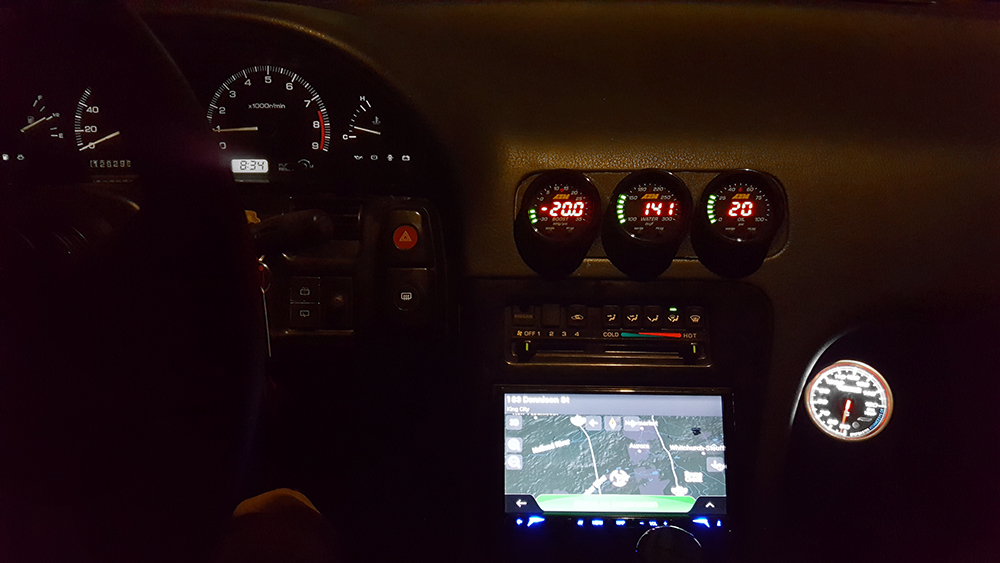
As far as interface goes, the sky is the limit when it comes to customization. Shortcuts to each input source on the home pages can be freely moved around, allowing you to choose what sources appear on your landing screen. For me, personally, I'm lacking a basic radio antenna, so the default radio tuner shortcut was replaced by Bluetooth, my primary audio source. In addition to a multitude of built in wallpapers to use as the head unit's background, you can also import your own images view USB, or via a microSD card slot located behind the screen, accessed by pushing a button which folds the main screen down to reveal microSD and DVD/CD inputs. Last but not least, you can change the head unit's illumination color. In line with a theme I'll be going for later in the build, it was promptly changed to blue.
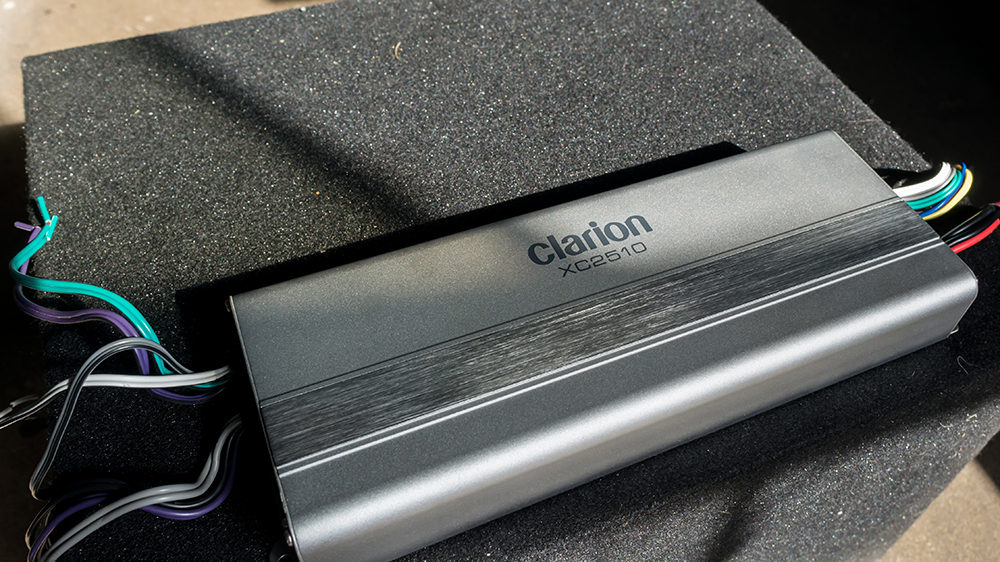
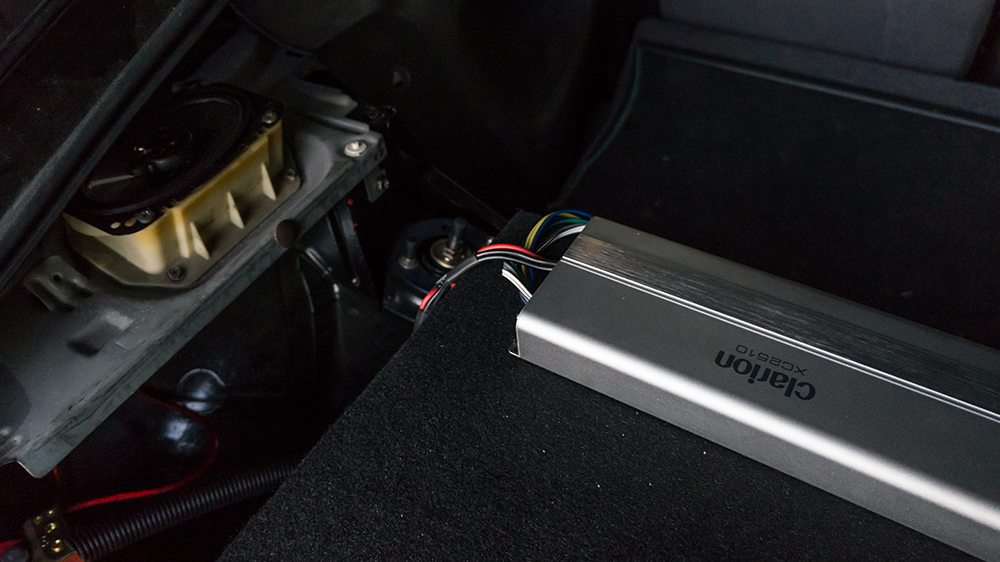
Amplifying my simple system would be a relatively easy task. Since I wanted to maximize storage space, and minimize the space used by the audio system's components, Clarion offered me their XC2510 5-channel amplifier. With a package designed mainly for marine applications, the amplifier's footprint was small enough to fit just about anywhere. With 700W of max power output (50 Watts × 4 + 200 Watts × 1 Continuous @ 4-Ohms, 75 Watts × 4 + 300 Watts × 1 Continuous @ 2-Ohms, or 150 Watts × 2 Continuous @ 4-Ohms Bridged), this amplifier provides plenty of power on tap for my setup. I'm only after some driving music, not looking to wake up the neighboring towns. With bass boost adjustment and variable gain control dials built into the side of the amplifier, and a clipping light to help you get things just right, fine-tuning the amplifier was an easy task. Thanks to my buddy Mike from GT Custom Exhaust Oshawa, the amplifier is now perfectly calibrated. Of course, that amplified signal has to go somewhere.
When I first picked up the car, the interior was completely gutted. This meant there were no speakers, no door pods for said speakers, and no wiring to tie any would-be speakers to the source unit. Luckily for me, Clarion makes 4x6 speakers, which is the obscure and outdated measurement of the OEM 240sx speaker pods. A set of four SRG4633C 200W 4x6 Custom Fit Multiaxial 3-way speakers were just what this system needed to hit the mids and highs. With a maximum power handling of 200W, these packed more than enough punch for what I was after.
Designed to be an OEM replacement speaker, the metal mounting bracket contained numerous bolting options. After a tiny bit of simple trimming on one corner of the mounting bracket, two speakers were a perfect fit in the doors. After sourcing the OEM speaker pods for the trunk, the remaining two speakers were installed in the rear, and wired in.
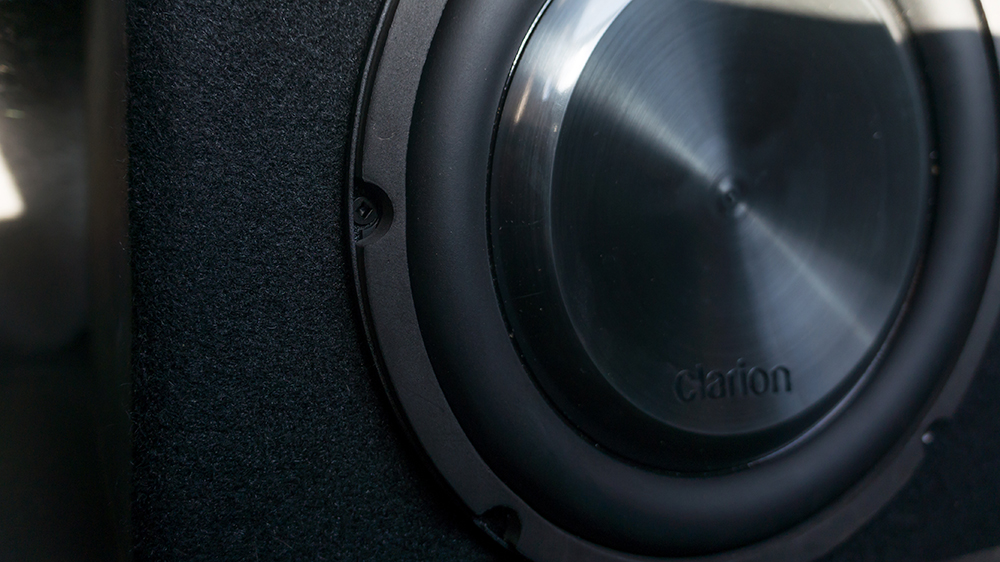
We all know that no audio system is complete without some goold old fashion bump in the trunk, and this system would be no exception. Stepping up to the plate to "put King Kong in the trunk" (Mike's words, verbatim) is Clarion's WF2520D 10-inch subwoofer, a shallow-mount subwoofer capable of 1000W max and a continuous 300W, which I put in a ported enclosure. Once we figured out placement for the enclosure in the trunk, Mike fabricated a small bracket to hold the subwoofer to my rear strut brace. This ensures that my subwoofer enclosure, and the amp attached to it, won't be going anywhere no matter how hard I drive the car. Once wired up, the subwoofer delivered an incredibly satisfying boom to the audio system.
The entire system is everything I needed to feel like I was driving a complete car. Not only do I finally have a soundtrack to those night drives, but it sounds absolutely incredible. The highs and mids are handled in perfect balance with the bass from the subwoofer, and thanks to the intuitive head unit's EQ capabilities, I can easily customize bass output on the fly when I feel like getting some ground-pounding loudness. It’s been a while since I’ve owned a car with a good subwoofer, and my drive home probably damaged my hearing. No regrets.
If you want to see what’s happening behind the scenes between build chapters, keep an eye on PASMAG’s social media (@pasmag), or my own personal Instagram (@gordon.leadfoot), and don’t hesitate to reach out to ask me any questions you might have – you might even manage to get some future spoilers out of me. Unitl next time. Thanks again, Clarion!
Related Articles
 The 5 Best Automotive Products on Amazon This Month
 Cabin Air Filters Do More Than You Think
 The Importance of Keeping a Vehicle Battery Fully Charged
 KICKER Under-Seat Loaded Enclosures for Ford, GMC, Chevy, RAM
 Understanding Audio Radiators w/ KICKER
 OPTIMA Batteries - Battery Mounts


