Advantages:
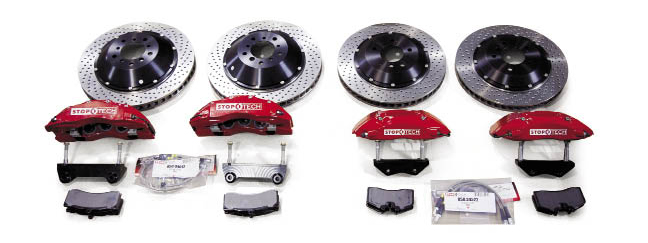
StopTech big brake kit gives you the complete satisfaction with new Callipers, two-piece floating directional aero rotors with hats (pre-assembled), stainless steel brake lines, mounting brackets and performance pads.
Info:
StopTech currently offers various caliper colors to choose from: red, black, silver, yellow, blue and Gold. In addition, slotted and cross-drilled rotors are available.
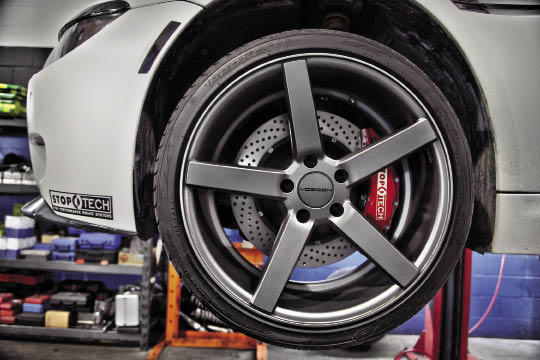
For the purpose of this install, we have chosen red StopTech calipers along with cross-drilled rotors to be displayed behind the car’s concave Vossen VVSCV3 wheels.
Tools Required:
Jack & Jack Stands
Impact Gun
17MM 3/8 Drive Socket
18 MM 1/2? Swivel Socket
13MM 3/8 Drive Socket
3/8 Extension
1/2? Breaker Bar
Foot Pound Torque Wrench
7 MM Allen Socket
6 MM Allen Socket
Hydraulic Bleeder Pump
Hammer
1 Litre Bottle
Clear Tube
Writte by Sam Afzali | Photos by Giancarlo Pawelec
This feature involves one of the most popular brands of brake systems around- StopTech.
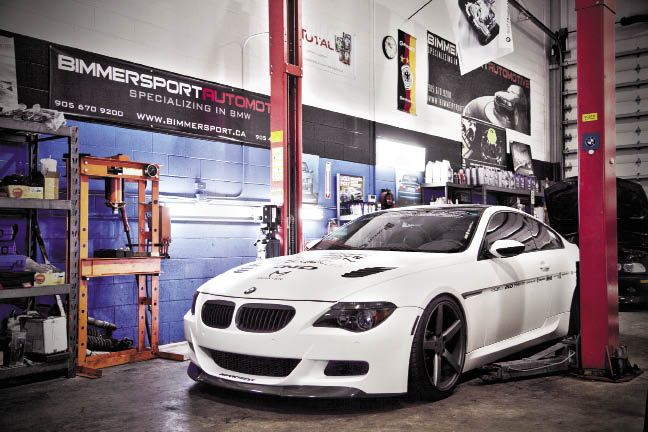
We enlisted BMW Certified technician Martin Poplawski to perform our StopTech big brake upgrade at Bimmersport Automotive Inc. in Mississauga, Ontario, a state of the art facility, owned and operated by Charlie Nour since 1999.
A typical first-time installation will take a qualified mechanic about 1-2 hours per axle to perform. In some instances, modifications to the suspension may be necessary and special tools or skills may also be required. If you are comfortable doing a brake change (pads and rotors, etc.), and have basic knowledge of working on cars, the installation of a StopTech big brake kit will not be too challenging. In fact, it will probably be one of the most gratifying upgrades you will perform.
With bigger rotors that have better cooling capacity and the larger surface area keeps heat out of the hubs. This helps the pads cool down and work longer. Minimum rim size is now set to 19” in order to clear the brake Kit. StopTech recommends using any quality name brand or OEM brake fluid that is DOT 4. If this brake system is being installed for track use, you might want to use a racing brake fluid with higher dry and wet boiling points. (Motul 600 is recommended).
It’s also a good idea to spread the parts out and check them with the instructions provided by StopTech to ensure all the necessary parts are included in the package. The installation can be performed yourself or, preferably, by a professional.
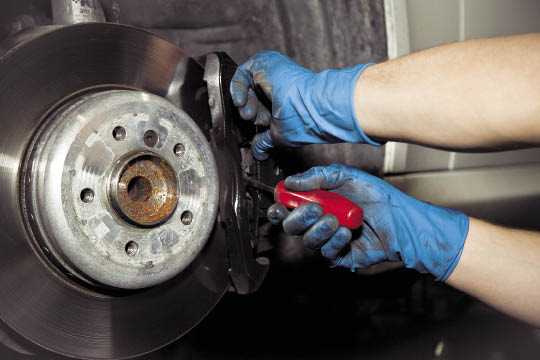
1. Remove the caliper clip, sensor & slider covers using a flat-head screwdriver.
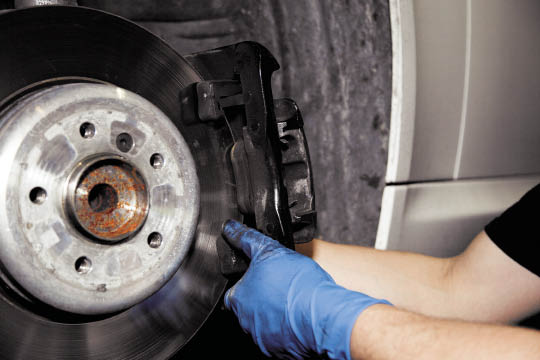
2. Remove the caliper slider and the calipers will slide off. Secure the caliper using zip tie off the strut to keep the brake line from stretching.
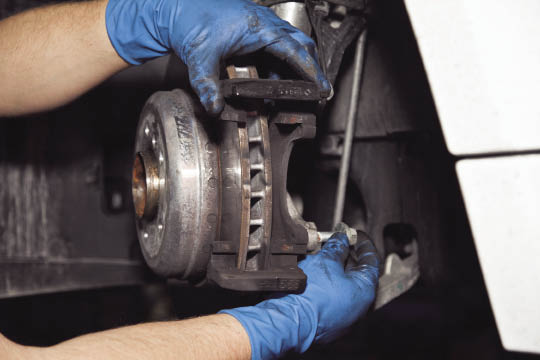
3. Remove the caliper carrier.
 |
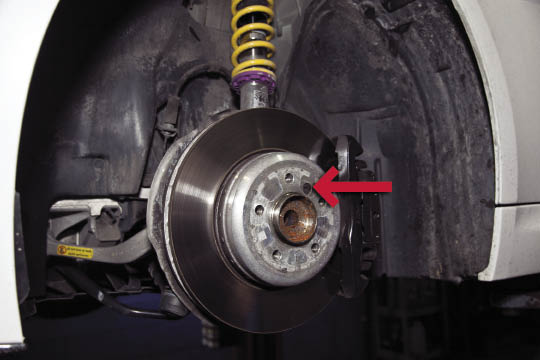 |
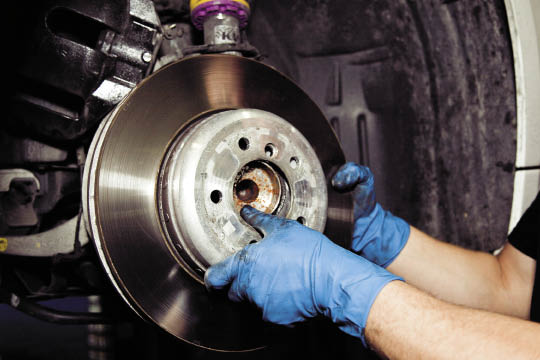
4. Remove the rotor by unscrewing the 6mm screw holding it in place.
 |
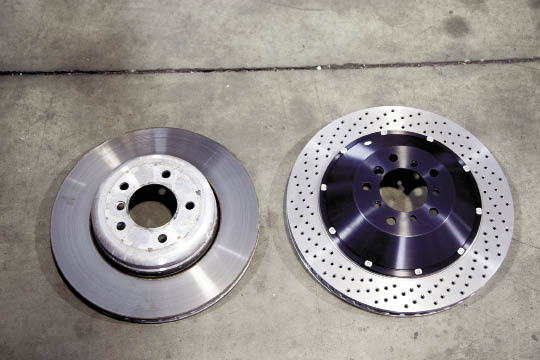 |
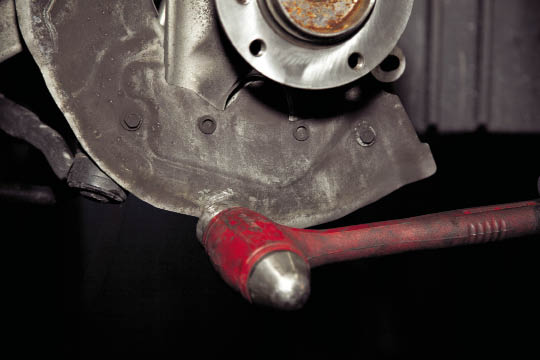
5. Bend the bottom of the dust shield that sits behind the rotor. This step is necessary due to the size difference between the stock rotor and the StopTech rotor.
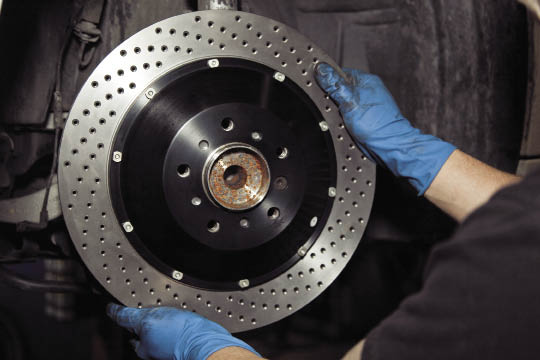
6. Put the new rotors on and reinstall the original 6mm screw.
 |
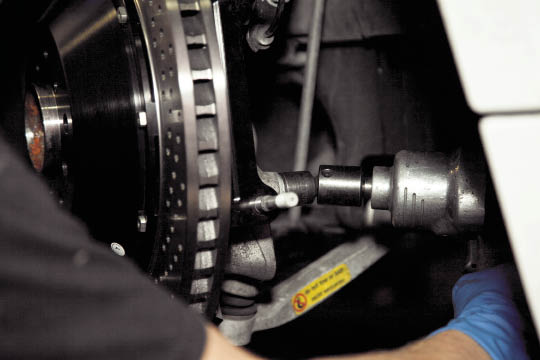 |
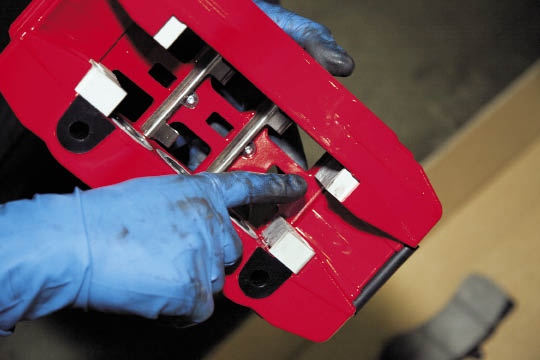
7. Put the new caliper carrier on and tighten down using 18mm screw.
 |
 |
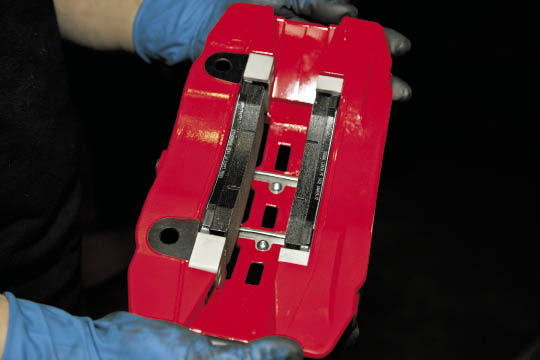 |
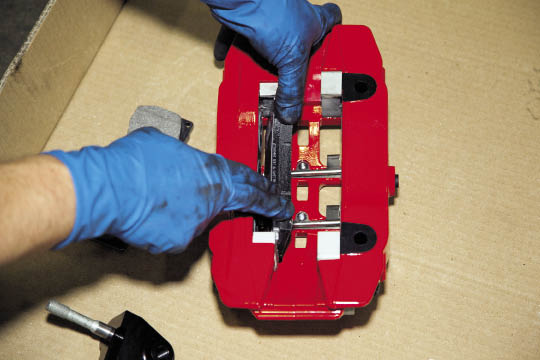
8. Install the new brake pads onto the caliper using anti-seize prior to installation.
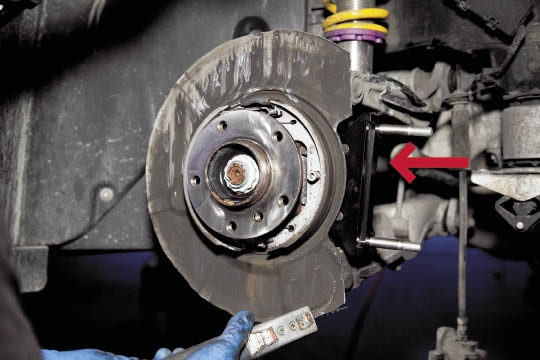
9. Install the new caliper onto the new carrier.
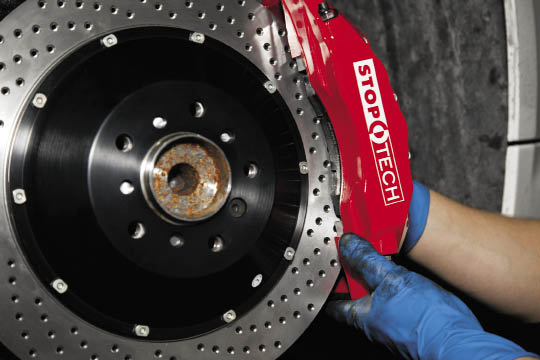
10. Slide the caliper onto the rotor, and the washers and nuts onto the carrier and tighten down using 13MM socket.
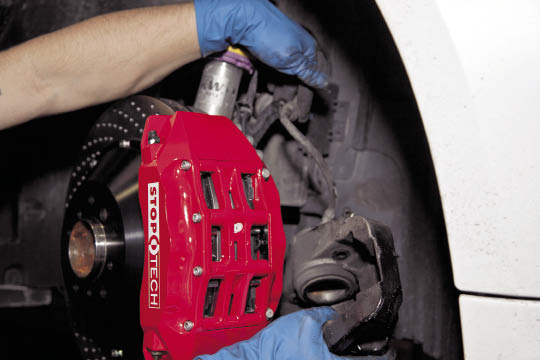
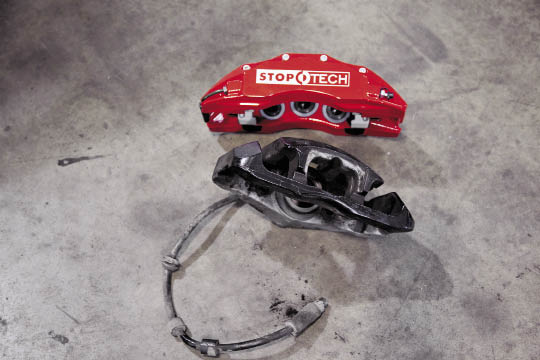
11. Remove the zip tie holding the factory caliper and remove the caliper and line.
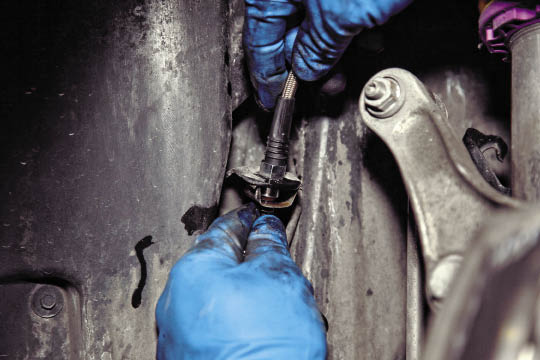
12. Install the fitting onto the OEM brake line and tighten it down. At the ending of the brake line to the caliper and torque down to 14 ft-pounds.
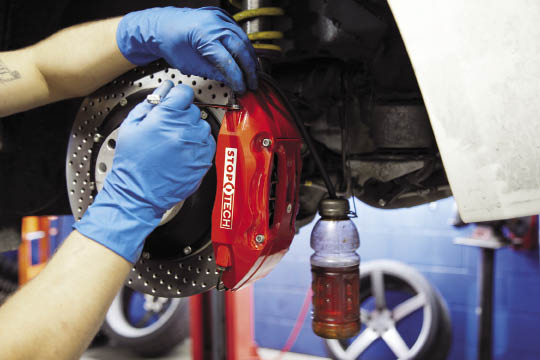
13. Connect the bleeder pump to the master cylinder and pump. Then, open up the bleeder valve to let the brake fluid escape and ensure there are no air bubbles in the brake lines. (This step should be done a few times).
Bed-In the Brakes
• Safely, and legally, bring the vehicle up to 100 km/h and brake firmly down to 10 km/h.
• Repeat this procedure 10 times in quick succession to get heat into the pads and rotors.
• DO NOT STOP THE VEHICLE!
• Drive around to cool the brakes for 10 minutes without stopping.
• Repeat the 10 braking process steps followed by a cooling drive.
• You may repeat this a third time if desired.
Failure to bed-in the brakes will result in poor performance and uneven pad deposition onto the rotor which could result in vibration. Don’t worry about the smell during the Bed-In process – it’s completely normal!
Sources
StopTech: www.stoptech.com
Bimmersport Automotive: www.bimmersport.ca
Related Articles
 PASMAG Editors’ Top 5 SEMA Builds of 2025
 ACT Releases SFI-Approved 225mm Mod-Twin for 1989-1992 Nissan Skyline GT-R (R32)
 MID Wheels by RAYS Introduces the All-New D8 Off-Road Wheel
 Unitronic TCU Tuning for the 8Y Audi RS3
 Chopping Block: Acura RDX
 First BMW M EV confirmed for 2027


