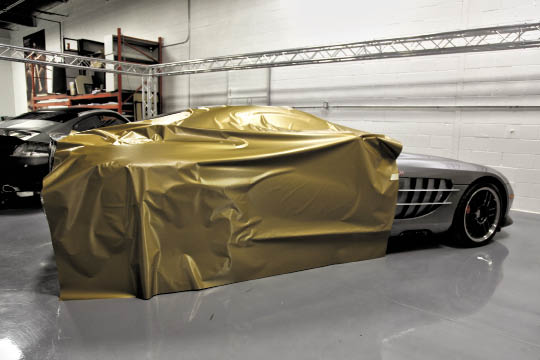
Imagine if you could draw or paint new graphics on your car in a matter of hours? It sounds like a stretch, but thanks to high quality materials like Scotchprint from 3M and companies like Graphiti of Mississauga, ON, completely changing the look of your vehicle in only a few hours is easy. Any design, color and textures that include carbon fiber and brushed aluminum are at your disposal for coming up with a new design for your ride.
Step 2
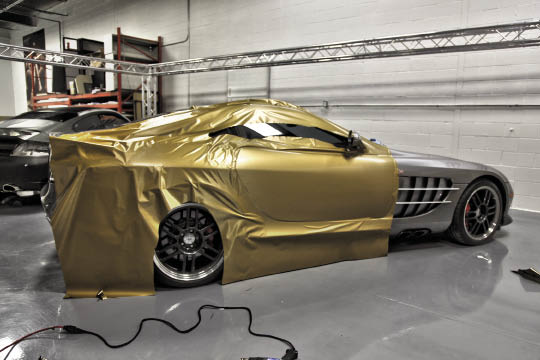
Focusing on one side of the car, the gold-coloured brushed aluminum-finish vinyl is draped over the side of the car.
Step 3
The vinyl is stretched tight over the door area.

Step 4
The rear fender and roof pillars were next. A heat gun and years of experience let the vinyl conform perfectly.

Step 5
Here we can see the trimming is done around the door handle and fuel filler cap.

Step 6
Voila – the passenger side is done. Using a single piece ensure the grain of the vinyl flows smoothly front to back.
Step 7
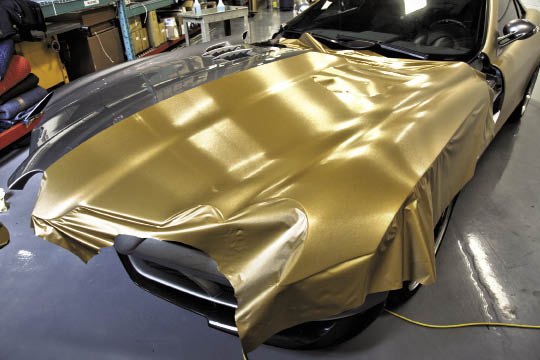
The driver’s side was next, followed by the hood – which will be done in two pieces.
Step 8
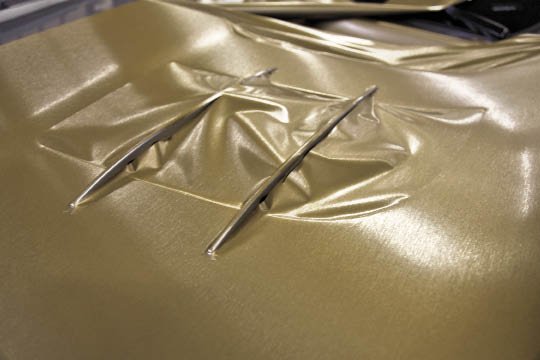
Every feature needs to be addressed – here is the hood vent with just some basic trim work completed.
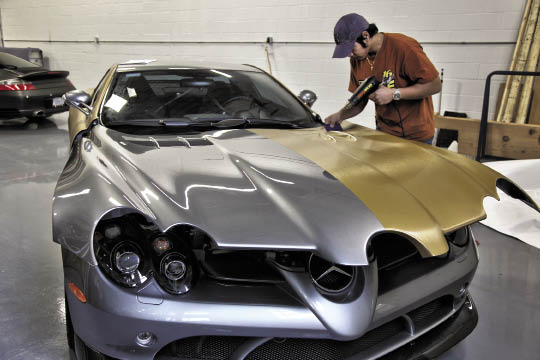
Step 9
The heat gun and application tool are put to work around the hood vent.
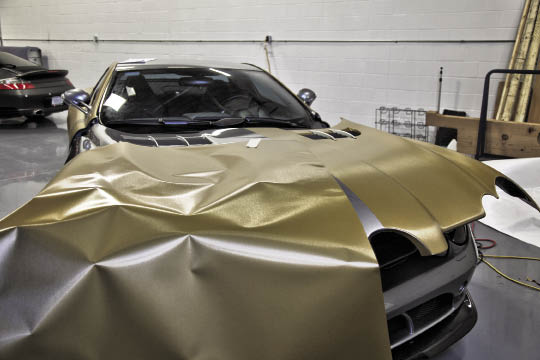
Step 10
Hood vent done, passenger side under way.
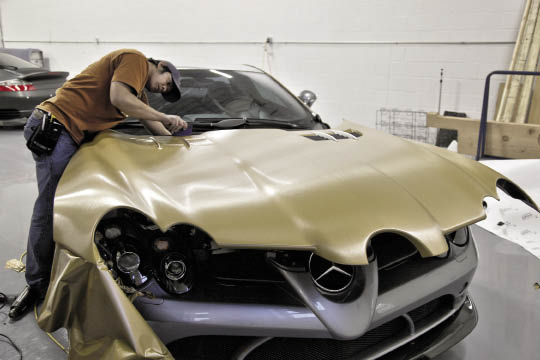
Step 11
Left side almost done – another vent gets some attention.

Step 12
The rear of the car, wrapped. Several components were removed to ensure a seamless and tidy look around the edges.
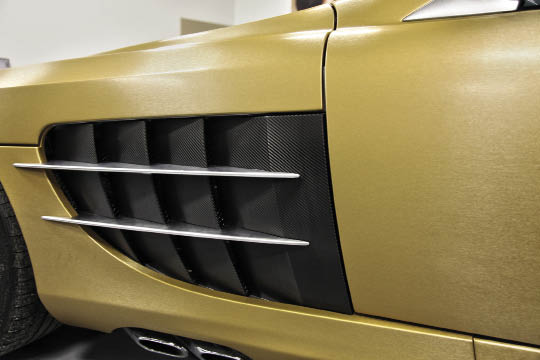
Step 13
The driver’s side-air-vent wrapped in carbon-fiber finish vinyl.

Step 14
Another back carbon-looking stripe down the hood hides the seam and accentuates the F1 styling cues of the SLR.

Step 15
In a matter of hours, this SLR has been dramatically changed and looks awesome!
Related Articles
 Chopping Block: Acura RDX
 First BMW M EV confirmed for 2027
 TE37 30th Anniversary Release
 Toyota unveils GR Yaris Morizo RR Special Edition at TAS
 Nissan reveals Aura Nismo Concept at TAS
 KW Automotive Celebrates 30 Years of Coilover Innovation


