
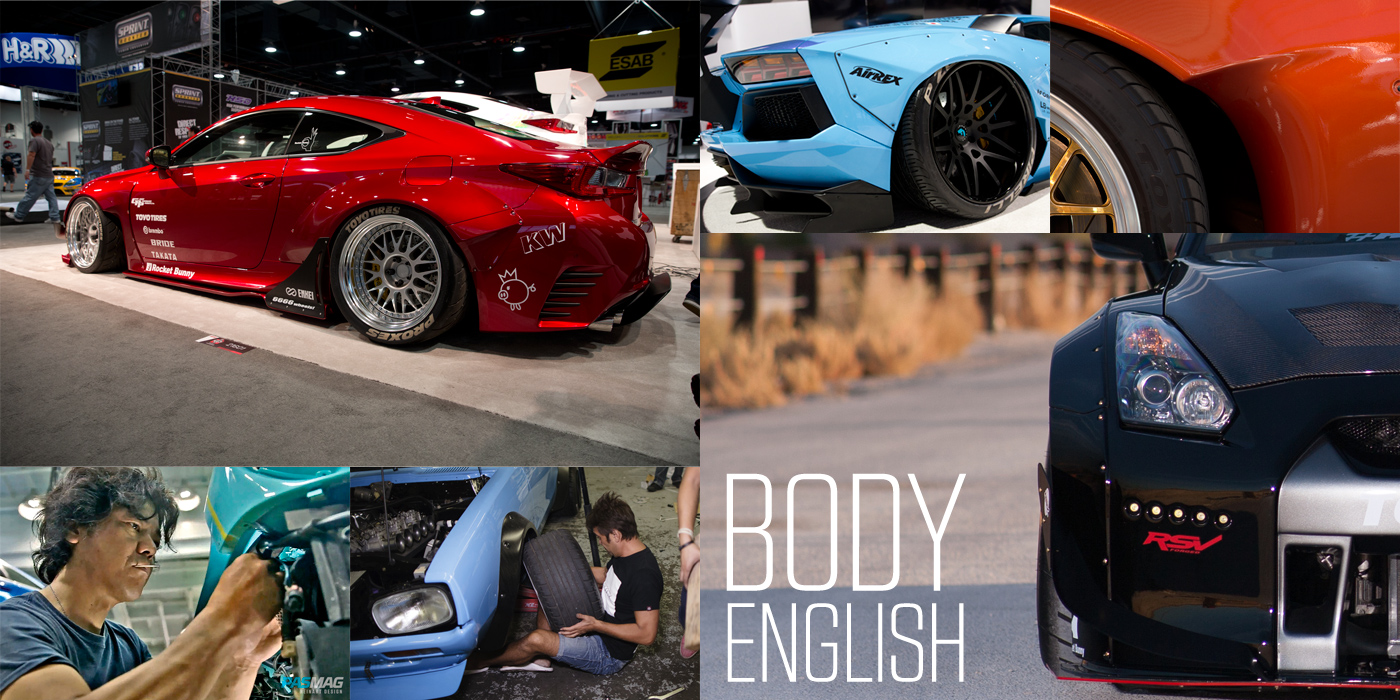
The many dos (and important don’ts) of bolt-on wide bodies.
By Jordan Lenssen. Photography by Phillip Awad, Linus Lam, Marcel Lech, Jordan Lenssen, ReinART.Design.
Wataru Kato, Kei Muira, Akira Nakai. They’re the latest in a long line of popular body modifiers, and arguably the most successful when it comes to kits that draw crowds. With the help of social media and their almost-guaranteed show appearances, Liberty Walk, Rocket Bunny and RWB have brought the new era of wide bodies to the masses.
It’s a stark difference to days passed, when tuners pulled and rolled metal or molded, sanded and painted fenders. While that is still an only-option for many builders, bolt-ons have taken over as the quickest and easiest way to give a vehicle some literal flare.
But just how quick and easy is it? It seems that while over fenders have gained immense popularity, they have also garnered as much (or more) criticism because of this misconception. While some may think it’s a simple job, the work behind the current offering of wide bodies is anything but. There’s a reason there are so few successful names across the globe, and why so many DIYers have failed.
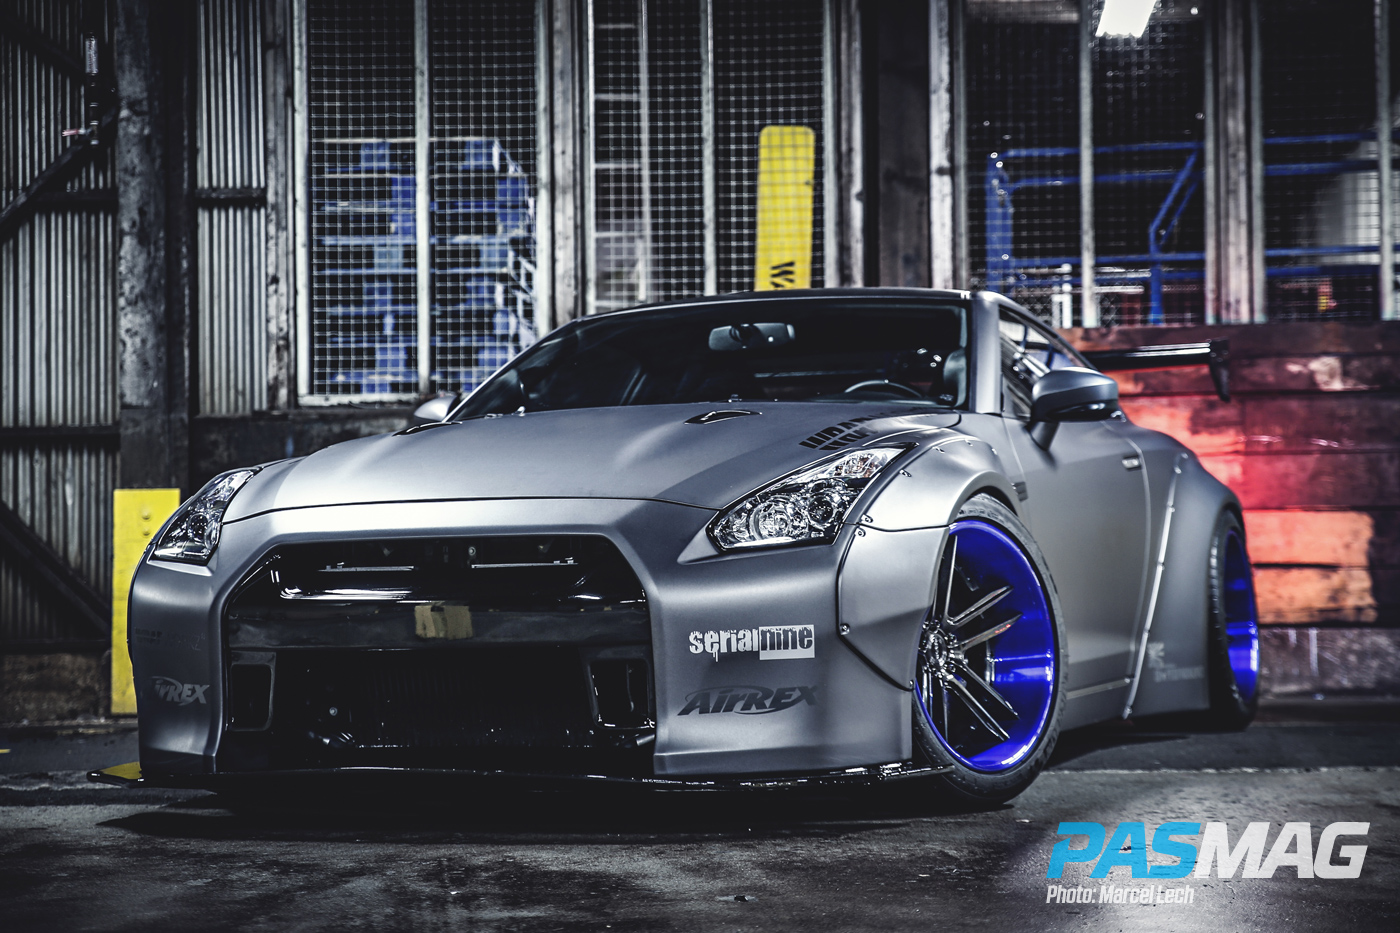
“There is a lot of work under the fenders that you don’t normally see to do a proper job,” Gerard DePeralta of SERIALNINE says. “It’s completely welded and sealed as if it were a stock car.”

“Being the nature of body panels, almost nothing out there is a perfect fit...This comes down to material science as well.” - Matthew Law, ML24
Attend just about any show and you’ll likely see a rivet-heavy kit from one of the names above. They’re rough, aggressive and make a bold statement with no apologies. Sure, there are plenty of wide body designs that make use of entire fender replacements, like Do Luck, Prior Design and Varis, but the trend has shown that exposed bolts are the rage. Nakai himself has built numerous molded RWB Porsches, but take a look at his recent builds and try to find one with a seamless wide body fender. The Jeopardy music just ended.
As a result of their “too cool for school” looks, it seems numerous installers and enthusiasts have been duped into thinking the bolts simply mean “bolt on.” Sure, the bolts are how they are secured, but that’s just the beginning.
The result has been a nightmare for some, and a shabby job for others. There’s nothing more disappointing than seeing a perfectly worthy car and kit sitting stagnant at a show, with a crowd of people shaking their heads in dismay.
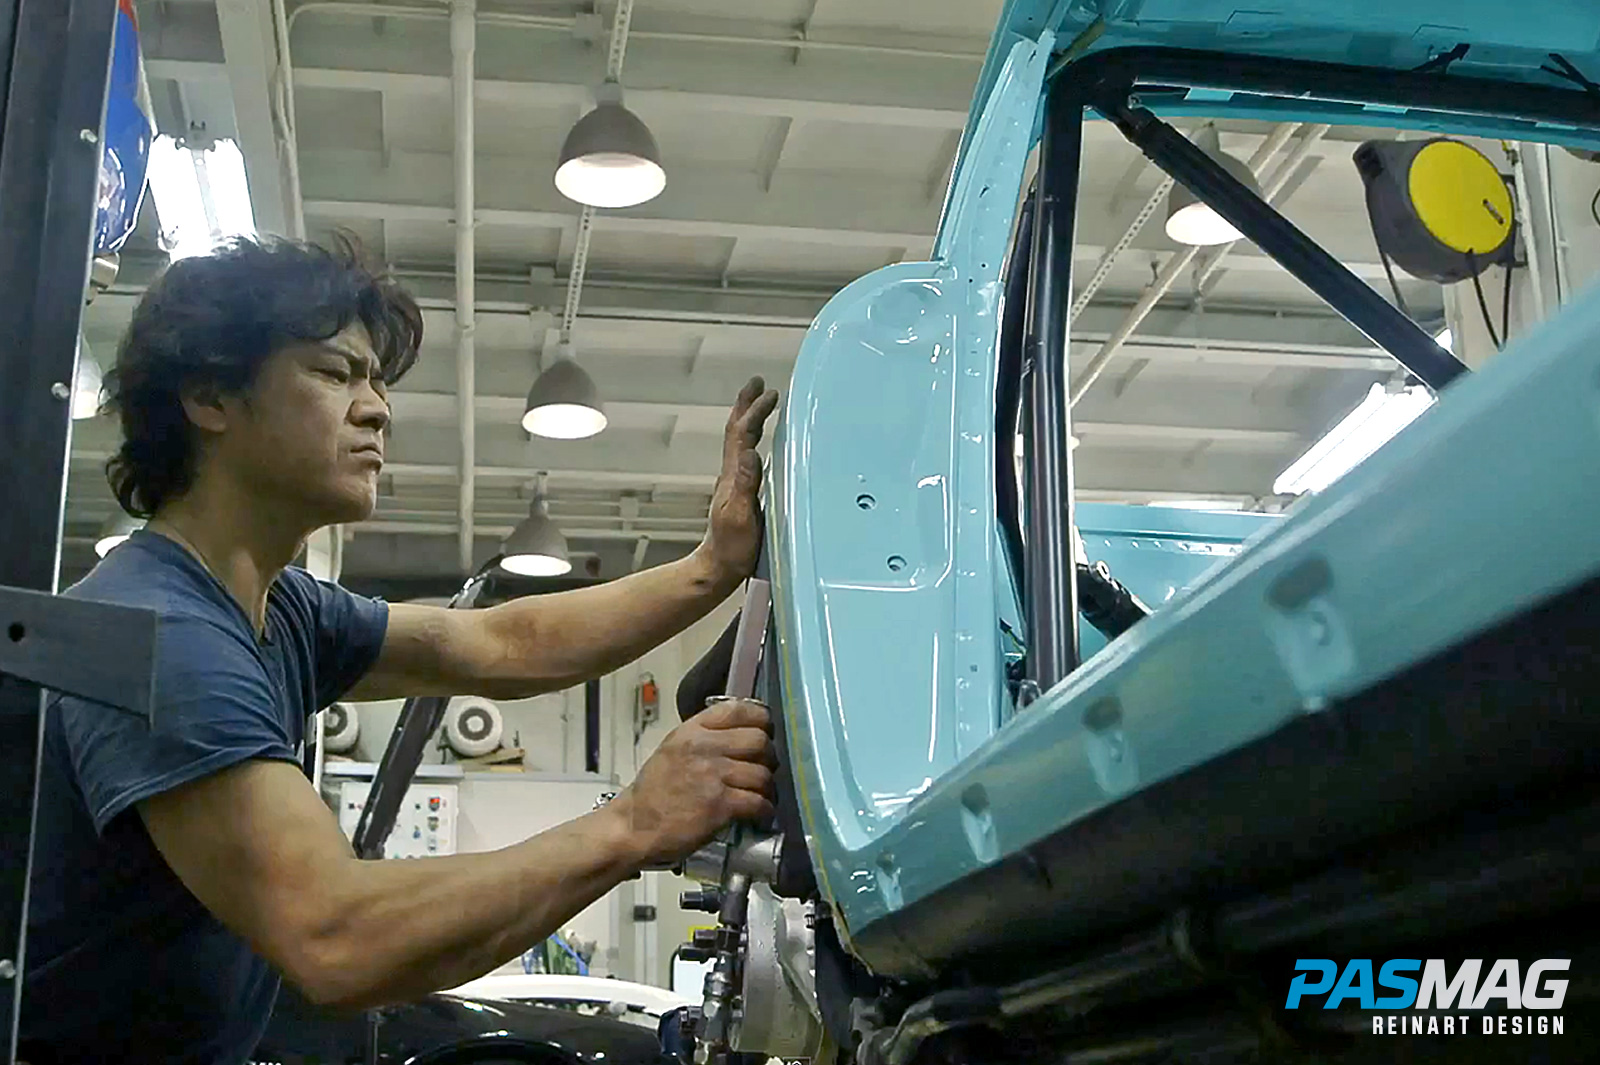
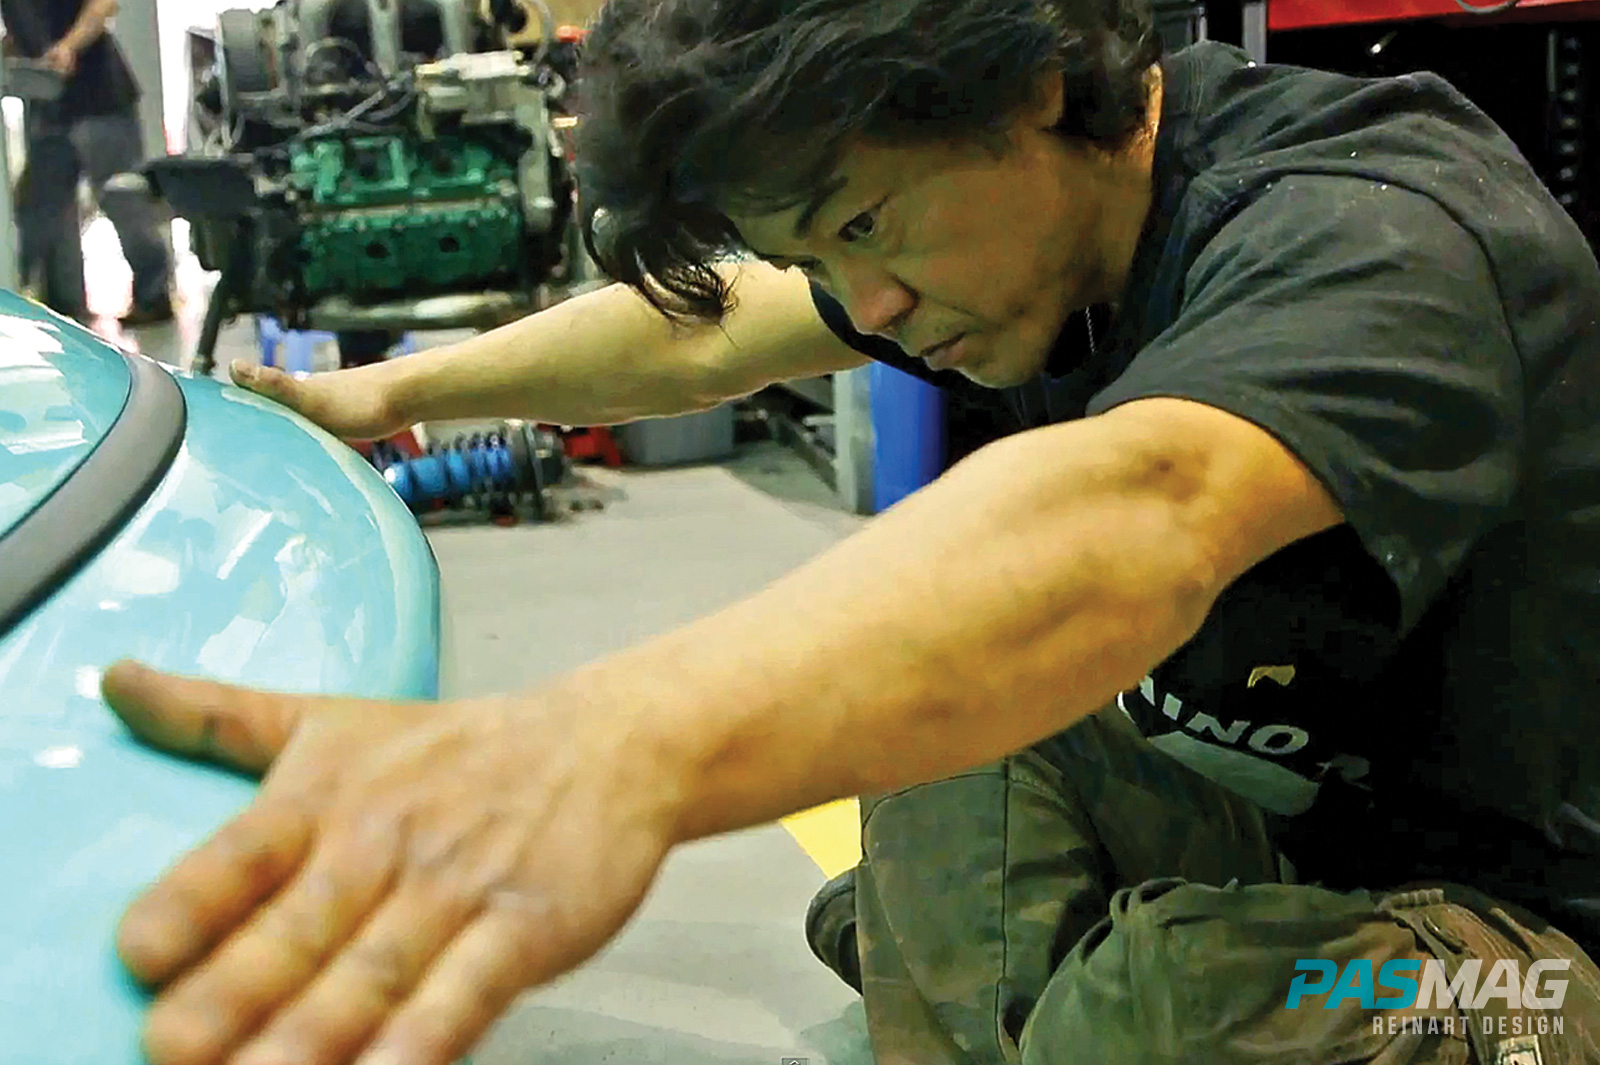
“I see a lot of bad fitment,” says DePeralta. “They just don’t take the time to make sure the gap is perfect, or the parts are lined up. There is definitely a bit of a difference between a professional install and a home job.”
Each fender from each of the major players, whether it’s FRP, carbon fiber, fiberglass or otherwise, goes through a strict design process to ensure proper fitment. “I like to study the form of the car. Each kit is unique to a specific car, so it works with the lines, the curves and the overall design,” automotive designer and builder Matthew Law of ML24 tells us. For that reason, it’s imperative to ensure proper placement to avoid gaps and spaces, between the existing body and over fender.
We’ll make this brief and advise that, unless you are a trained and experienced builder, to leave it to a professional, well-known body shop. This is by no means a manual. But knowledge is power, and having that extra little bit may help you (or someone you know) recognize and save an improper install.

"..unless you are a trained and experienced builder, to leave it to a professional, well-known body shop. This is by no means a manual. But knowledge is power, and having that extra little bit may help you (or someone you know) recognize and save an improper install."
KNOW YOUR MATERIAL
All body kits are made up of some sort of flexible polymer, but knowing what a kit is made of might help you make a more informed decision before settling on a design.
DO
- Understand your material. Is it ABS, FRP, fiberglass, carbon fiber? Can it even be repaired? Cost will likely be a factor in your kit decision-making, but so should repairs. Almost all body shops can repair fiberglass, and FRP/CFRP is fairly easy to fix also. That’s likely not the case with ABS, and materials like polyurethane are susceptible to warping and paint adhesion issues.
CUTTING
Cutting a fender results in a significant loss of exterior metal around all of your fenders to ensure and maximize travel. It’s a grotesque sight that looks like surgery gone wrong. Usually this means the under fender (that plastic/metal guard protecting your wheel well from water and dirt) gets cut as well, creating an open gap between the outer skin and the under fender.
DO
- Cover everything you aren’t working on first. Sparks and debris can easily imbed to paint and moldings, creating a lot of unplanned work and expense.
- Fit your fenders temporarily
- Measure each corner to get the body as even as possible. Measure, eyeball, measure again, and yes, measure again.
- Cut to maximize the travel of your suspension.
- Use a plasma cutter (if available) for cleaner cuts.
DON’T
NEXTMOD’s Tom Nguyen has a few don’ts:
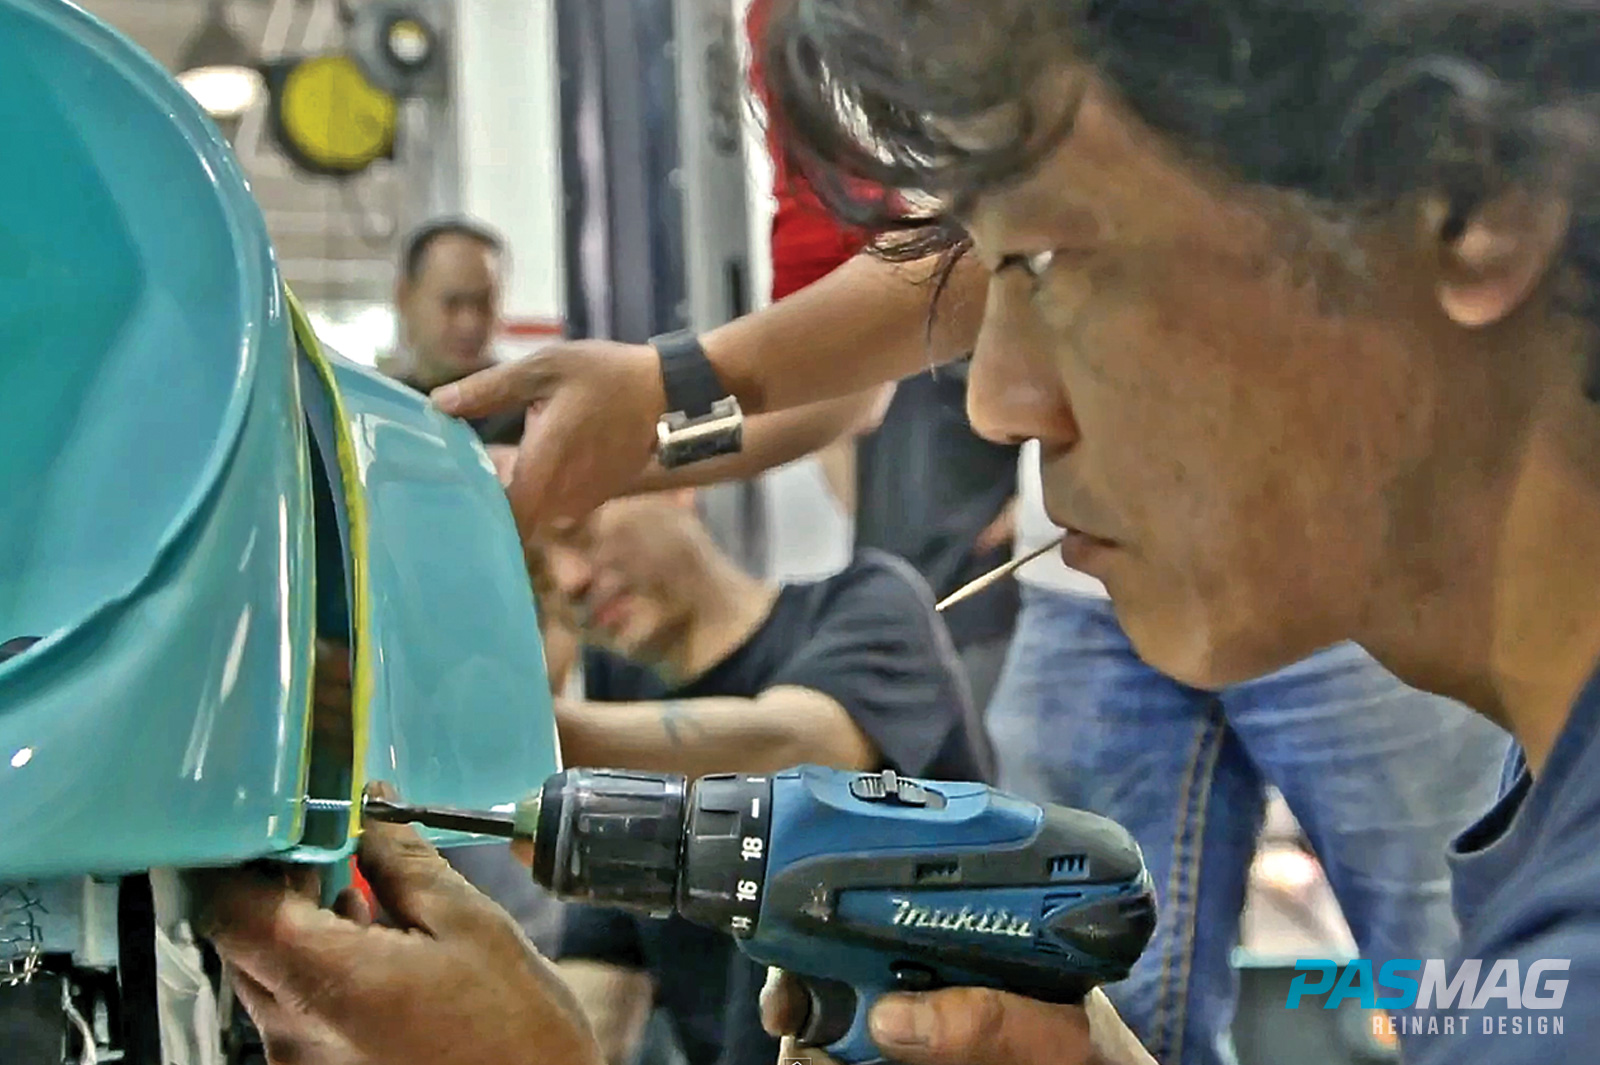
- Do not put pressure on cutting tools. “Just allow the tool to work its way through the metal. Applying too much pressure can bend or break a tool, and at such high RPMs, it can become extremely dangerous.”
- Predrill the over fender or body. Paint first and drill/install after. “The heat cycle from a paint booth can shrink or warp the panel slightly, so pre-drilled holes may not line up after,” he says.
- Over cut the inner or outer fender. It’s easier to cut a bit extra then add on lost material.
- Fill any openings with expanding foam. It is porous and absorbs moisture, eating the metal from the inside out.
SEALING / WELDING / PAINT FINISHING
DO
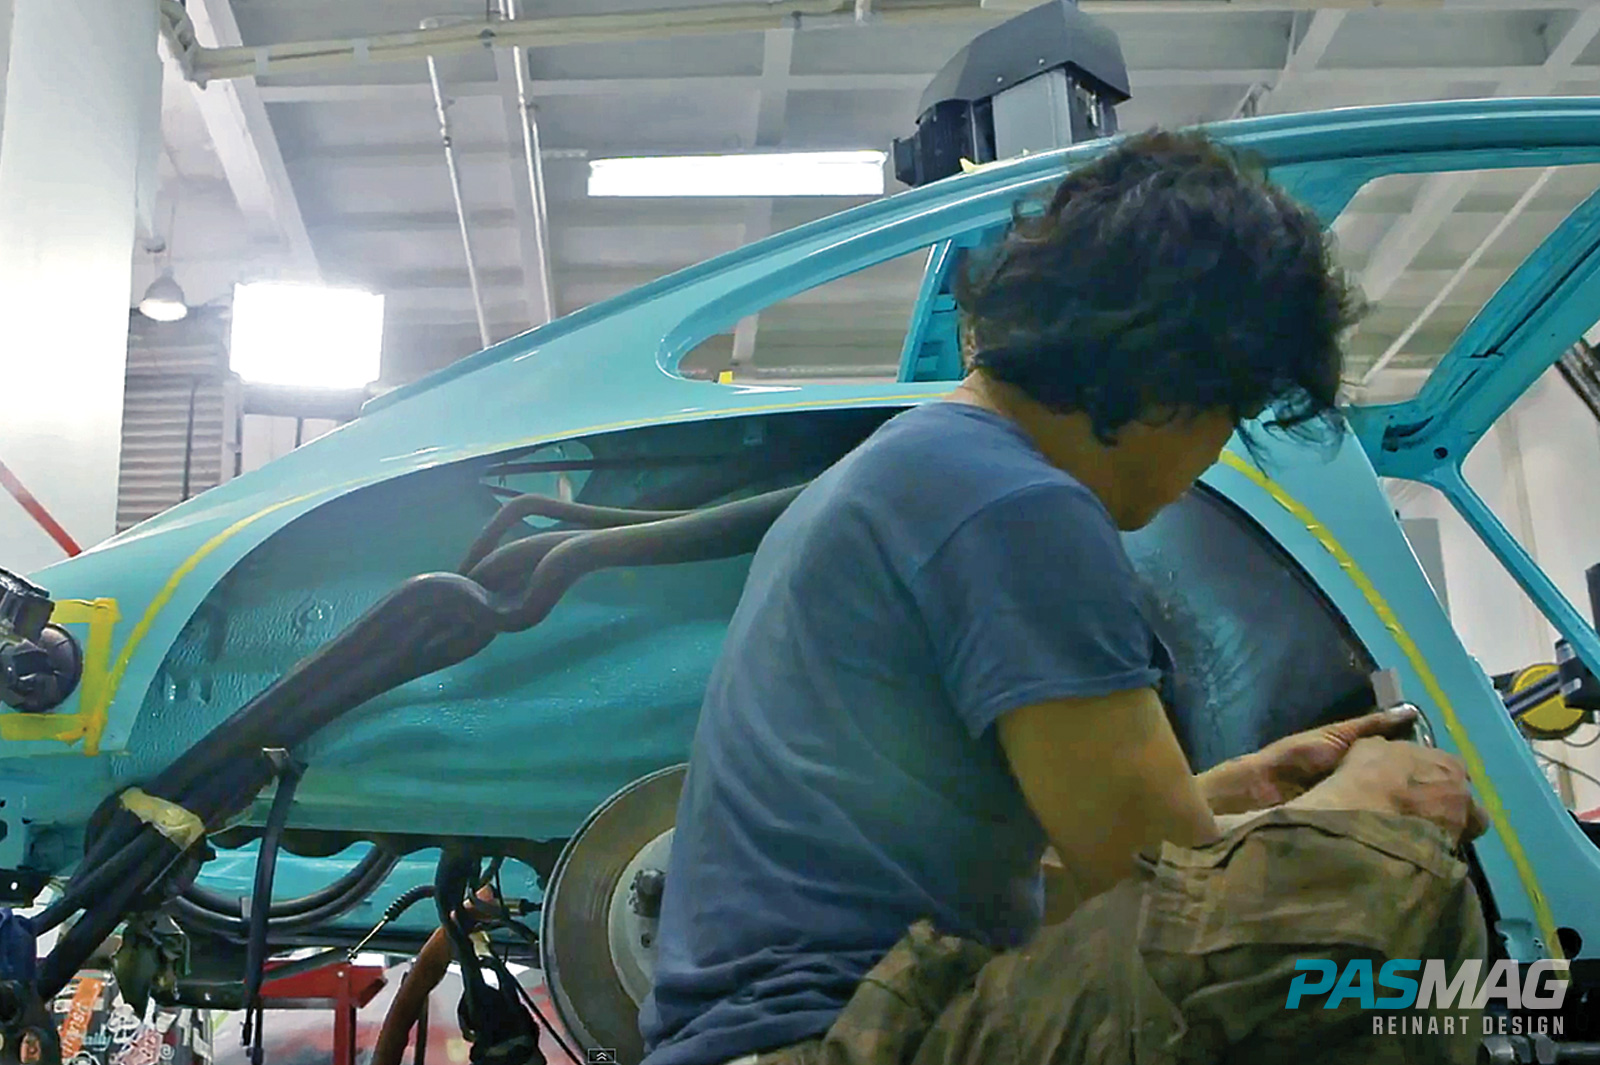
- Fill the gap around the wheel well and extend it to the new over fender. New sheet metal panels need to be cut and welded in to provide a factory-like inner fender, by extending it to match up to the bottom of the new over fender.
- Etch prime the new inner fender (and any exposed bare metal), then weld, prime and paint. The new inner fender should create a flat surface from underneath the over fender into the wheel well.
- Dress each new over fender with some form of weather stripping to close any gaps on the exterior of the vehicle. The result is a watertight install with protection from the exposed parts of the fender and into the wheel well.
DON’T
- Avoid sealing / welding a single gap. You’ll soon have a rust bucket.
- Simply tack weld the outer fender shut. Match a flat surface from your inner fender to the new overfender, otherwise your fenders will be extremely noisy and exposed to the elements. There have also been horror stories of suspension travel maxing out at high speeds, only to have a driver stuck on the side of the road because the leading edge of a tack weld literally sliced their tire in half.
Tip: Because of the inherent noise of the wider fenders (and usually wider, stickier tires), “We make ABS inner fenders that fit really well and are coated with bed liner, which keeps it a little quieter,” DePeralta says. “The inner fender helps because it deflects the debris as if it were a normal car.”
“Each kit is unique to a specific car, so it works with the lines, the curves and the overall design,” Law says. For that reason, it’s imperative to ensure proper placement to avoid gaps and spaces..."
FITTING
“Being the nature of body panels, almost nothing out there is a perfect fit,” Law says. “Everything out needs a certain degree of fitting in one way or another. This comes down to material science as well. Anything that’s composite, fiberglass, carbon fiber or ABS plastic or polypropylene, these are polymers and they flex.”
DO
- Know your suspension travel and wheel fitment
- Know your geography. Does the kit allow enough clearance depending on your suspension and where it will be driven? These are all things to consider, especially considering the material your body kit is made of.

SUSPENSION
Usually, wider also means lower. Suspension, whether it’s air or coils, is a critical aspect of any wide body build. If you’re building for the track, coils are always recommended. If you want function, adjustability and curb rash avoidance, then air is likely the way to go. But in either case, here are some things you should know.
“A lot of the roads here aren’t perfect,” DePeralta says. “In Japan there are cars that are unfathomably low – lower than air cars – and insanely stiff, but they can get away with that because they don’t need to run over anything. Their roads are just so good.”
DO
- Make sure you cut enough of the body for your travel needs.
- Try to get your new, lowered suspension as close as possible to the stock geometry. Roll center adjusters, moving pivots, new toe links, ball joints and control arms are all things to consider.
- In extreme cases, raising the front/rear sub frame may be necessary, especially with air to avoid destroying any critical parts.
- Lowering may also affect your driveshaft alignment, so make sure it is optimized for performance and drivetrain longevity.
DON’T
- Place air lines close to moving/heated parts and exhaust systems.
- Let air lines kink
- Hard line components that should be moving freely
“We saw a dude hard line the car to his suspension,” DePeralta laughs. “It was the copper line and it lasted six days. It broke off right at the coilover and rendered the car immoveable and unworkable because he couldn’t get a jack under it or air into the coil.”
Still think bolt-on over fenders are the easy way out? Next time you have a look and contemplate criticizing one, consider the time it took to get everything just right. Or perhaps, you’ll have a tip or two to make it even better. Like the Liberty Walk cars say: “Imagine all the people living life in peace.”