
When a new platform comes out from a car manufacturer, usually the first things the aftermarket industry gets to work creating are performance air intakes and exhaust systems. The Scion FR-S is no different and we have chosen some high-quality upgrades for our partnership with JRP, Inc. on this project. We have chosen to replace the dull restrictive stock air intake system with a shiny new performance intake from Injen Technology while the stock exhaust system has been replaced with a new bolt-on system from Magnaflow. Let’s get our hands dirty with NV Auto to see how easy these upgrades really are.
We will start with the Injen Technology intake system. Start by removing the negative battery cable from the battery terminal and set it in a position where it will not accidentally come in to contact with the positive terminal.
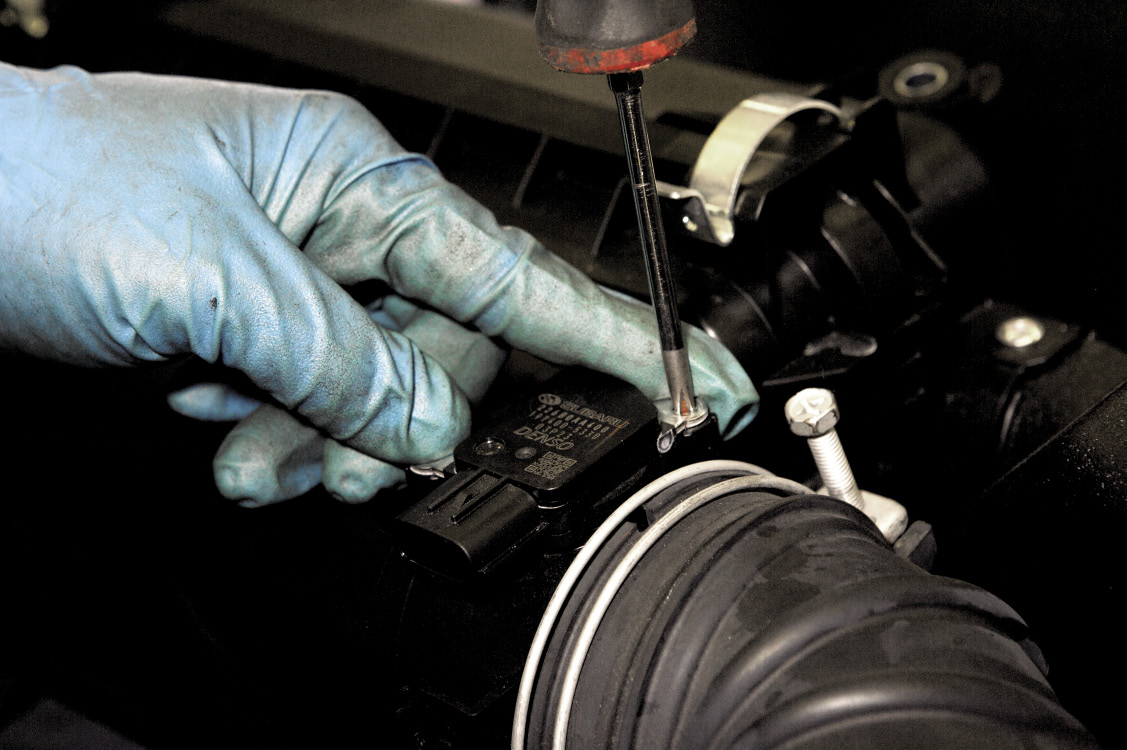
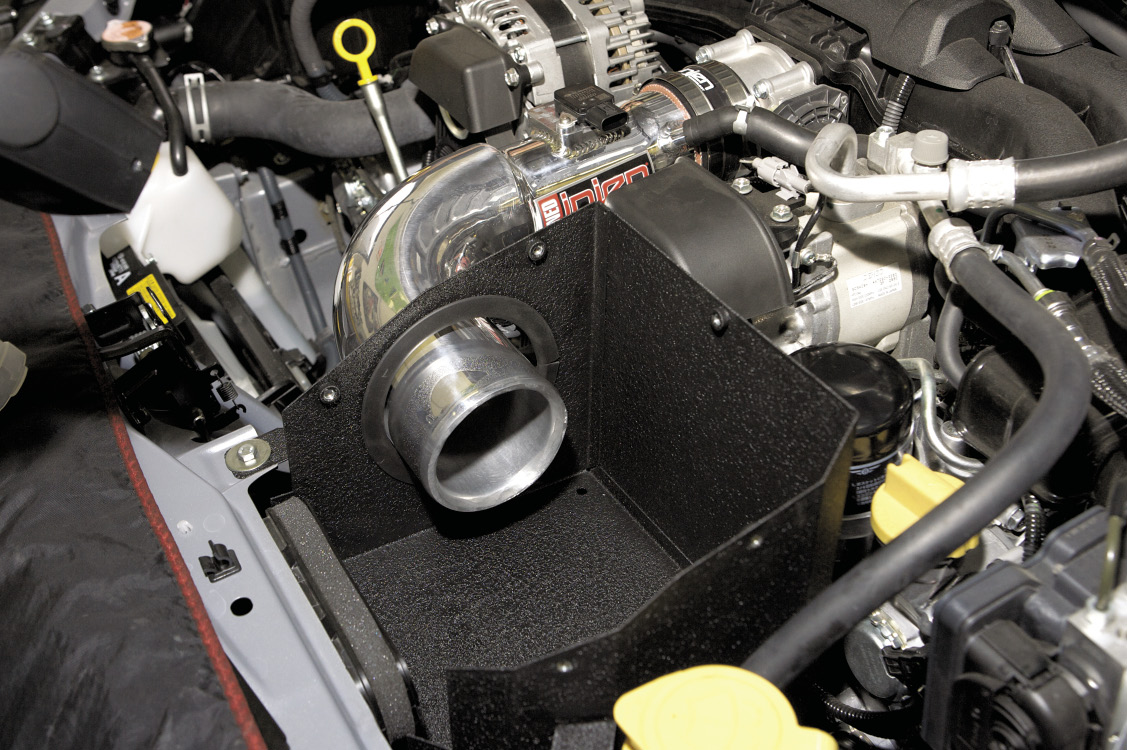
Now, we are ready to remove the stock intake assembly. Start by unclipping the electrical connector from the mass air flow sensor. Next, locate and remove the three 10 mm mounting bolts for the stock air box. Loosen the three hose clamps that connect the flexible corrugated intake tube to the throttle body housing, the sound tube and the remaining breather tube. At this point, the factory air box and intake piping can be removed. Finish by removing the sound tube completely, this will no longer be needed.
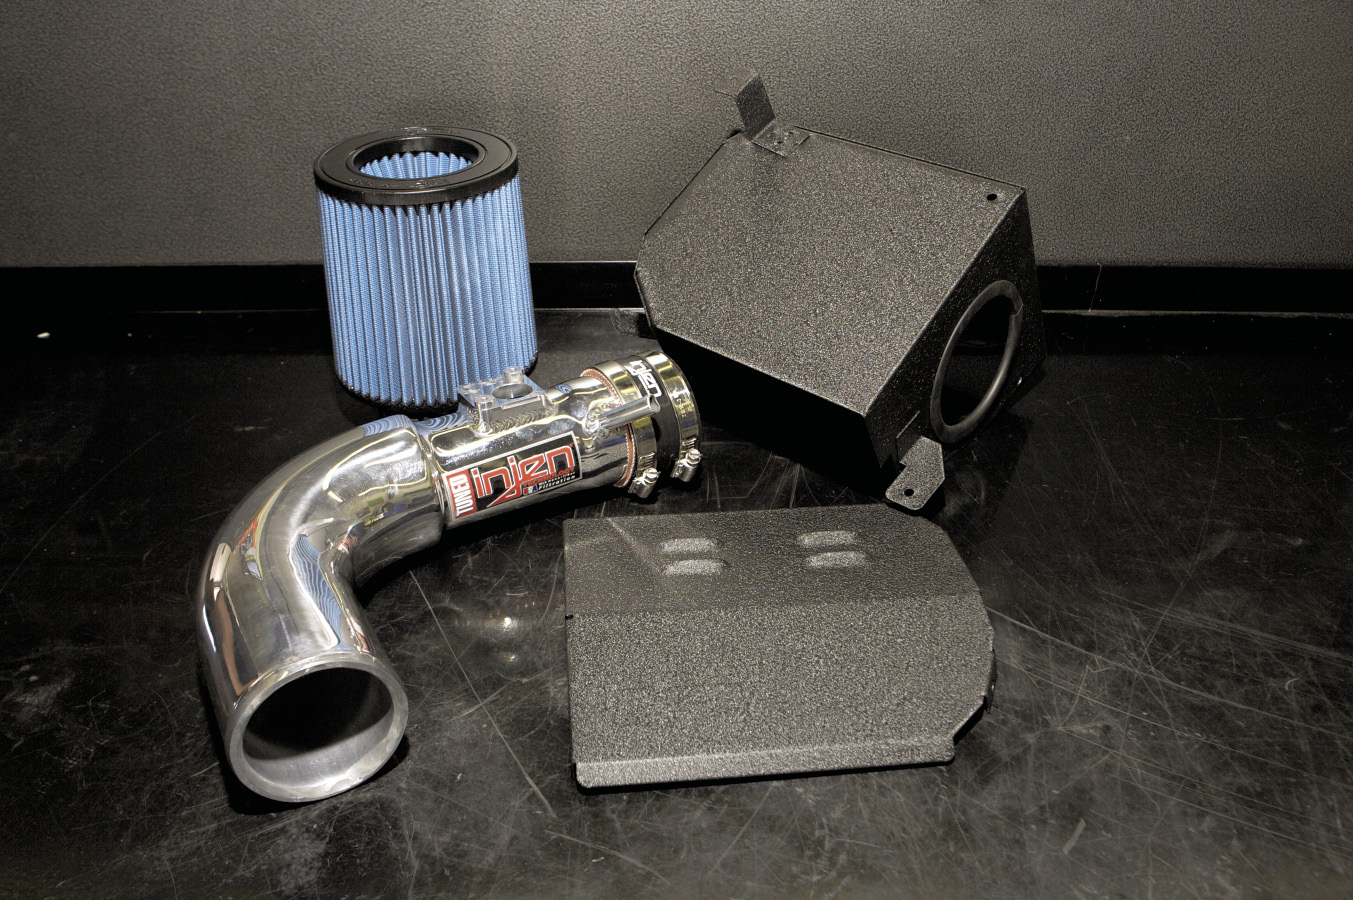
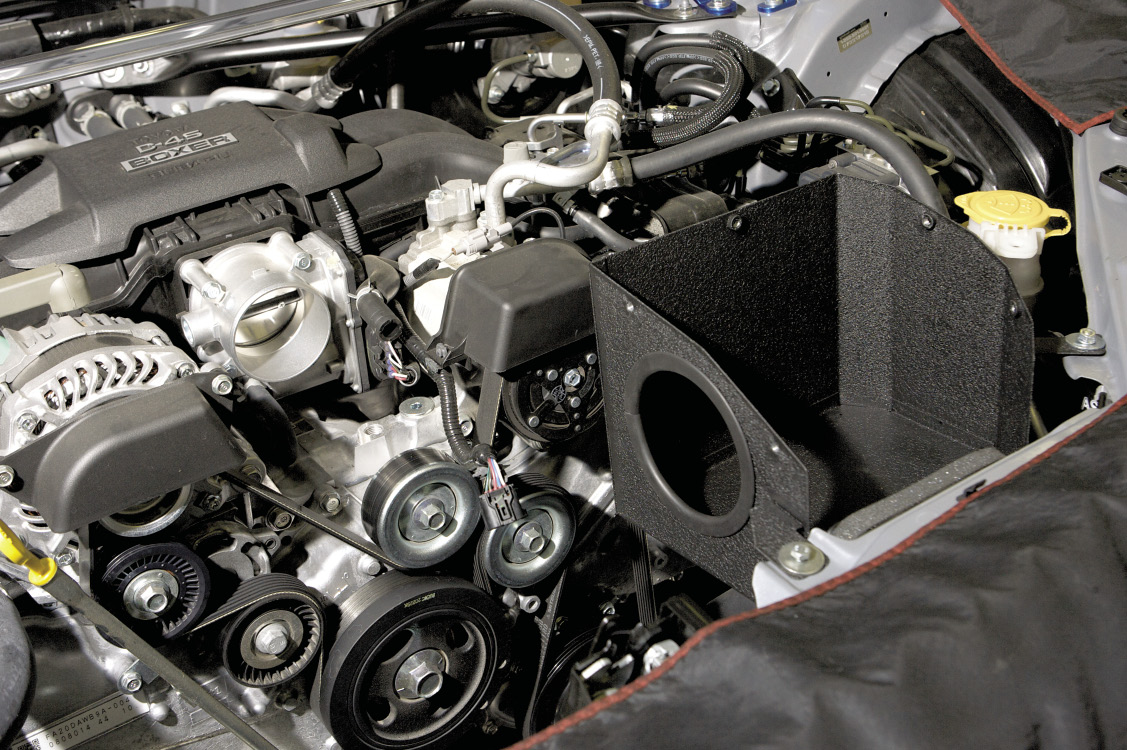
We are now ready to install the new Injen Technology intake kit. Start by assembling and installing the heat shield provided with the kit, leaving the top portion off for now. Next, install the intake tube using the silicon couplers and hose clamps provided. Leave the hose clamps loose until the final step.
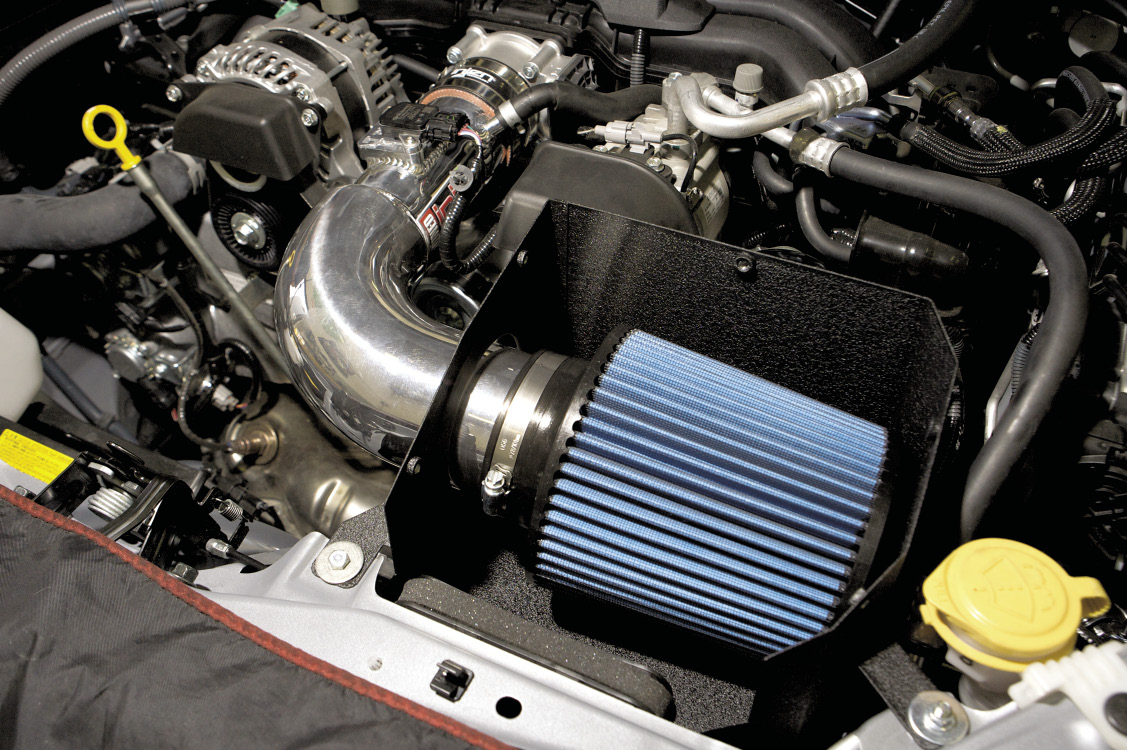

Install the new cone shaped air filter onto the intake tube with the provided hose clamp and tighten. Locate and remove the factory mass air flow sensor from the stock intake tube and install it in the new Injen Technology intake tube. Reconnect the factory breather tube to the new intake and plug the electrical connector back onto the mass air flow sensor.
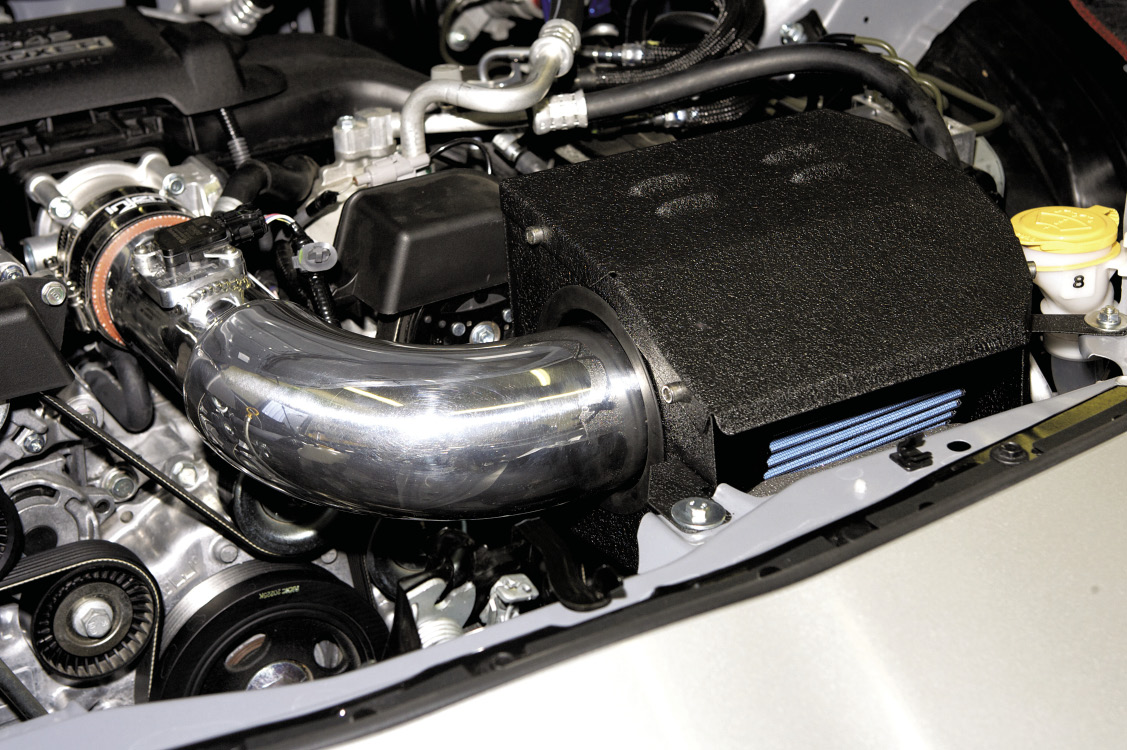
Finally, install the remaining top portion of the new heat shield box and tighten all bolts and hose clamps. If all you are doing is the intake, reconnect the battery at this time and turn on the ignition to make sure everything is working correctly. If you are also installing an exhaust system, leave the battery disconnected until that installation is complete.
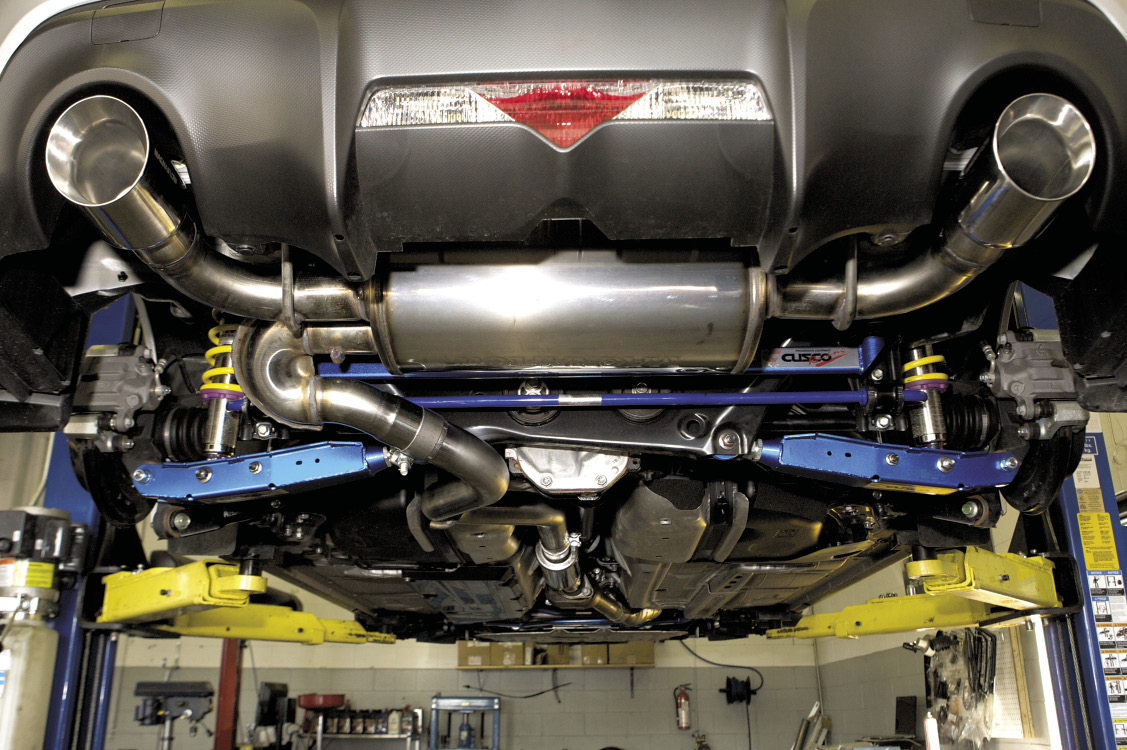
Now, moving onto the exhaust system. Safely lift the car off the ground with enough room to work underneath it. A hydraulic lift is recommended, but safely-placed jack stands on a level surface can also work.
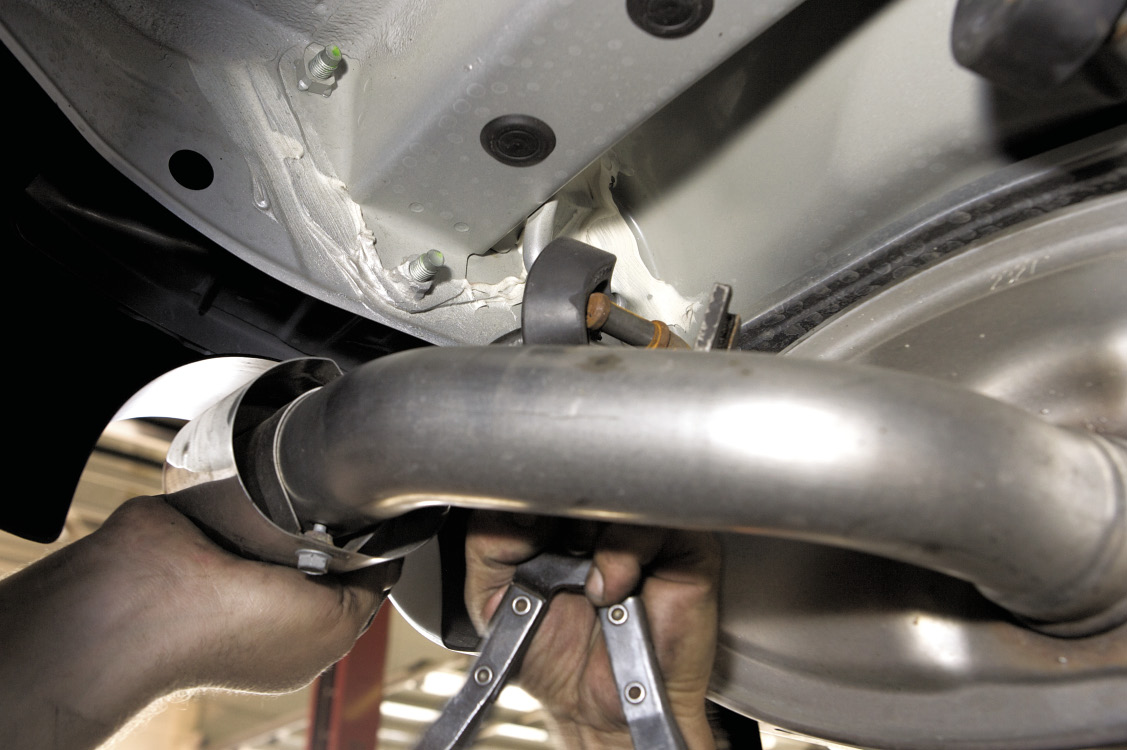
Once the car is safely off the ground, remove the bolts that join the rear muffler section of the stock exhaust to the mid-pipe. Remove the stock muffler section by sliding the exhaust system out of the rubber exhaust hangers. Make sure you have a good grip on it during removal as it is heavy.
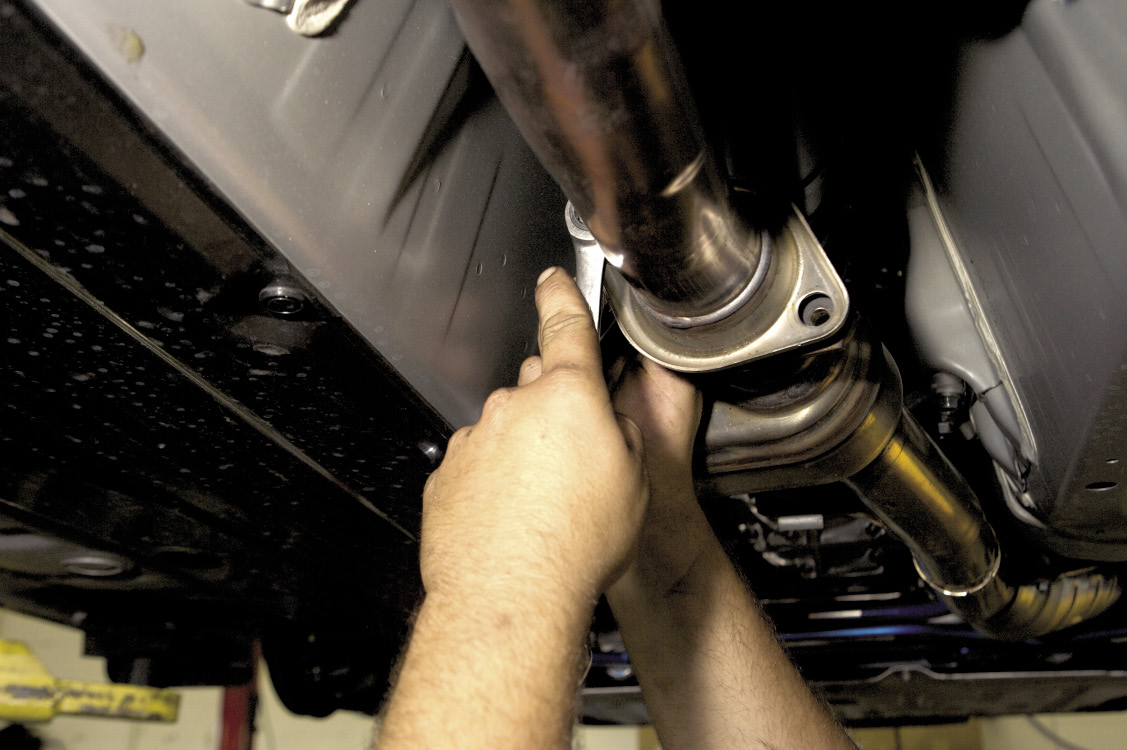
Proceed with unbolting and removing the factory mid-pipe section of the exhaust from the factory catalytic converter. With the removal of the stock exhaust system complete, now it’s time to install the new Magnaflow system.
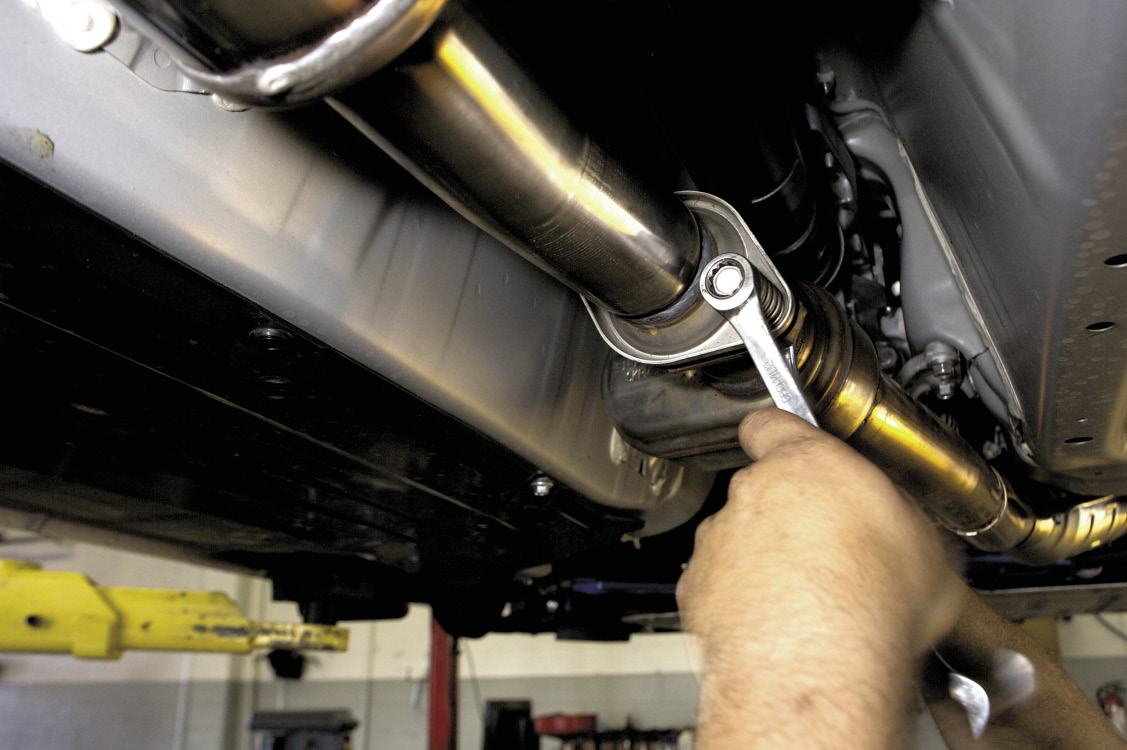
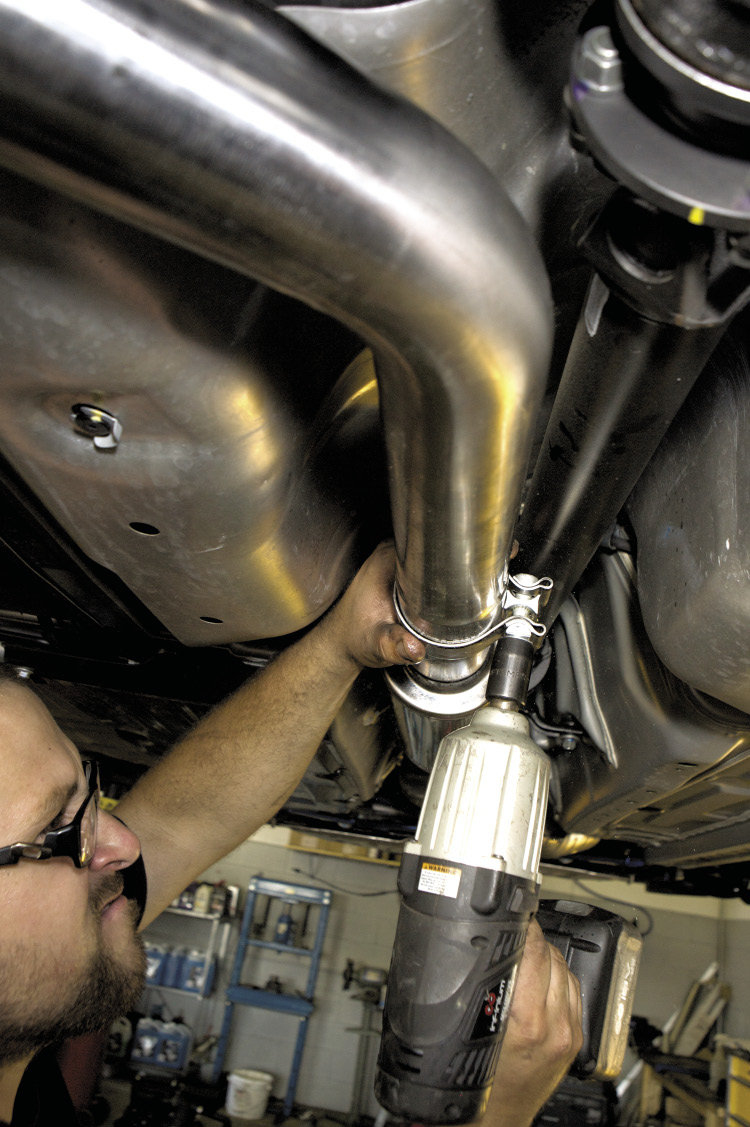
The Magnaflow cat-back exhaust system consists of three sections. Start by loosely bolting up the forward-most section (resonator) to the factory catalytic converter using the new supplied gasket. Next, slide the new mid-pipe into the rubber exhaust hanger and loosely attach it to the forward resonator section with the provided clamp.
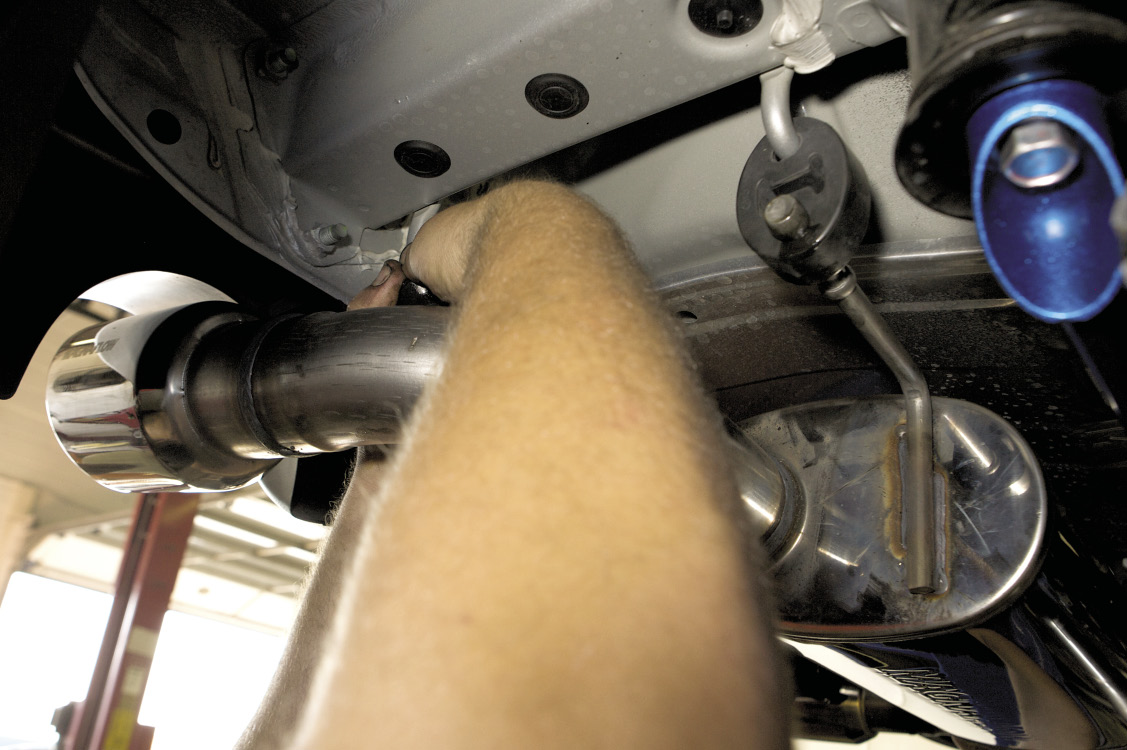
Finish by installing the new Magnaflow muffler section onto the car by sliding the exhaust into the hangars and loosely attaching it to the mid-pipe with the provided clamp. Once finished, tighten all bolts and clamps, reconnect the battery and enjoy the upgraded sounds and performance of your Boxer engine!
Sources:
Johnston Research & Performance (JRP) – jrponline.com
NV Auto – nvauto.ca
Scion Canada – scion.ca
KW Suspension – kw-suspension.com
CUSCO U.S.A. – cuscousainc.com
Whiteline – whiteline.com.au
Ingalls Engineering – ingallseng.com
Yokohama Tire – yokohama.ca
Injen Technology – injen.com
Magnaflow – magnaflow.com