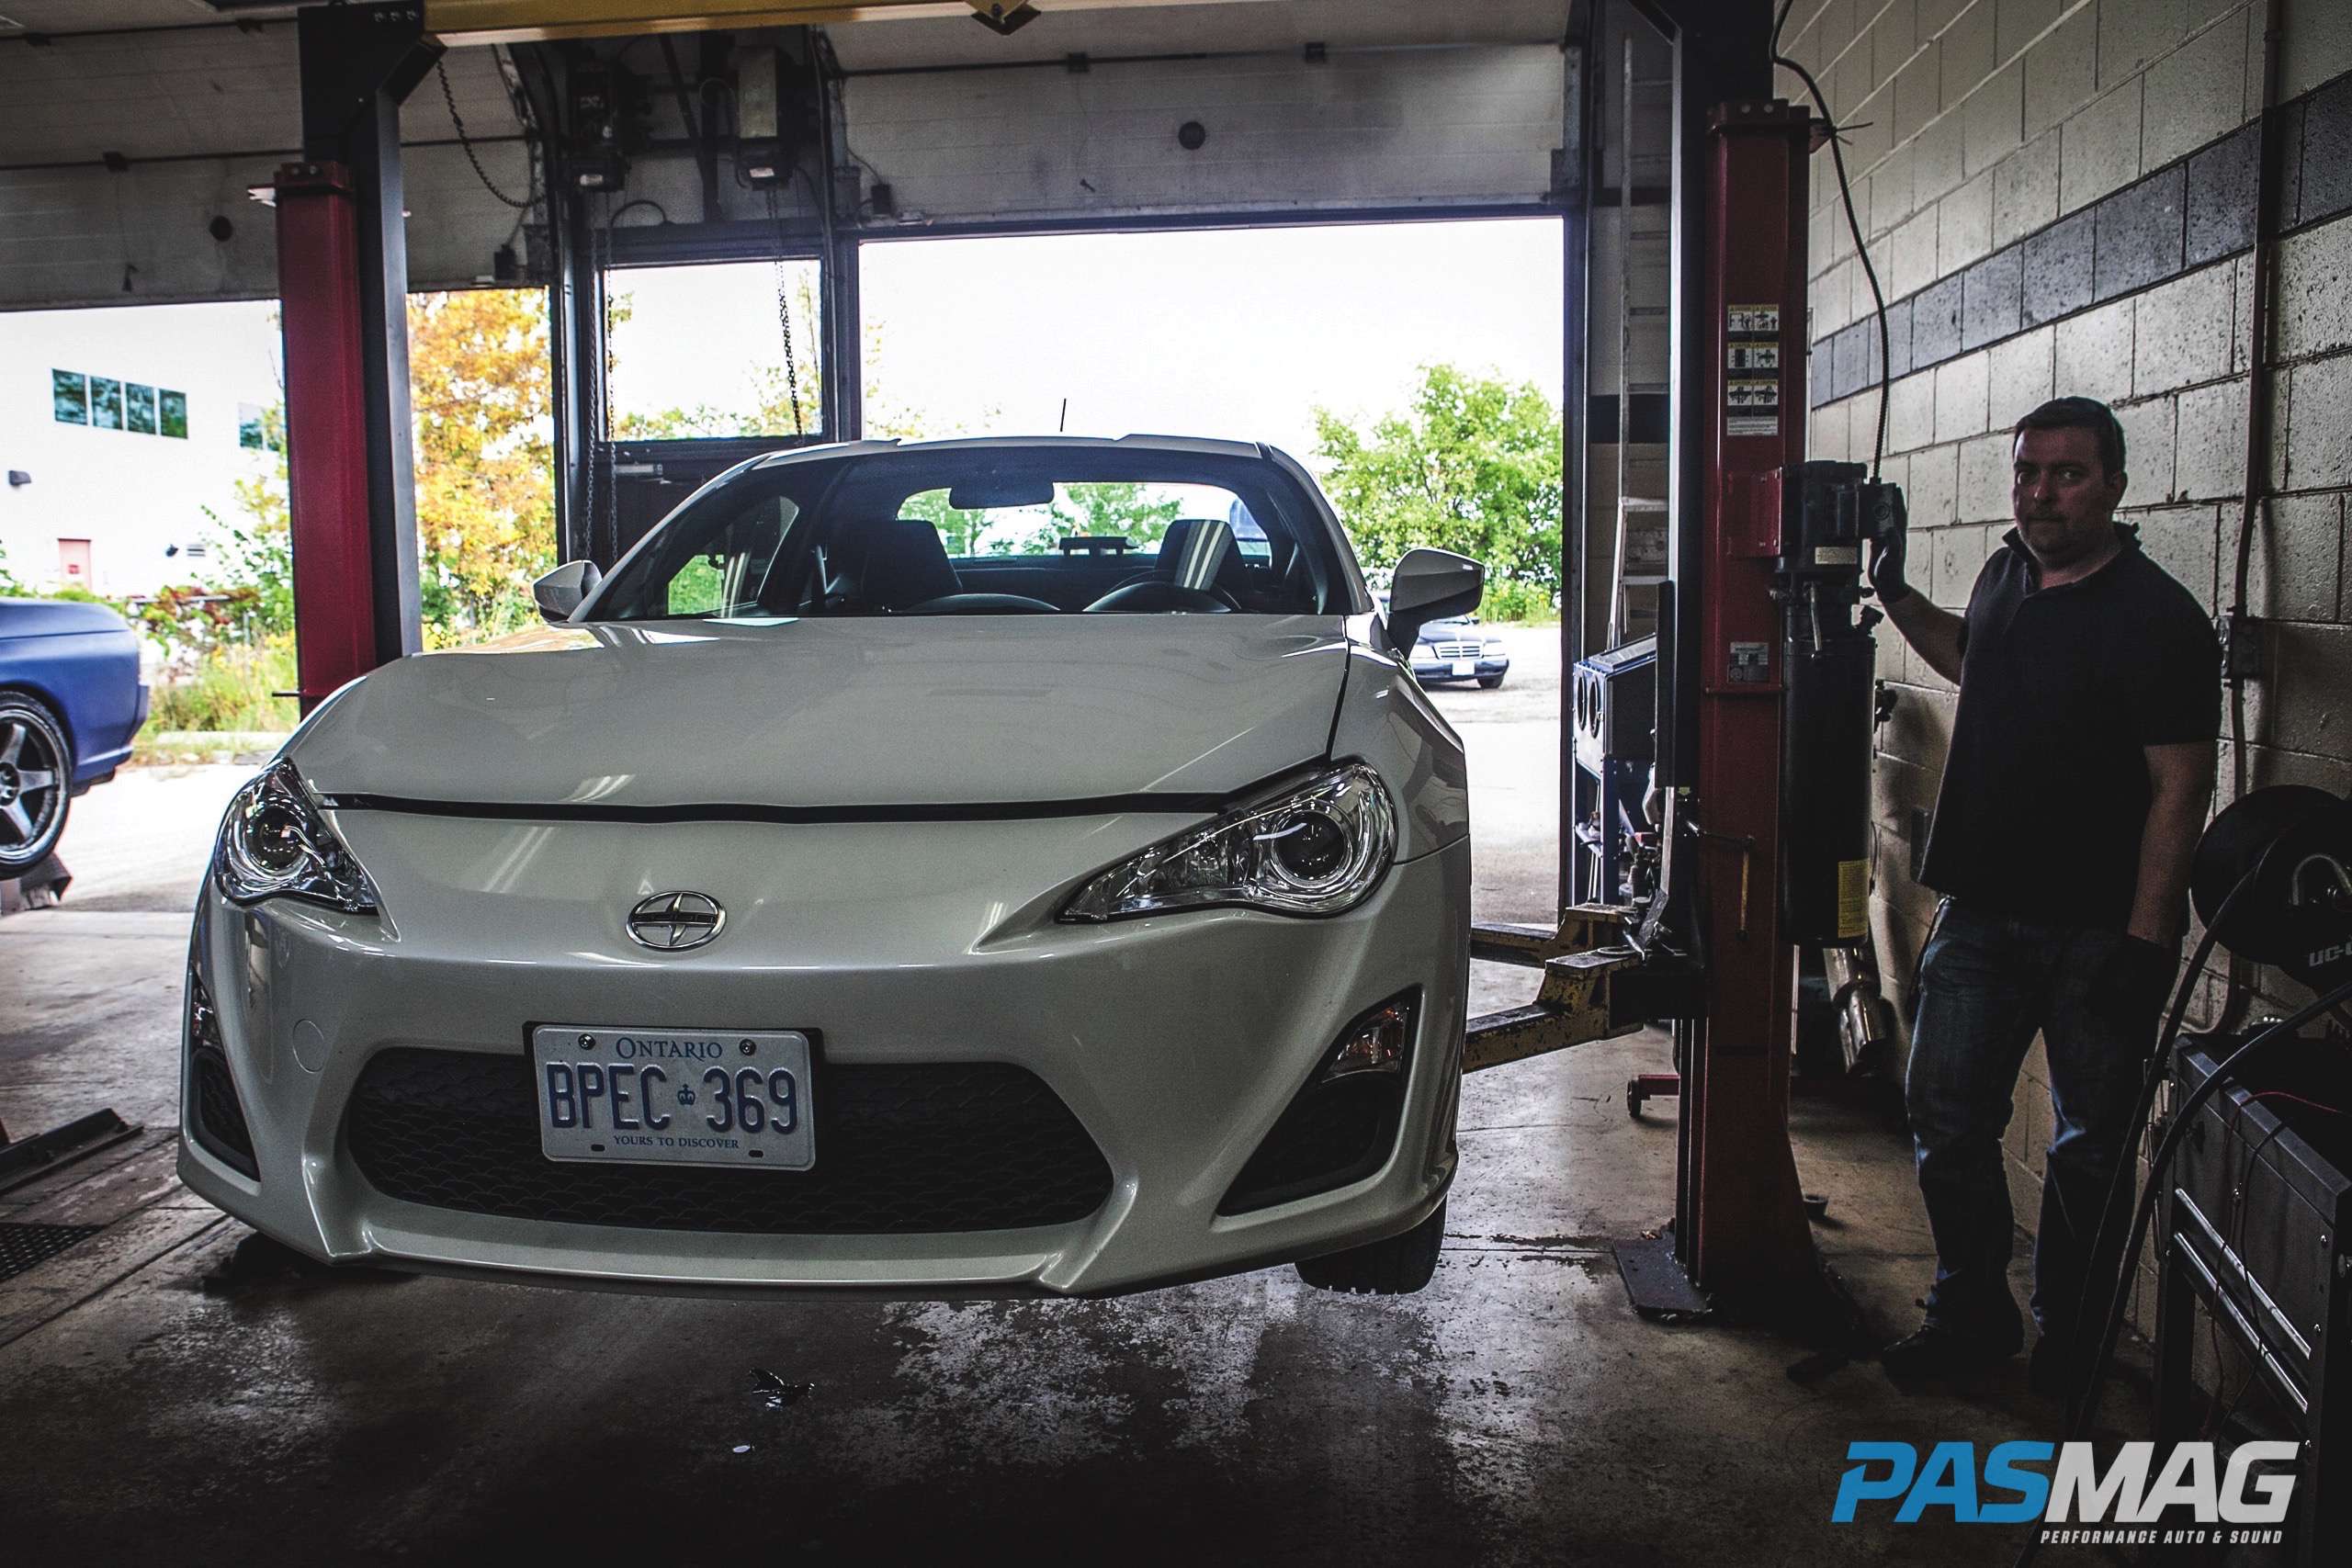
The Scion FR-S offers a true sportscar experience at a very affordable price point and is complimented by aggressive styling. For those looking to enhance and tighten up the handling of this coupe, there are a variety of aftermarket options available. One such company is NEO Motorsport, which offers a complete coil-over suspension kit. NEO’s passion and motorsport experience ensures that all of its products are tried, tested and true, both for track use and daily commuting. The following is a step-by-step guide for installing this fully-adjustable (ride height and dampening) suspension system on the FR-S.
1. Lift vehicle
Prepare vehicle for lifting, ensuring the car is positioned for the hoist. If the car is too low for the hoist arms, raise the back end with a jack.
2. Remove wheels
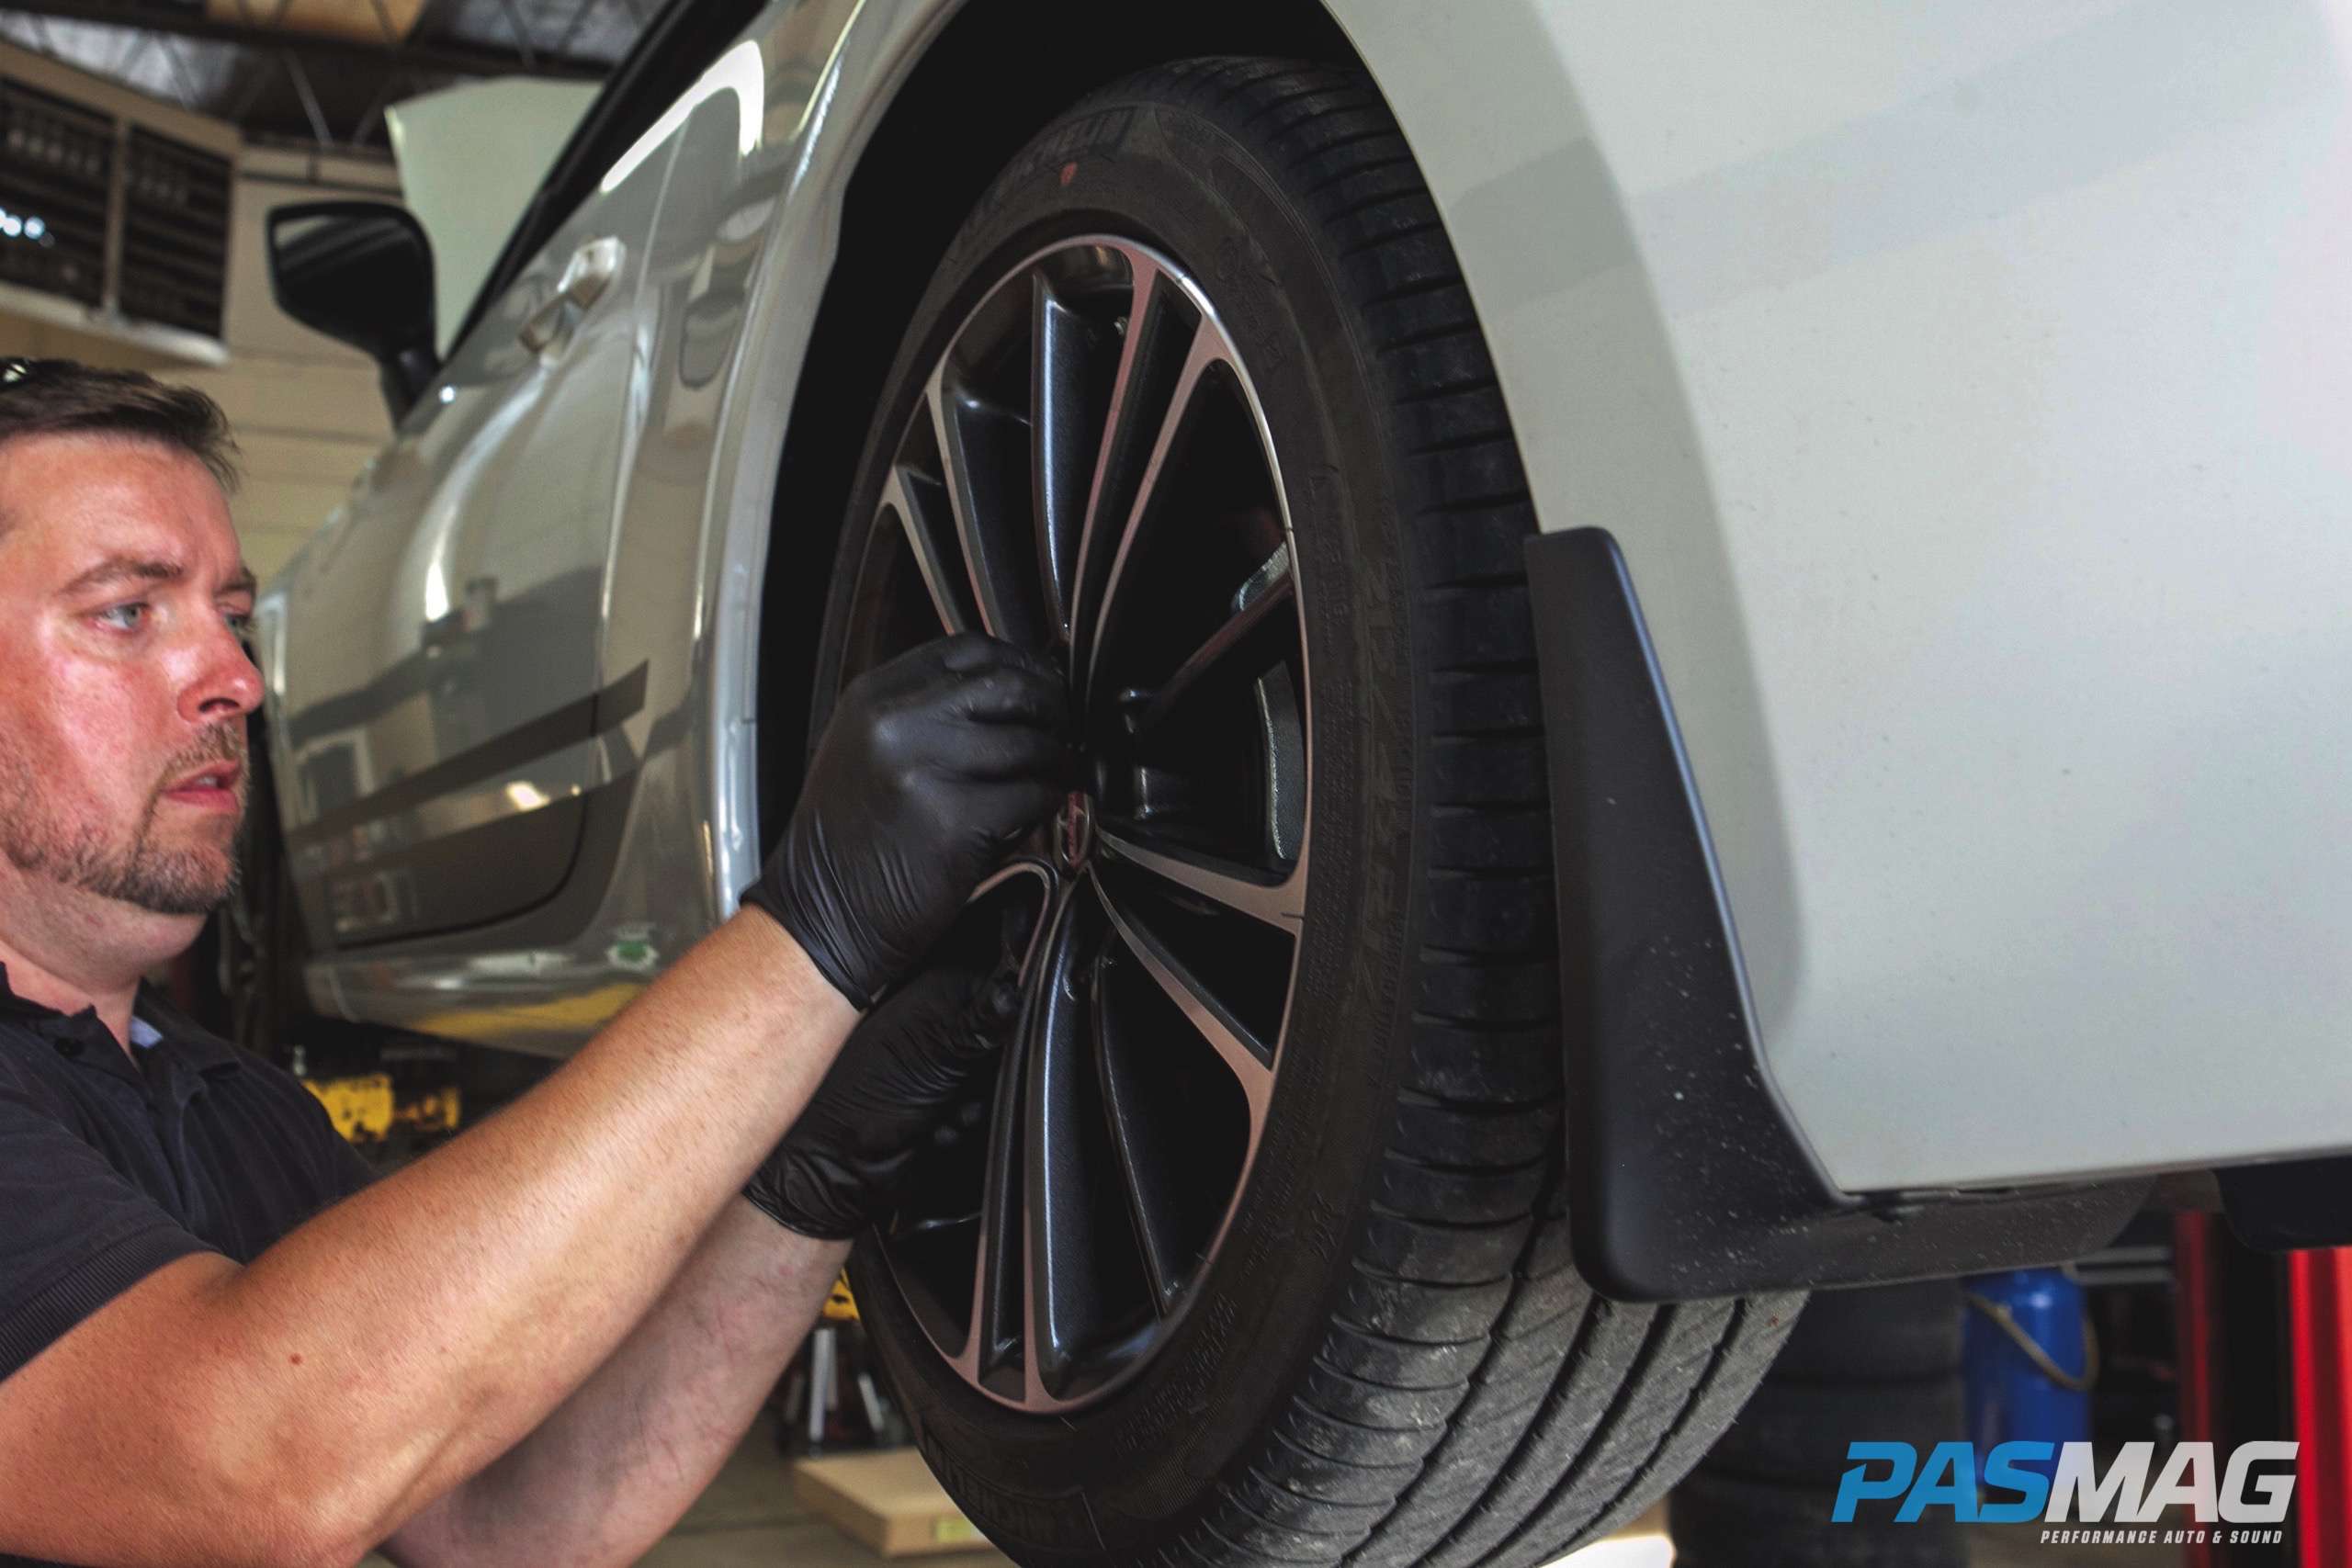
Loosen the lug nuts and remove the wheel, keeping it nearby.
 |
 |
3. Remove front suspension
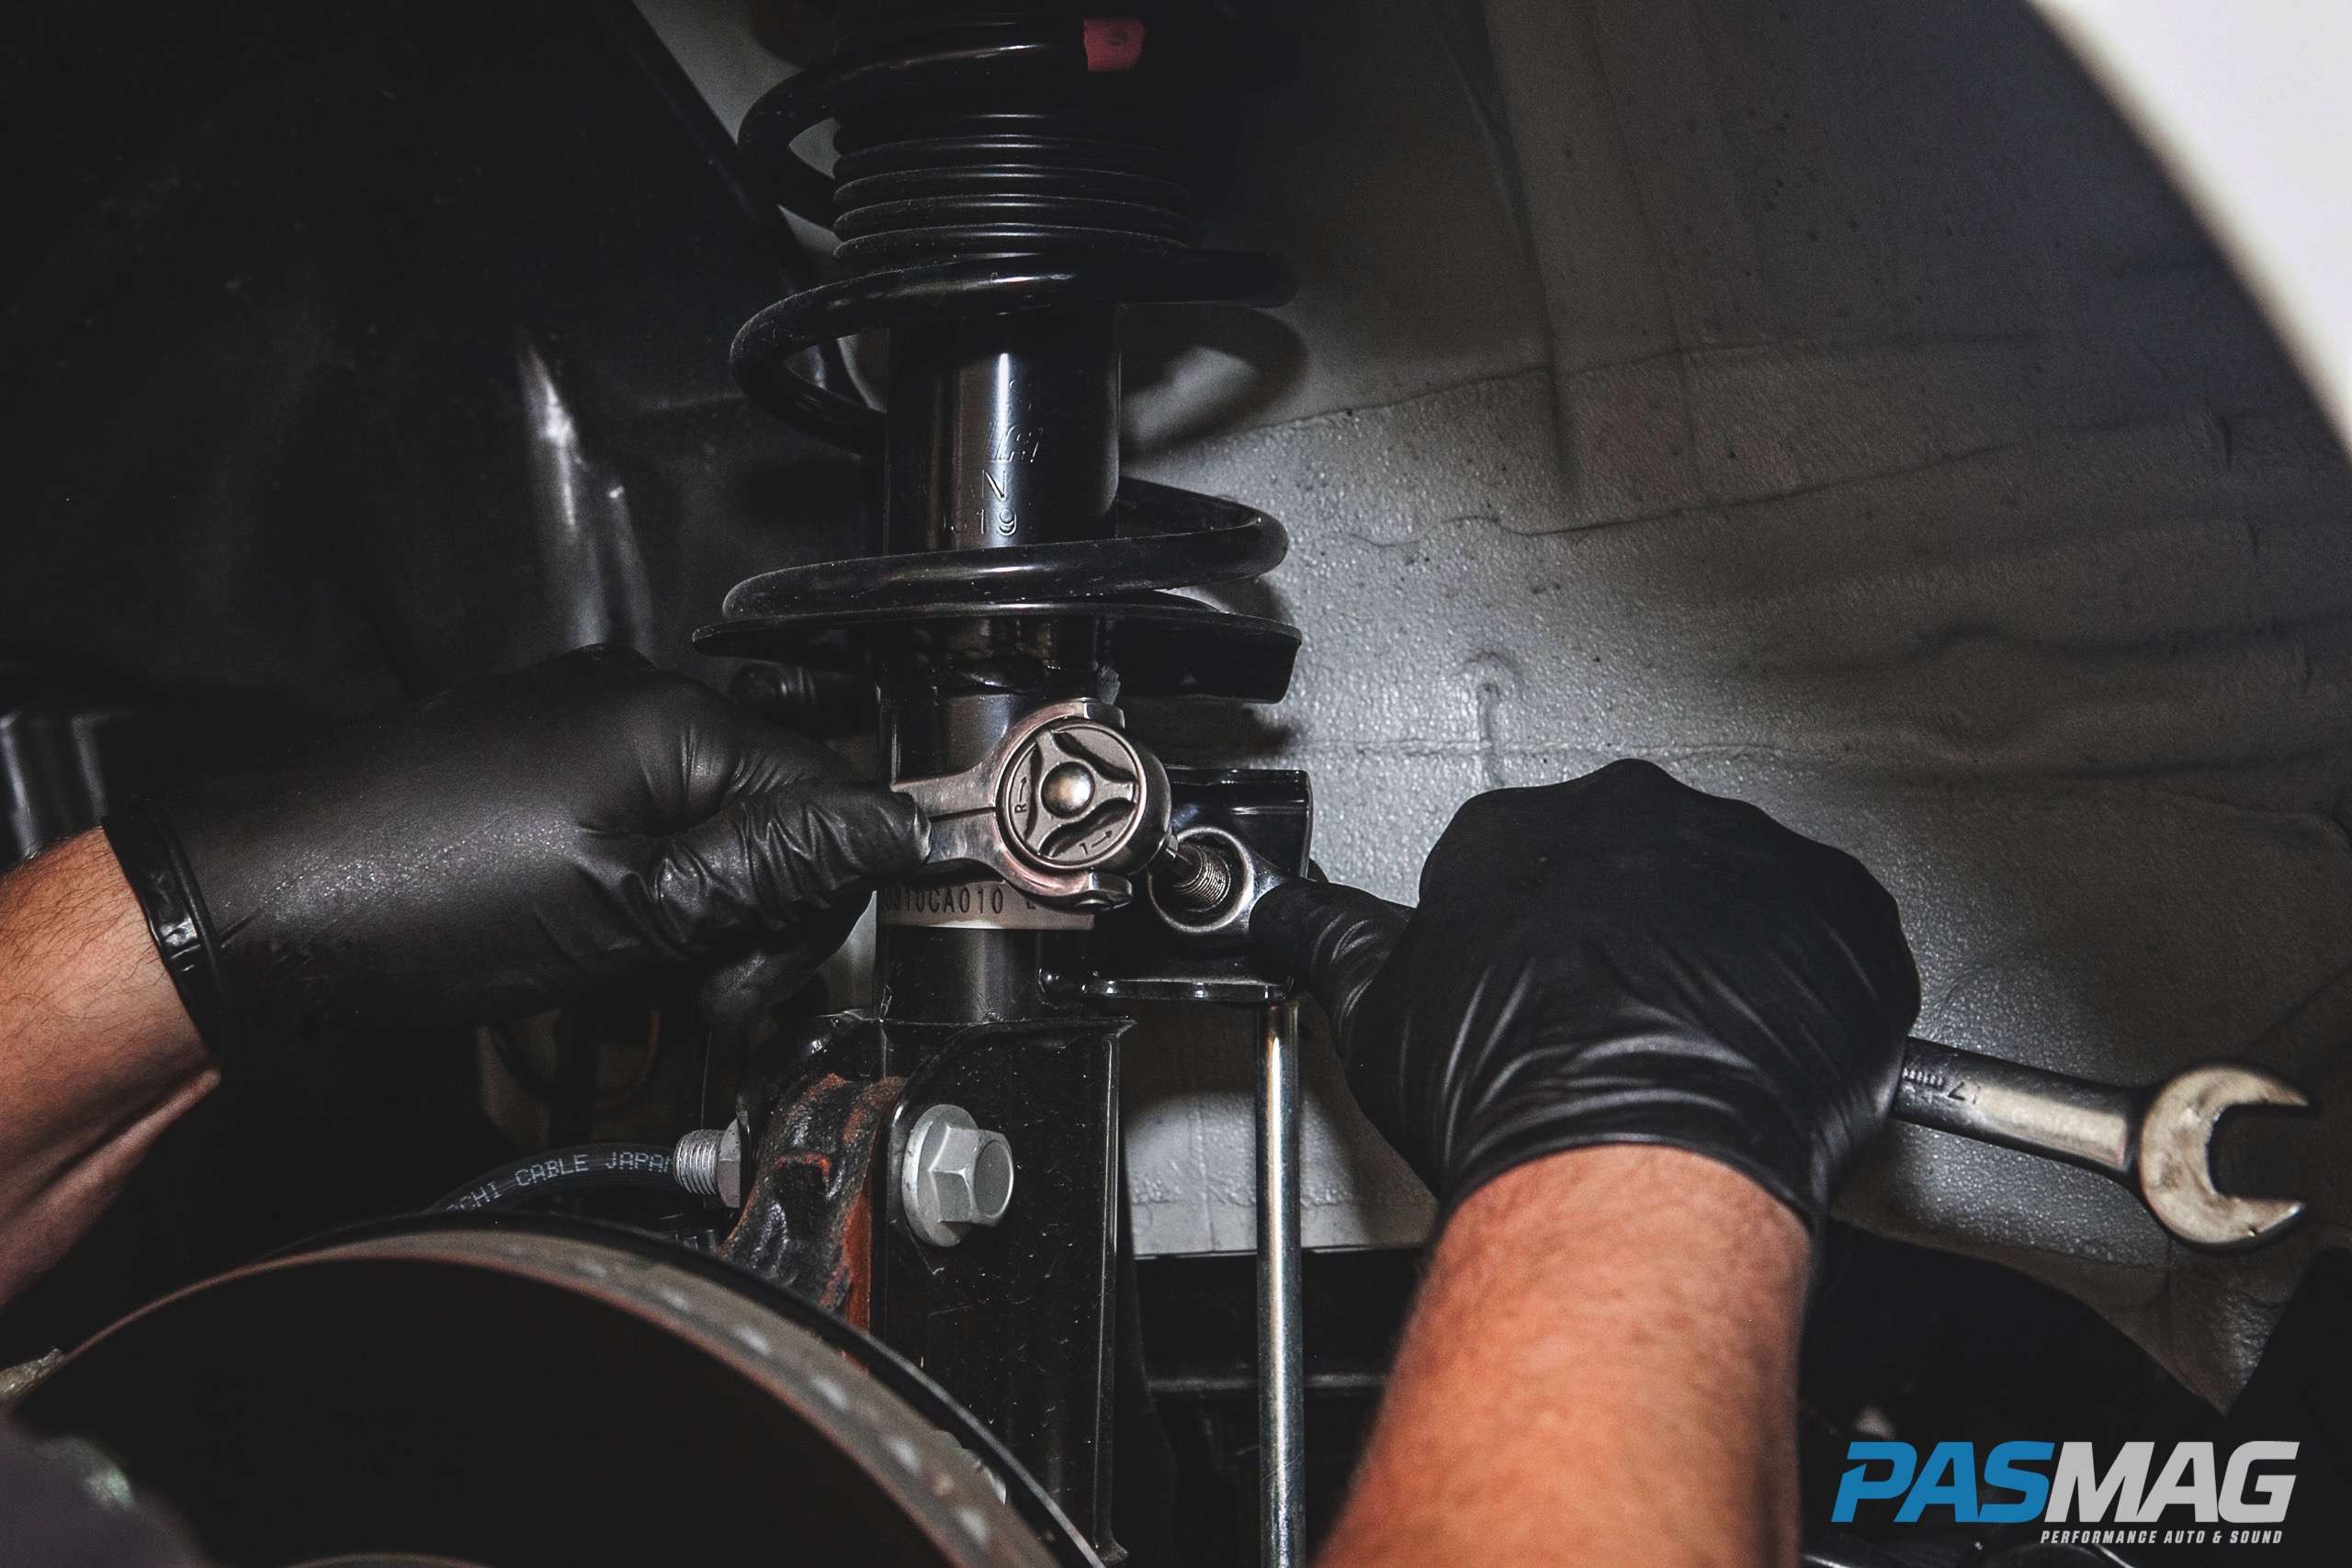
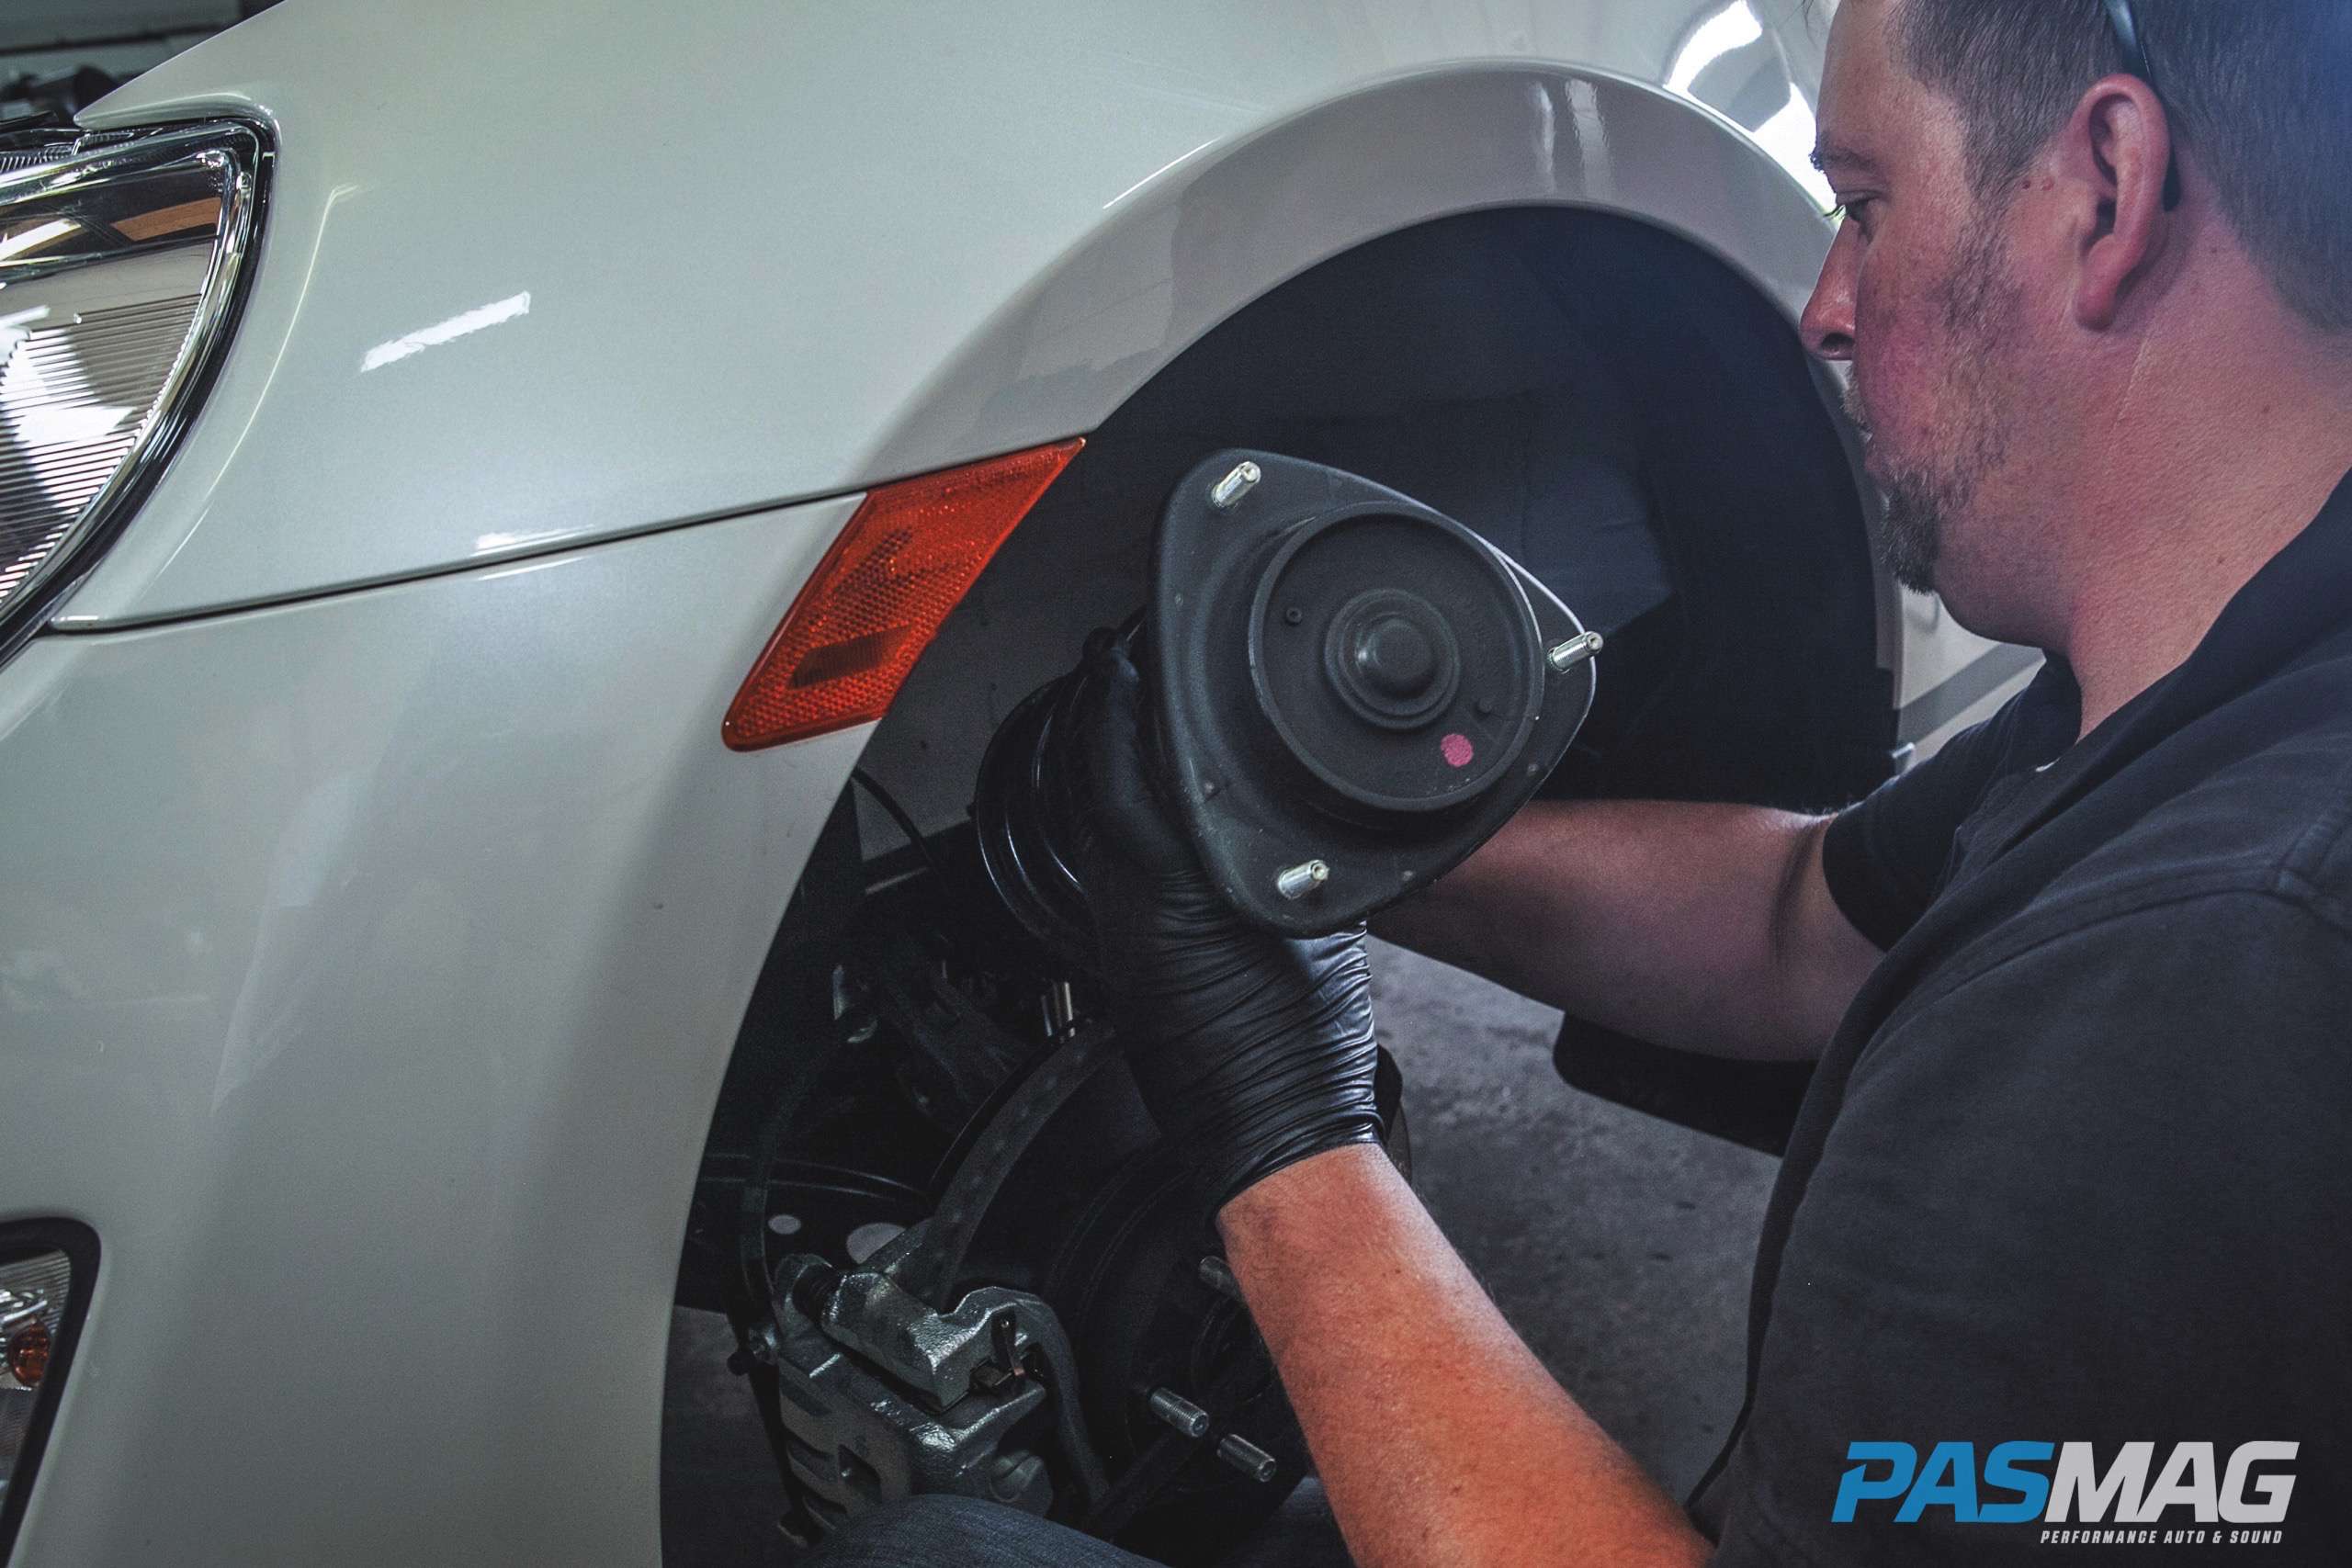
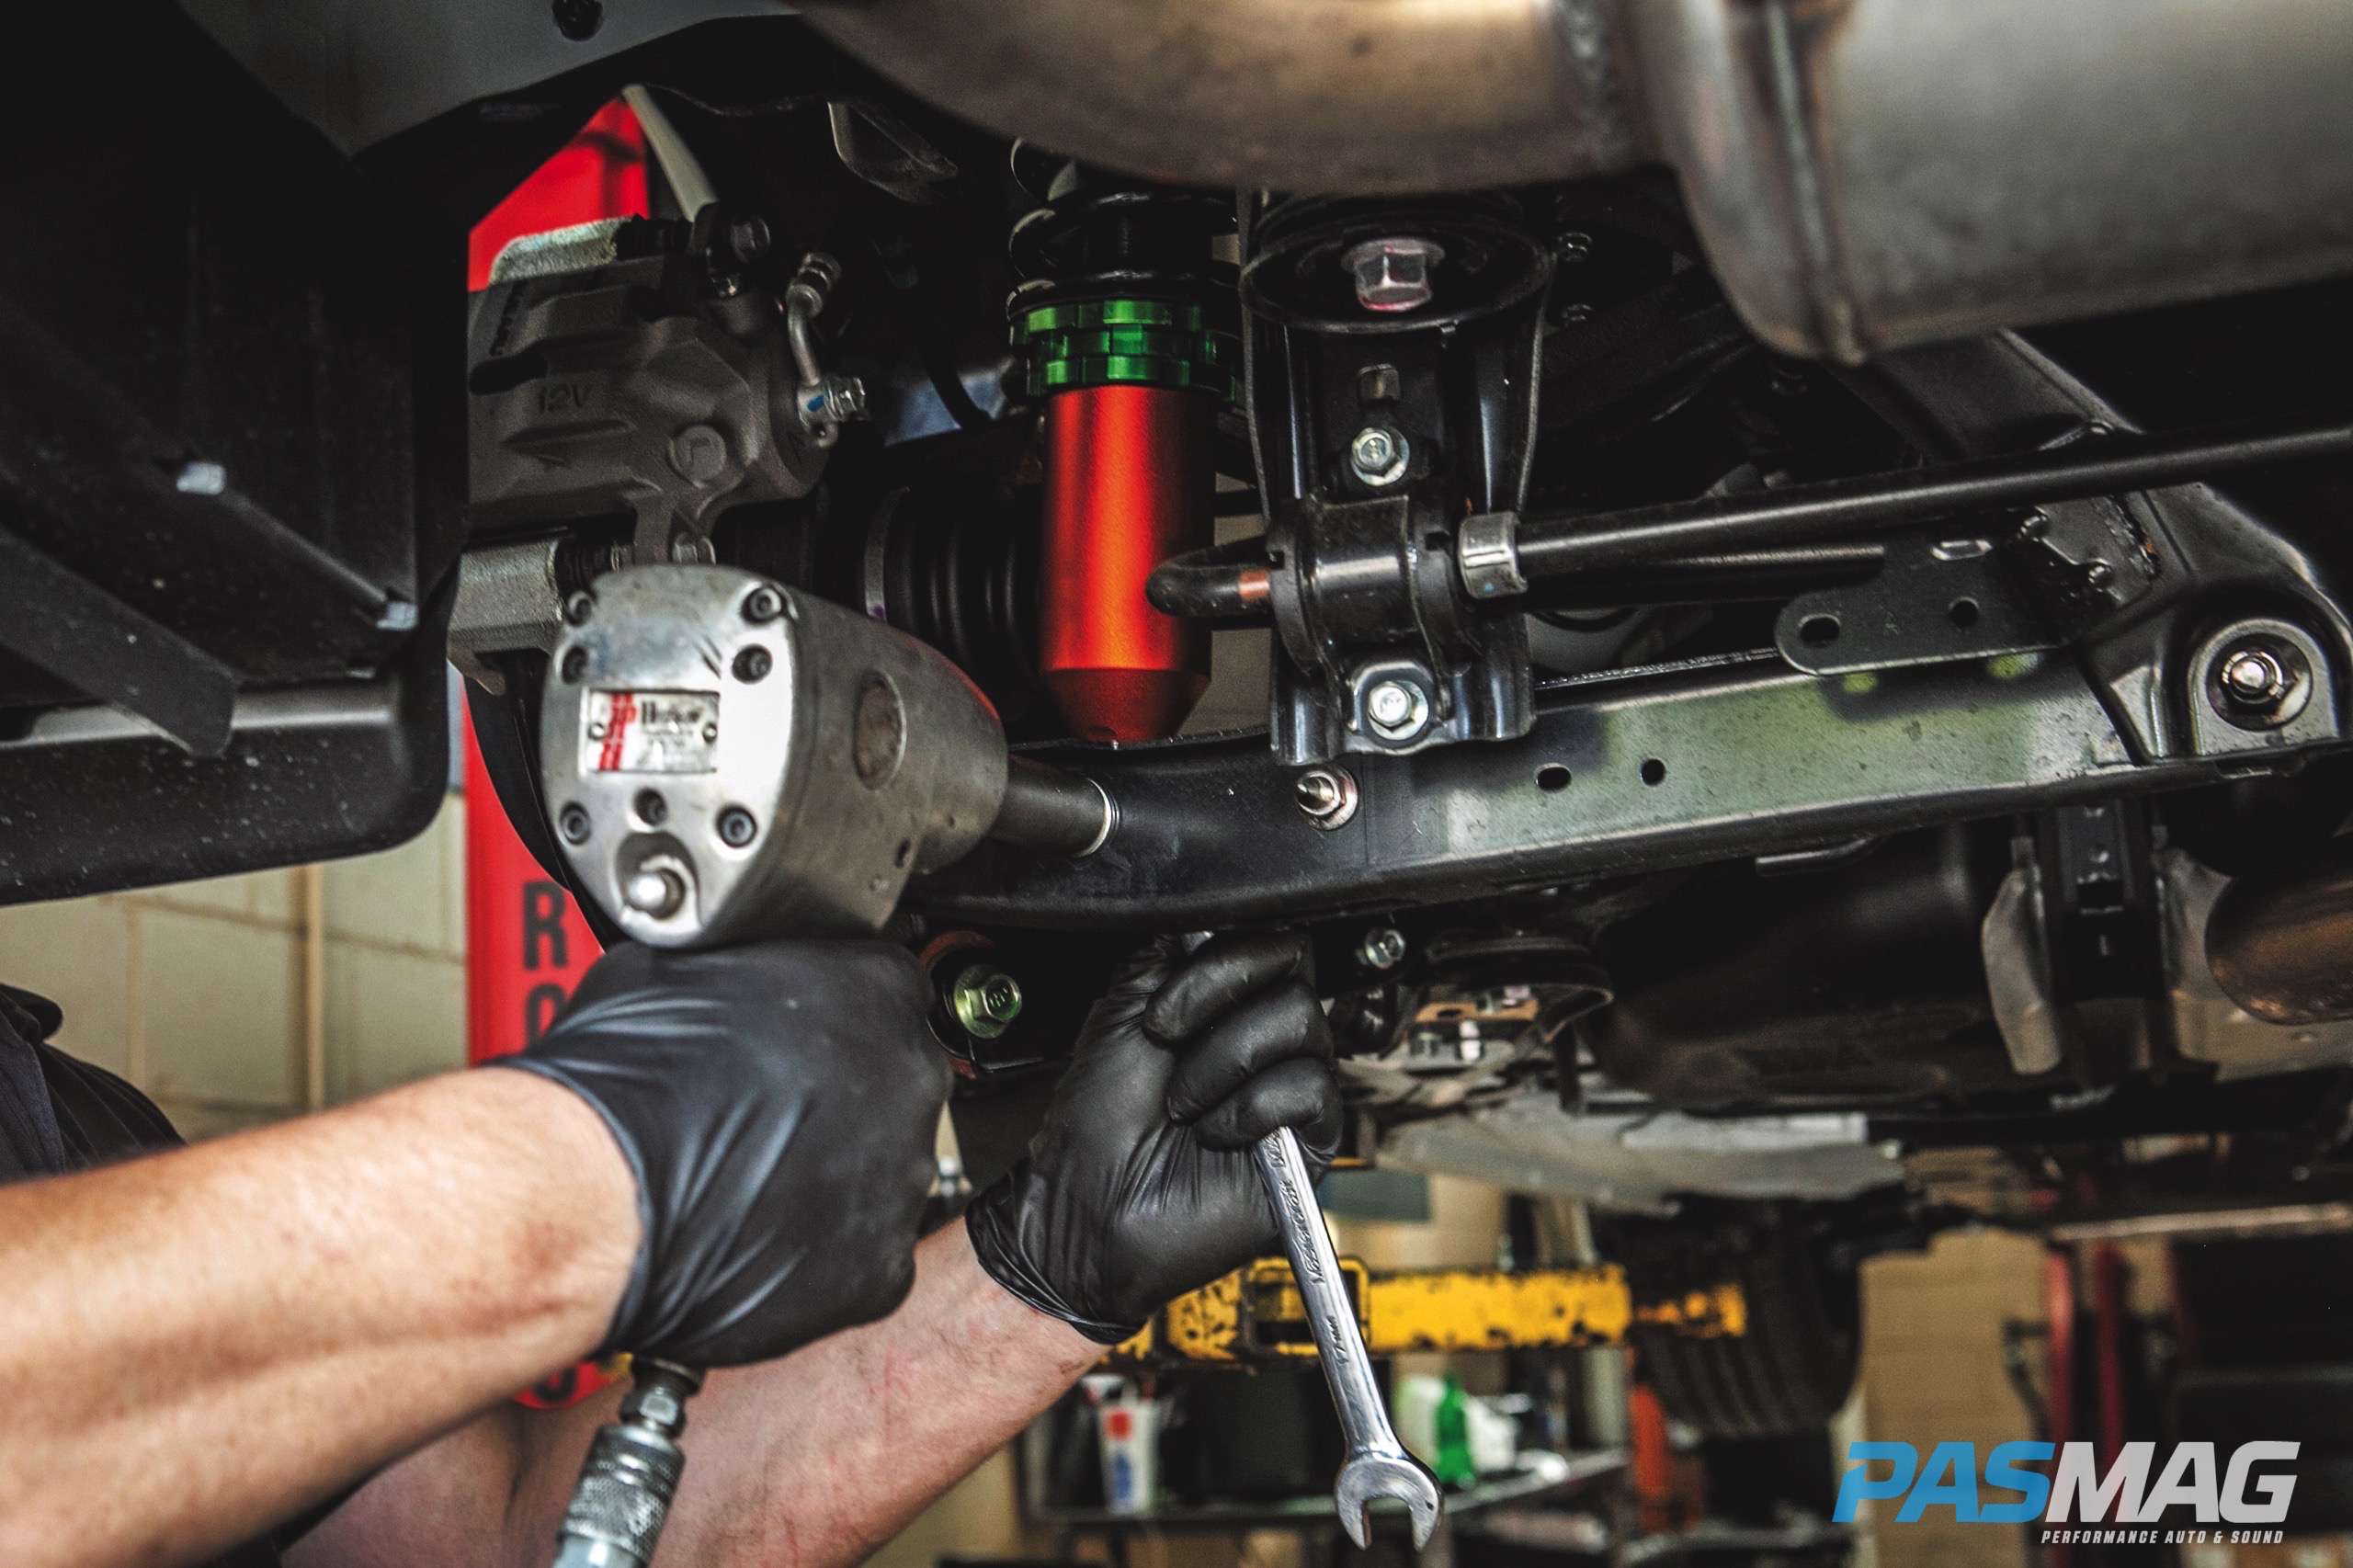
The next step involves removing the factory front suspension. Remove the nuts that secure the front sway bar links using a 17 mm socket. Remove the brake line bracket bolt with a 12 mm socket and pry off the ABS wire clip from the bracket. Remove the two lower strut bolts with a 19 mm socket and wrench. Remove the three bolts on the upper strut tower using a 12mm socket. Wiggle the suspension until it comes off the car.
 |
 |
4. Remove rear suspension
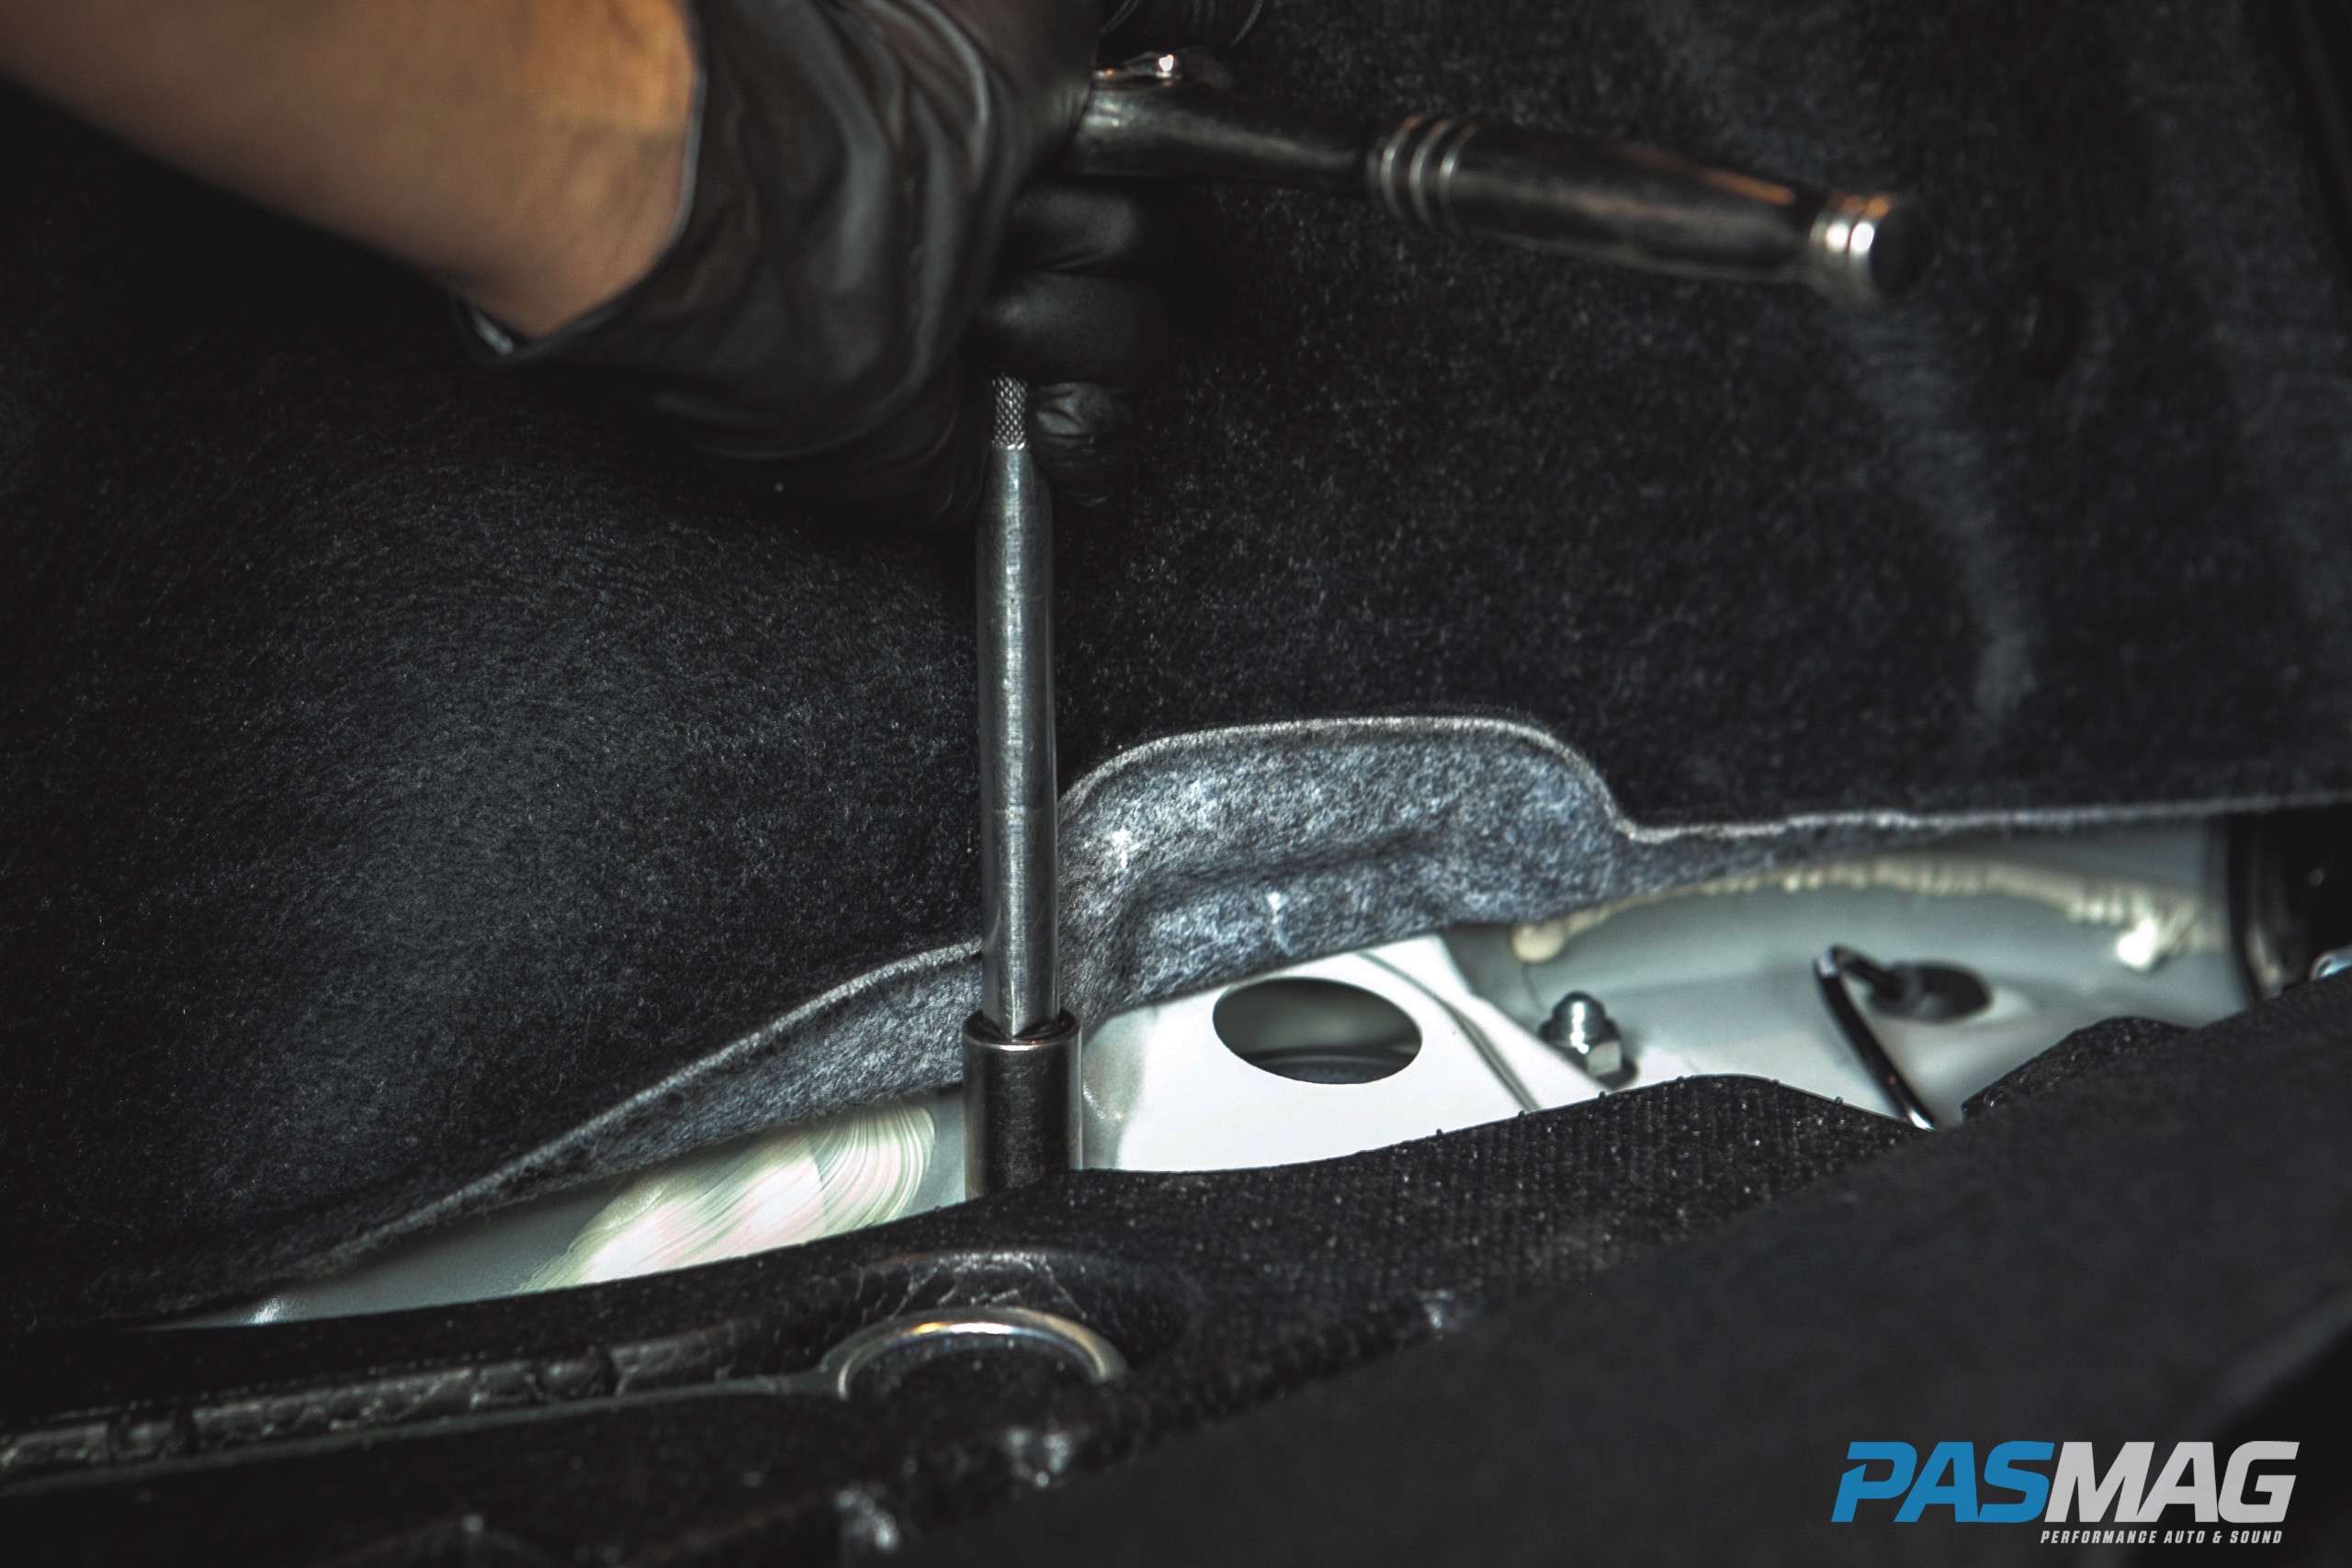
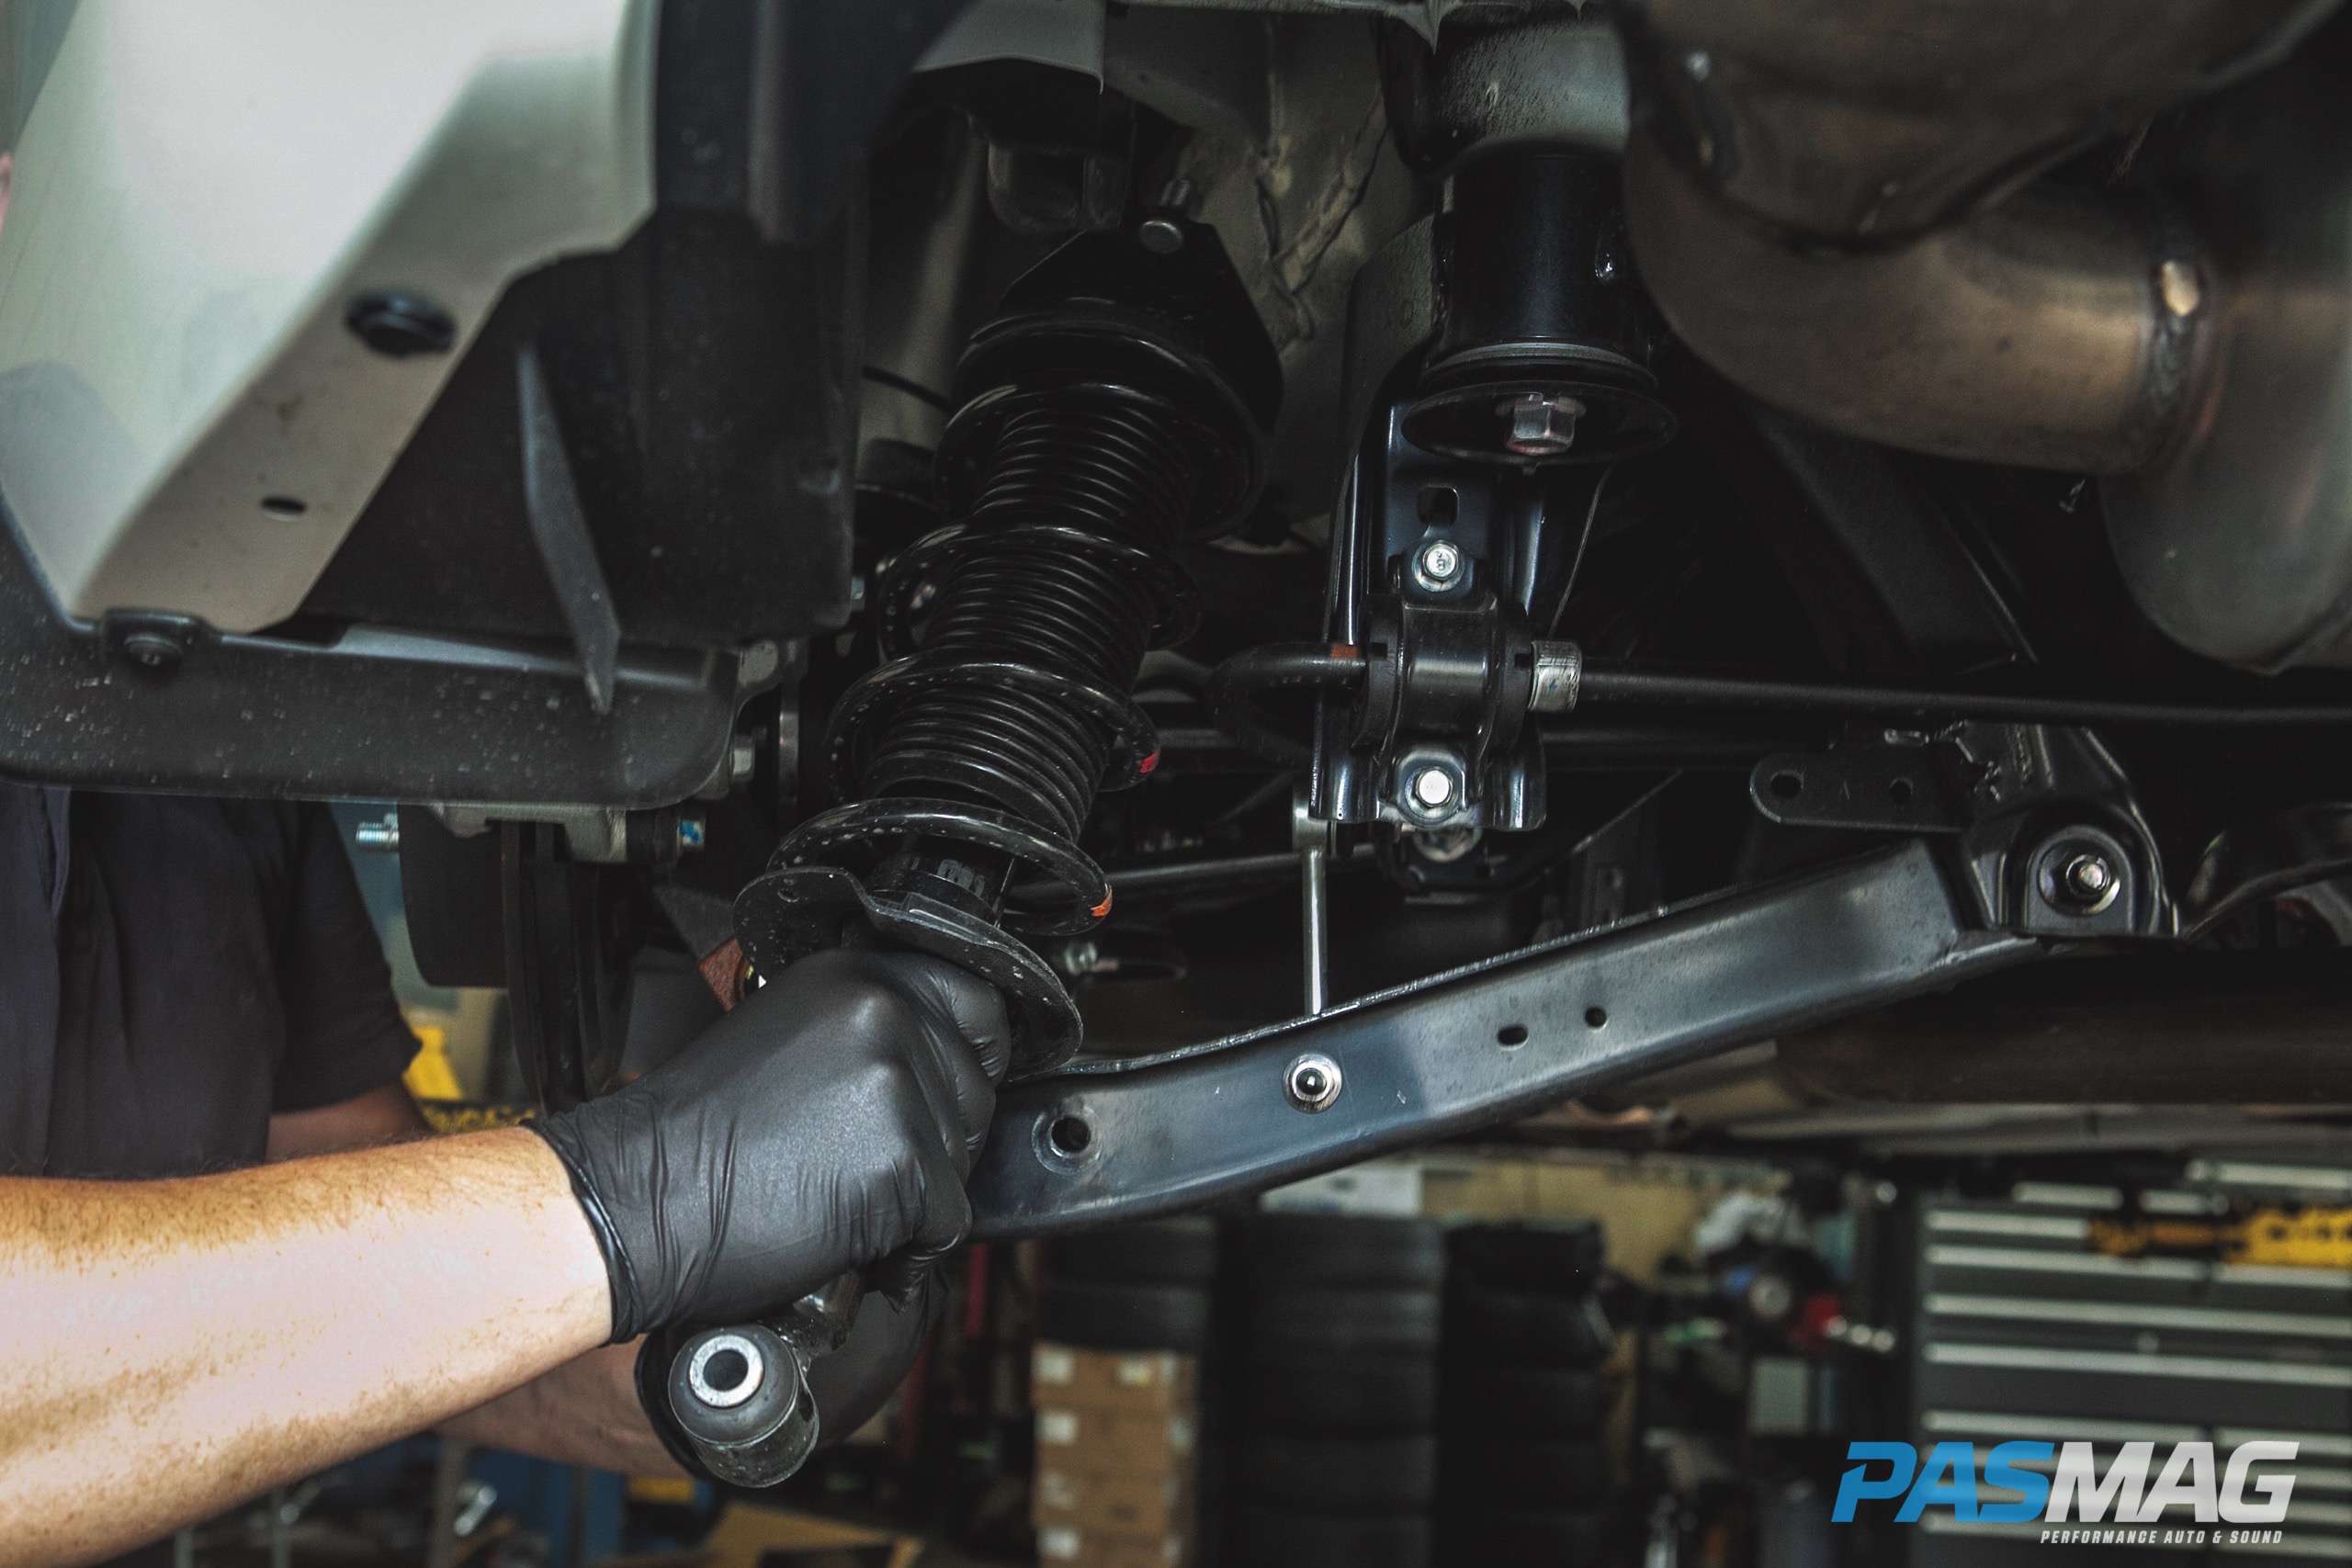
A similar process is needed to remove the rear factory suspension. Remove the carpet in trunk area as well as the Styrofoam tool tray. Remove the three bolts from the control arm and only loosen the inner control arm. Use a 14 mm socket wrench for the stabilizer link and a 17 mm socket wrench for the shock / lower control arm bolt. Inside the trunk, loosen the two upper shock mounting nuts at the strut tower with a 14 mm socket. Once the suspension pieces are accessible, wiggle them out until they come off the car.
5. Prep for install
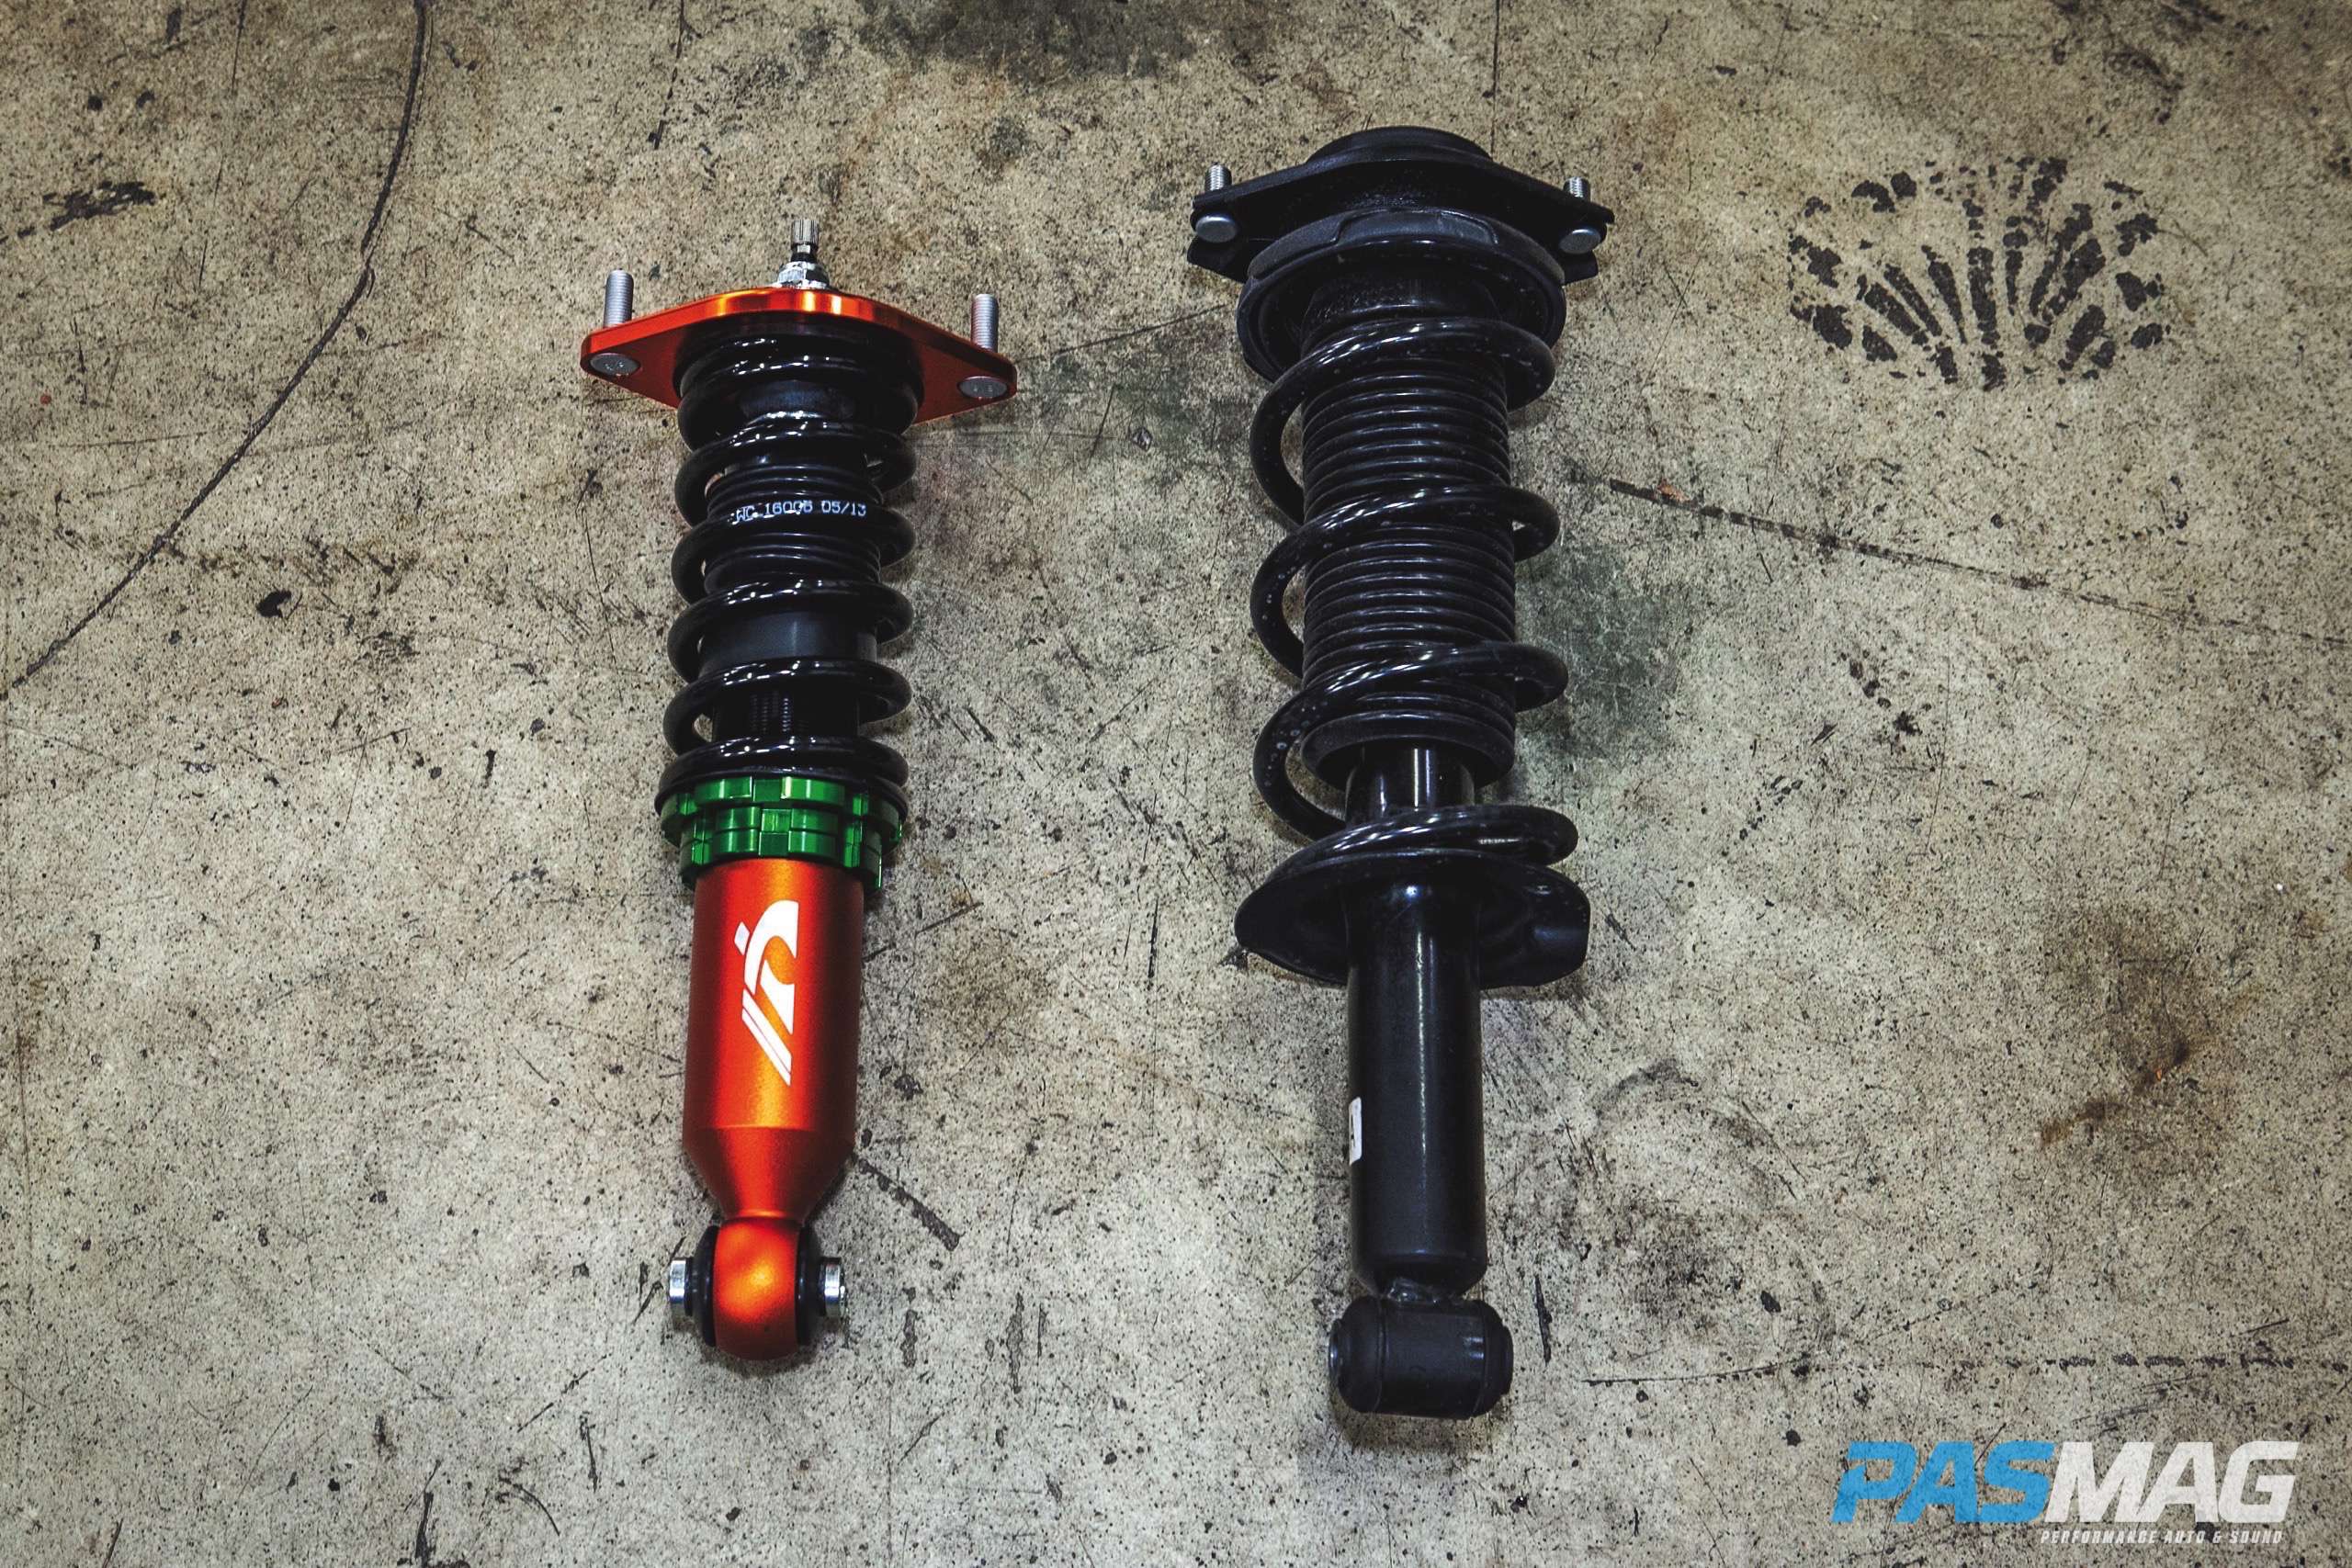
Next, prepare the new suspension for install. Com- pare the new NEO Motorsport coil-over suspension to the factory units and measure the shock collar to ensure that the spring perch and locking ring distances are even on all shocks.
 |
 |
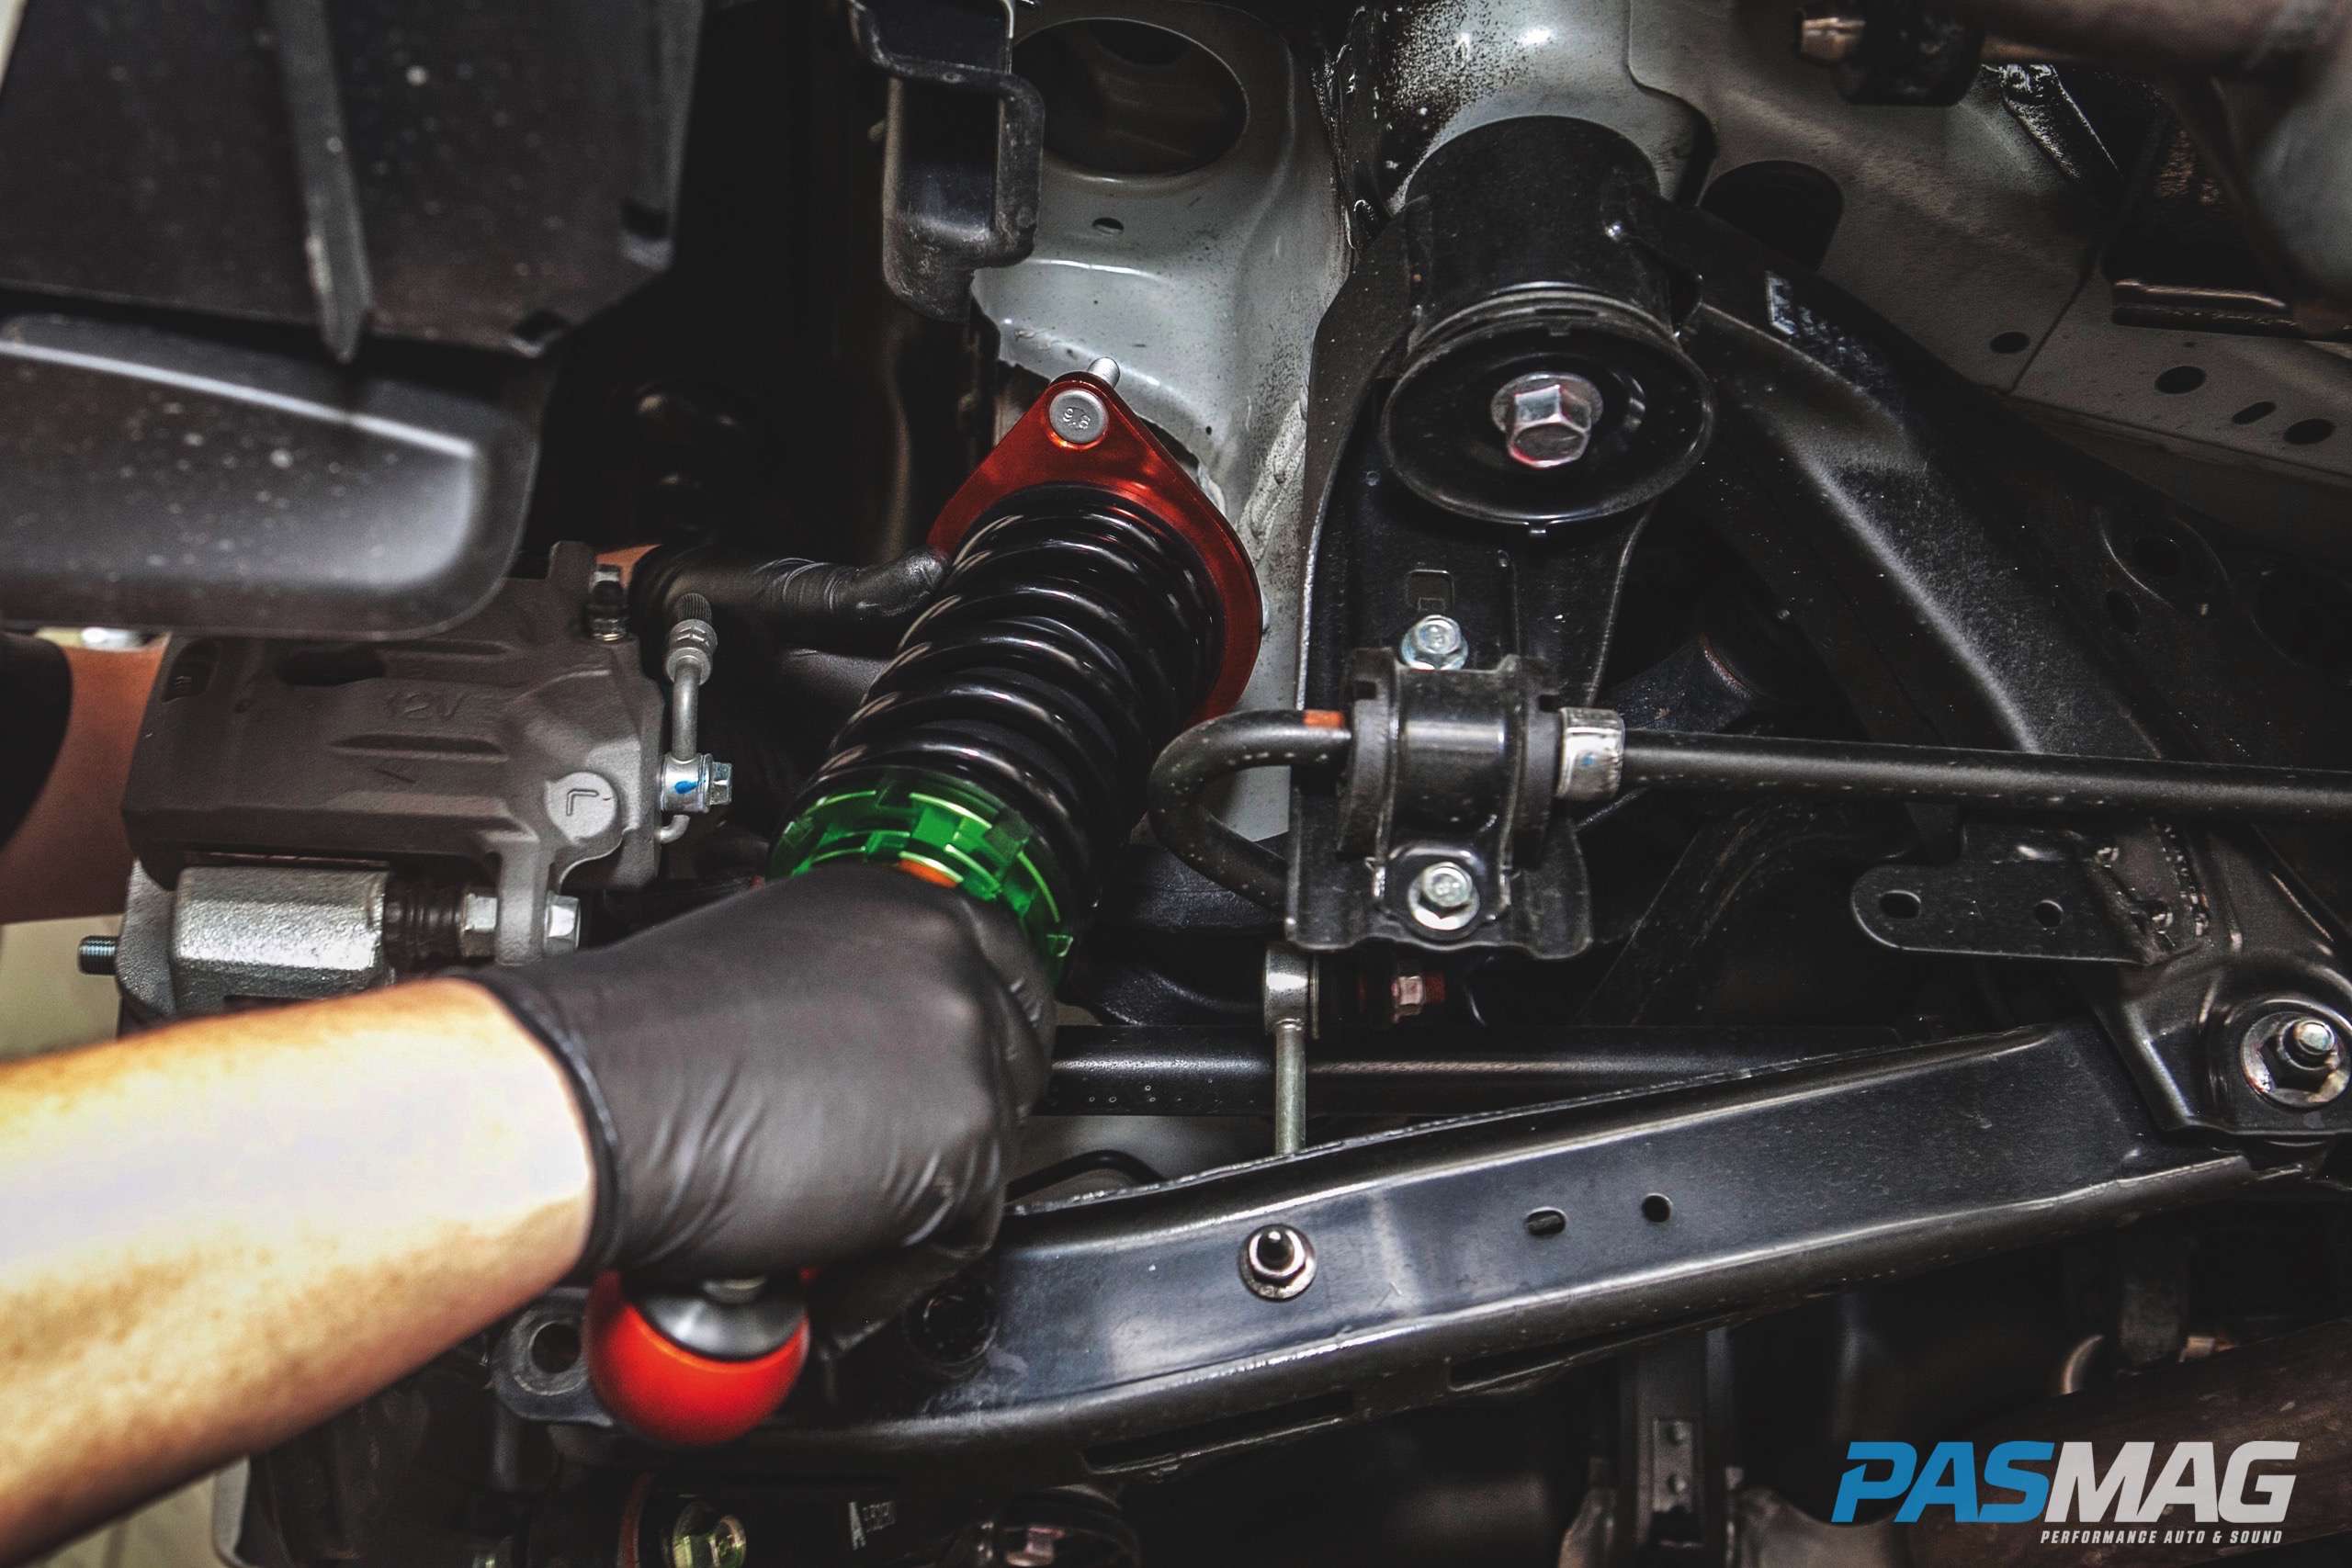
6. Install coil-overs
Install the new coil-overs in the same fashion that the factory suspension was removed. Insert the top into the strut tower first, then attach the bottom to the suspension mounting points.
7. Adjust ride height
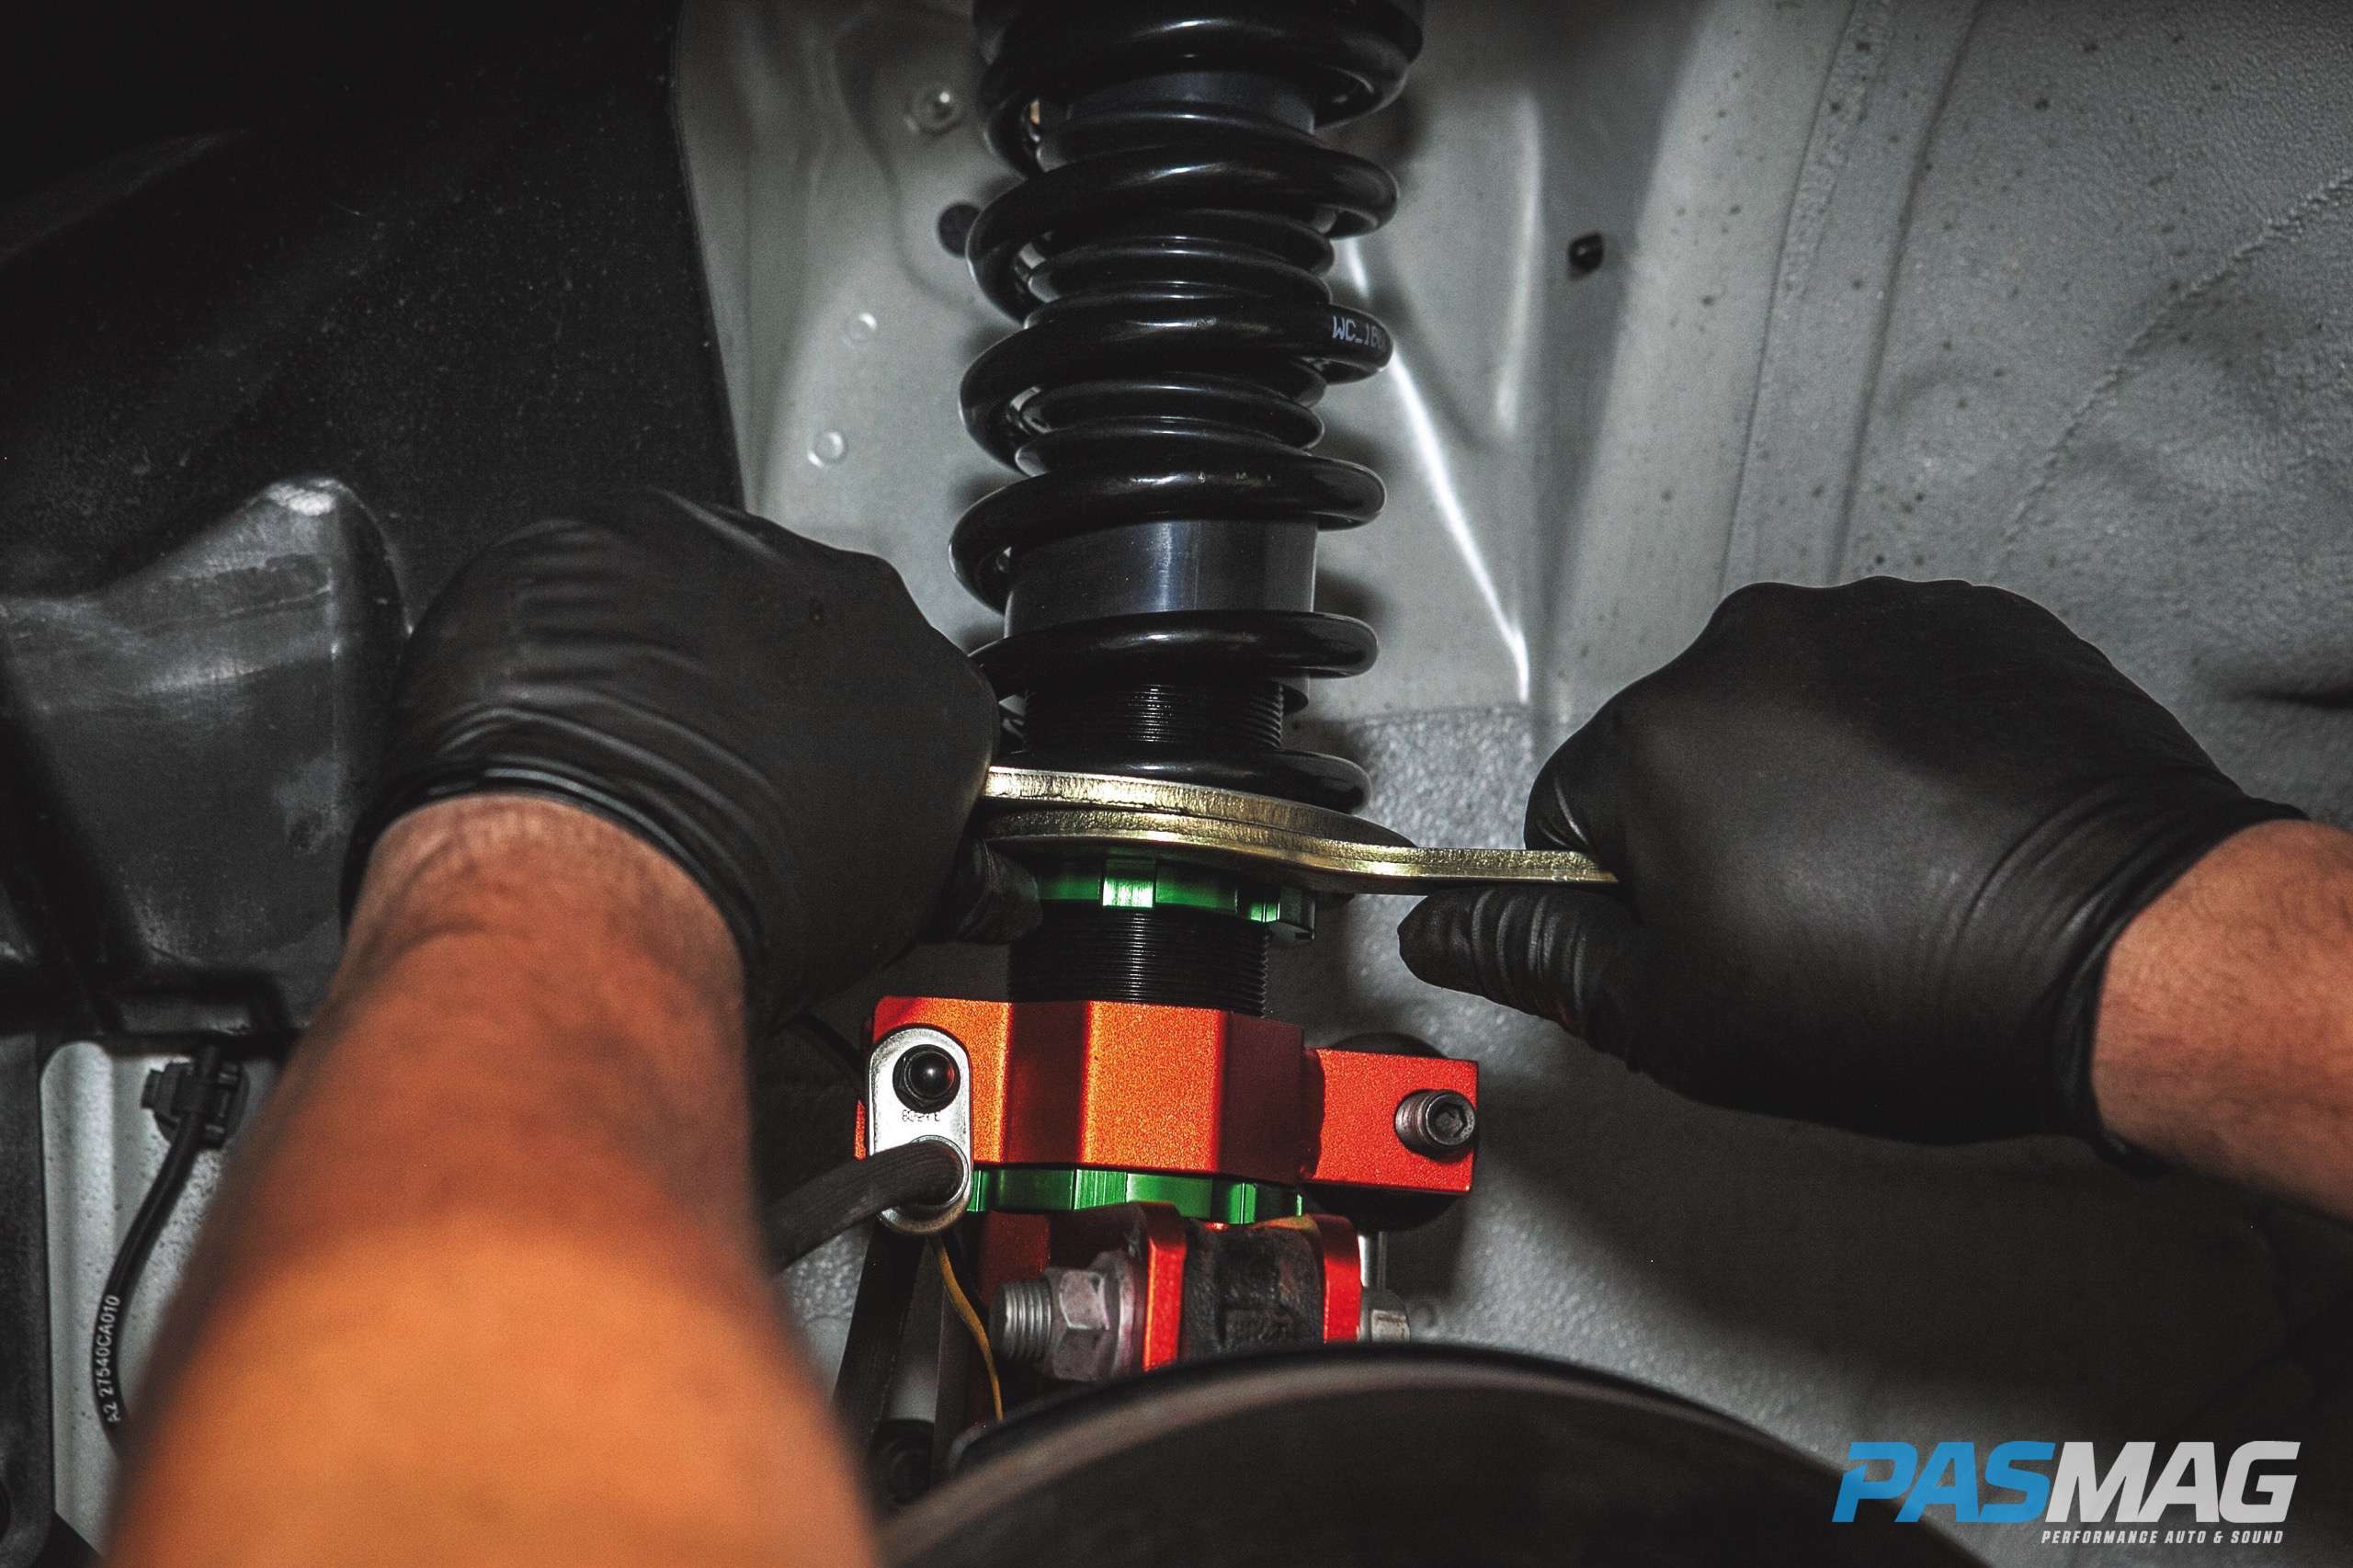
Once the installation process is complete, the suspension needs to be adjusted. Adjust the ride height with sprocket keys. Each key locks onto a ring on the shock and turns in the opposite direction.
8. Install wheels
Once all adjustments have been made, the wheels can be reinstalled. Place the wheels back on the vehicle and hand-tighten each lug nut. Next, tighten all lug nuts with an air tool (if available).
9. Properly torque lug nuts
Once all wheels are on and the lug nuts are tight, the vehicle can be lowered from the hoist or jack stands. At this stage, the lug nuts should be tightened with a torque wrench.
NOTE: Ensure the lug nuts are tightened to the proper PSI measurement as per factory specifications. a full alignment is necessary when the suspension install is complete. Before driving, make sure to check for wheel clearance. Drive for a few minutes with windows down and listen for any unusual noises. Be sure to take driveways on an angle now that the vehicle is lowered. If the vehicle is too low or high, make ride height adjustment with sprocket keys by removing the wheel and following from step 7.
Driving Experience
Normally, the switch to a coil-over suspension setup for a daily driver is one that comes at the cost of ride comfort. The purpose behind such a swap is solely to fine tune vehicle handling to be as sharp as the driver’s preference. In the case of this FR-S, after a lengthy 186 mile/300 km test drive, the suspension is truly incredible. There is little doubt the engineers at Toyota and Subaru dialed the FR-S factory settings in favor
of slight oversteer when the car is driven hard, but like any street car, the dreaded understeer exists. The freshly installed NEO Motorsport kit has virtually eliminated any amount of understeer at the front wheels and tightened up the rear end.
Furthermore, the ride height was dropped by two inches, primarily for aesthetic reasons. For days of regular city commuting while dodging potholes and clearing speed bumps, a simple pop of the hood and trunk allow for soft dampening of the shocks. At the track (whether it’s a drag strip or road course), stiffening the dampening to any of the 12 levels ensures the driver receives every bit of road feedback through the steering wheel. Having driven a myriad of performance vehicles in my time (and the FR-S on several occasions), the switch to these coil-overs truly enhances the low center of gravity and sportscar-like feel of this Scion like never before.
Related Articles
 Air Lift Performance... Coilover Kits??!!
 Throwback: 5 Vehicles from PASMAG in 2008
 Dress Up Bolts SARD LSR Style Wing Hardware Kit for BRZ / GT86 / FR-S
 ISC Suspension Control Arm Brace for 2013+ FR-S/BRZ/86
 MXP Comp RS Single Exit Exhaust for 86/FR-S/BRZ
 Kurenai: Jason Helmick's Show-Stopping 2015 Scion FR-S


